SYSTEM SETUP
17
Amplifier Setup (Continued)
Sound Mode
You can enjoy surround sound simply by selecting one
of the pre-programmed sound fields according to the
program you want to listen to.
Each time you press the SOUND EFFECT button,
the sound mode is changed in the following order:
PROLOGIC → HALL 1 → HALL 2 → THEATER
ote
For DVDs, you can only select sound modes when the
PCM indicator is shown on the front panel display.
Each time you press the button, the Pro Logic II
sound mode is changed in the following order:
PROLOGIC → MOVIE → MUSIC → VIRTUAL → MATRIX
Tip
You can quickly select SURROUND OFF (2CH STEREO)
mode by pressing the BY PASS button.
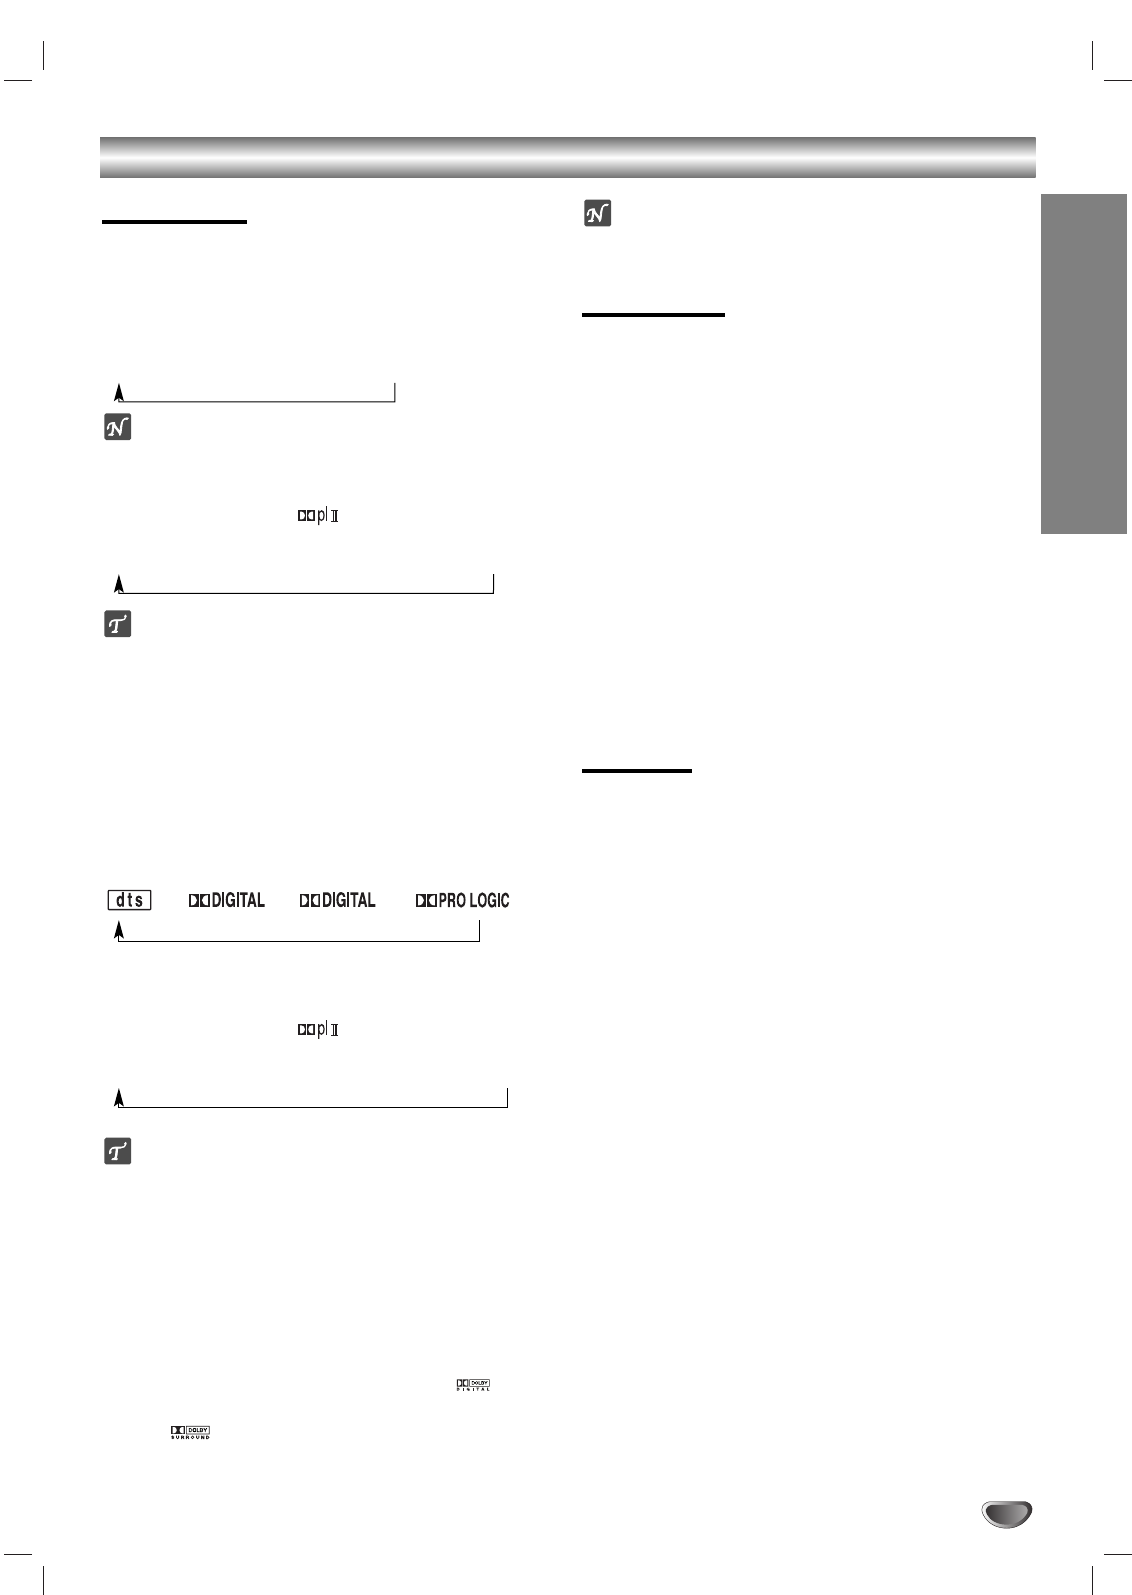
When DVD is inserted:
You can change the sound mode of a DVD (Dolby Digital,
DTS, PRO LOGIC, etc) by pressing the AUDIO button on the
remote during playback.
Although DVD contents differ from disc to disc, the following
explains the basic operation when this feature is used.
Each time you press the AUDIO button, the sound mode of
DVD is changed in the following order:
→→
and
When a DVD is inserted and the PROLOGIC II
indicator lights:
Each time you press the button, the Pro Logic II
sound mode is changed in the following order:
PROLOGIC → MOVIE → MUSIC → VIRTUAL → MATRIX
Tip
You can set PRO LOGIC II mode to Off (2CH STEREO) by
pressing the BY PASS button (the PROLOGIC II indicator dis-
appears).
For your reference:
•
The DVD+VCR memorizes the last mode settings
for each source individually.
•
The encoding format of discs is usually printed on
the packaging.
- Dolby Digital discs are labeled with the logo.
- Dolby Surround encoded programs are labeled with
the logo.
- DTS Digital Surround discs are marked with DTS.
ote
When you play sound tracks with a 96kHz sampling frequency,
the output signals will be converted to 48kHz.
Sound Level
You can
set the sound level for each channel independently.
11
Press LEVEL.
The level indicator appears on the front panel display.
22
Press
bb
/
BB
to select the desired speaker.
Press the b/B buttons to select each speaker in the fol-
lowing order:
FL (Front Left) → C (Center) → FR (Front Right) →
SR (Surround Right) → SL (Surround Left) →
SW (Subwoofer) → FL (Front Left)
• In 2-channel stereo mode, you can only select the SW
(Subwoofer).
33
Press
vv
/
VV
to adjust the sound level of the
selected channel (-6dB - +6dB).
44
Repeat steps 2-3 and adjust the sound level for
the other channels.
55
When settings are complete, press LEVEL.
Test Tone
This function allows you to adjust the sound balance of
the speakers relative to the listening position.
11
Select test tone mode by pressing the TEST
TONE button.
•Ahissing noise is output for 2 seconds from each
speaker in the following order:
FL (Front Left) → C (Center) → FR (Front Right) →
SR (Surround Right) → SL (Surround Left) →
SW (Subwoofer) → FL (Front Left)
22
Press LEVEL then press the
vv
/
VV
buttons to
adjust sound levels for each speaker.
• The sound levels should be balanced while seated in
the primary listening position.
• If you adjust sound levels during test tone mode, the
test tone will be paused in the active speaker channel.
33
When setting is complete, press TEST TONE.


