


13
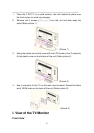
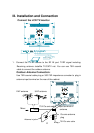
2. Connect the audio sources (Including DVD, VCDR, etc.) to the proper
AUDIO input jacks ‘L’ and ‘R’.
3. Connect the video source to the VIDEO input jack by RCA cable.
4. Connect the video source to the S-VIDEO input jack of the TV by the
S-video cable
5. Insert the AC power to the DC adaptor, then connect 12V input jack from
the monitor to its DC output jack.
6. When using the LCD as a computer screen, connect the PC from the
VGA jack of the monitor by the relevant cable.
IV. TV/Monitor Screen Operation
(1) Basic operation
1. Press the STANDBY button on the unit or from the remote control to
switch on the power. The power indicator will light up in blue colour.
Press the STANDBY button again to switch off the power, and the
indicator will change to red.
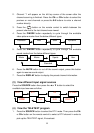
2. Press the VOL - or VOL + button to adjust the volume level. Press the
VOL - button repeatedly to decrease the volume; press the VOL +
button repeatedly to increase the volume from 0 to 100.
(2) Changing Channels
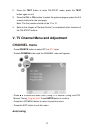
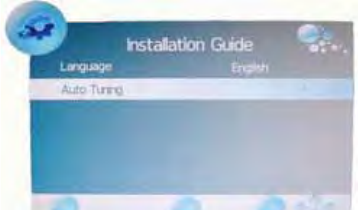
1. Press the SOURCE button on the remote control to select the ATV or
DTV input mode. If you are using the receiver for the first time, an
Installation Guide menu will be displayed to guide you through the
channel scan, Use the remote control to finish channel scan (you can
also refer to Chapter V in this manual for the channel scan operation).