2
HAS-K250
Installation of this product requires special technical skills. Ask your dealer or service center (for details, see the
User’s Manual supplied with the LCD projector) to handle the installation work.
Be sure to observe the following instructions when installing an LCD projector.
1. Considerable care is required in planning and performing the installation so that it will support the weight of the
LCD projector and wall mount unit.
LCD projector Approx. 3.8 kg
Wall mount unit (HAS-K250) Approx. 5.9 kg
2. If the temperature inside the LCD projector gets too high, the temperature sensor will activate and turn off the
projector to prevent damage. Do the following to avoid an abnormally high temperature.
(1) Select a location where the ambient temperature is in the range of 5 to 35°C.
(2) Periodically clean the projector’s air intake filter. For details on how often and how to clean the filter, see the
LCD Projector User’s Manual.
(3) In a dusty location, the filter will need more frequent cleaning than in (2) above so install the projector in a
location where cleaning is easy.
(4) Leave 30 cm or more space on the sides of the LCD projector to allow the free flow of air from the exhaust and
leave 10 mm or more space at the back of the projector to enable air to enter via the air intake.
(5) Do not install the projector in a location exposed to sudden temperature changes, for example near air
conditioners, or where the temperature rises above 35°C.
3. Do not install the projector in a smoke-filled or extremely dusty environment as the tar in cigarette smoke will
settle on the optics and lower performance.
4. Do not install the projector in a location where the remote control sensor will be exposed to direct sunlight, other
strong light sources or inverter fluorescent lamp light at close range to prevent remote control malfunction.
● The wall mount unit must be secured using at least eight M10 anchor bolts. The
bracket has 16 oval 11 × 33 mm (0.43 × 1.3 inch) mounting holes. Use anchor bolts of
a length that suits the strength and thickness of the wall so that the pullout strength of
each bolt meets or exceeds 2,000 N. If required, increase the number of anchor bolts.
Mounting holes
11 × 33 oval holes (16 locations)
(0.43 × 1.3)
Installation Precautions
Tools needed for installation
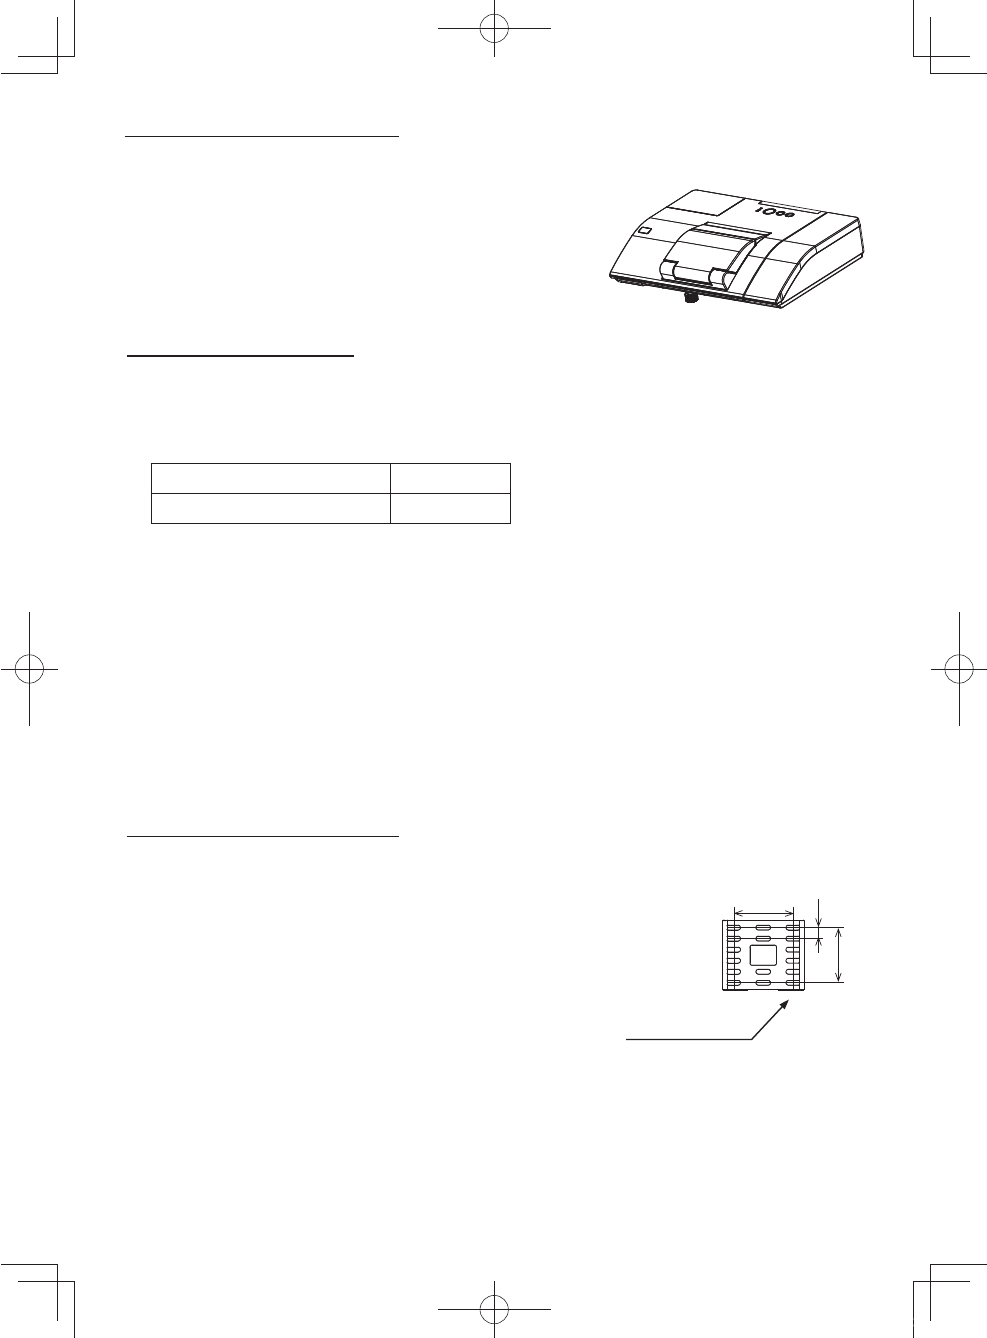
This product is designed to mount a Hitachi LCD projector on a wall.
Supported Hitachi LCD projector models: CP-AW250N(CP-AW250NM)
Outline and Relevant Models
Unit: mm (inches)
136
(5.35)
25
(0.98)
125
(4.92)
*#5-A'0)KPFF
CP-A220N(CP-A220NM)
CP-A300N(CP-A300NME/G)
ED-A220N(ED-A220NM)


