22
DV Record Audio
You need to set this if you have a camcorder using
32kHz/12-bit sound connected to the front panel DV
IN jack. Some digital camcorders have two stereo
tracks for audio. One is recorded at the time of shoot-
ing; the other is for overdubbing after shooting.
On the Audio 1 setting, the sound that was recorded
while shooting is used. On the Audio 2 setting, the
overdubbed sound is used.
Auto Chapter
During recording, chapter markers are added auto-
matically at fixed intervals. You can set this interval to
5 minutes or 10 minutes. To turn off automatic chap-
ter marking, select [None].
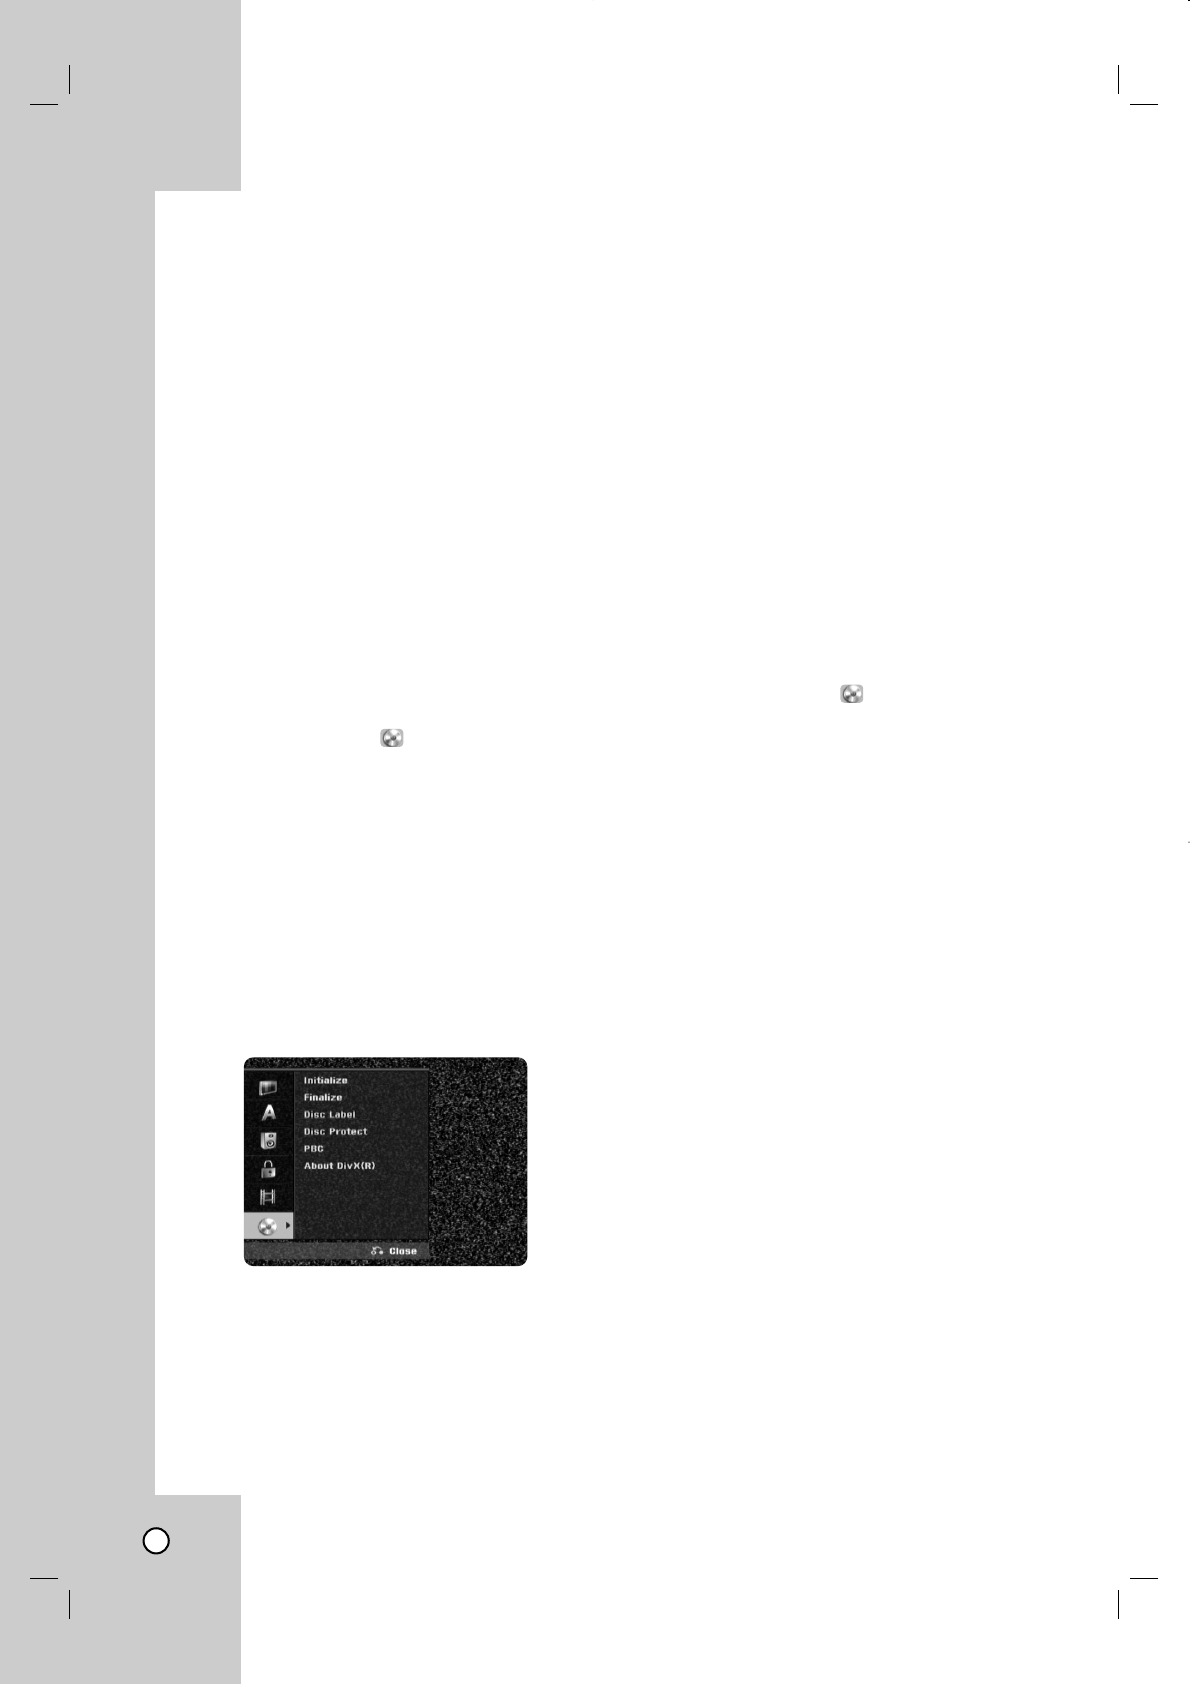
Disc Settings
Disc Settings
To access to the General Setting.
1. Press HOME and the Home menu appears.
2. Select [Setup] > [Start] and press ENTER.
3. Use v / V to select
(
Disc)
option and press B.
Initialize
If you load a completely blank disc, the recorder will
initialize the disc.
• DVD-R: The recorder initialize the disc to Video mode.
The recording mode will always be Video mode.
• DVD-RW/ DVD+RW/DVD+R/DVD-RAM: The Initialize
menu will appears. Select [OK] then press ENTER.
DVD-RW disc is initialized to Video mode.
Also, you can reformat the DVD-RW/DVD+RW from
the Setup menu as below.
1. Select the [Initialize] option then press B.
[Start] icon is highlighted.
2. Press ENTER.
• In case of DVD-RW, use b / B to select a
desired Disc Initialize Mode (VR Mode or Video
Mode) then press ENTER.
• In case of DVD+RW/DVD-RAM, use b / B to
select [OK], and press ENTER.
It takes a few moments to format the disc.
Caution:
If you want to change the disc format, everything
recorded on the disc will be erased.
Finalize
Finalizing ‘fixes’ the recordings in place so that the
disc can be played on a regular DVD player or com-
puter equipped with a suitable DVD-ROM drive.
Finalizing a Video mode disc creates a menu screen
for navigating the disc. The menu screen of the final-
ized disc can be accessed by pressing DISC
MENU/LIST or TITLE.
Caution:
Once you have finalized a DVD-R and DVD+R disc,
you cannot edit or record anything else on that disc
except DVD+RW. However, you can record and edit
a DVD-RW disc by choosing [Unfinalize] option.
1. Press HOME and the Home menu appears.
2. Select [Setup] > [Start] and press ENTER.
3. Use v / V to select
(
Disc)
option and press B.
4. Select the [Finalize] option on the setup menu
then press B.
5. Press ENTER while [Finalize] is selected.
Finalize menu appears.
6. Select [OK] then press ENTER.
The Recorder starts finalizing the disc.
Notes:
• Finalization can take up to 3-4 minutes or more depend-
ing on the type of disc, how much is recorded on the
disc, and the number of titles on the disc.
Tips:
• If you load a DVD-RW that has already been finalized,
you can ‘Unfinalize’ it by choosing [Unfinalize] from the
Finalize menu. After doing this, you can edit and re-
record onto the disc.
•You cannot unfinalize a DVD-R and DVD+R disc.
• If [Disc Protect] option is set to [ON], the finalize is not
available. To finalize, set [Disc Protect] option to [OFF].
Disc Label
Use the Disc Label feature to enter a name for the
disc. This name appears when you load the disc and
when you display disc information on-screen.
•The Disc label can be up to 32 characters long.
• For discs formatted on a different Recorder, you
will see only a limited character set.
1. Select the [Disc Label] option then press B.
[Edit] icon is highlighted.
2. Press ENTER.
Keyboard menu appears.
To enter characters, see page 44.


