


56 EN
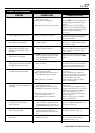
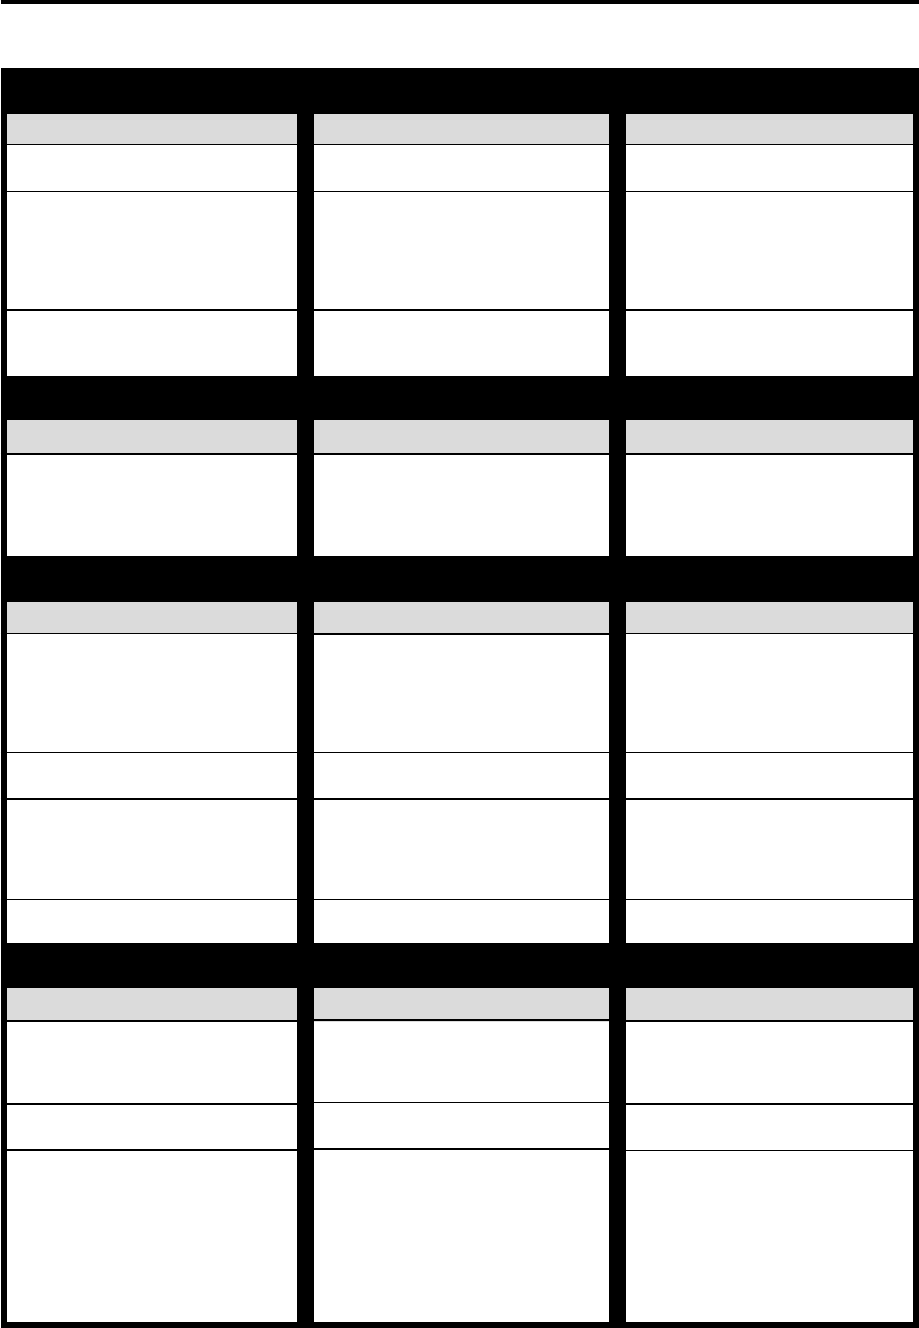
TROUBLESHOOTING
Before requesting service, use this chart and see if you can repair the trouble yourself. Small problems are often easily
corrected, and this can save you the trouble of sending your VCR off for repair.
POSSIBLE CAUSE
● The AC power cord is disconnected.
● Child lock is on.
● The VCR is in the timer recording
standby mode with “AUTO TIMER”
set to “OFF” (੬ pg. 40).
● The child lock function is activated.
● The batteries are discharged.
● Timer is on.
● Remote control A/B code is wrong.
SYMPTOM
1. The power will not come on.
2. The clock works, but the VCR’s
power will not come on.
3. The Remote will not function.
CORRECTIVE ACTION
Connect the AC power cord.
Turn off child lock function (੬ pg. 45).
Press TIMER to disengage.
Press and hold POWER for more than
10 seconds to release the child lock
function (੬ pg. 45).
Replace batteries.
Press TIMER button on the remote.
Reset A/B code (੬ pg. 55).
SYMPTOM
1. The cassette gets stuck partway
during loading, and is ejected.
CORRECTIVE ACTION
Make sure the cassette’s window is
facing up, the rear label side is facing
you and the arrow on the front of the
cassette is pointing towards the VCR.
Then insert the cassette.
POSSIBLE CAUSE
● The cassette was inserted incorrectly.
SYMPTOM
1. The tape is running but the picture
will not appear.
2. Breaks are noticeable in Hi-Fi
sound track.
3. The playback picture is blurred or
interrupted, even though TV
broadcasts are clear. Or “USE
CLEANING CASSETTE” appears on
the screen.
4. The Hi-Fi sound cannot be heard.
POSSIBLE CAUSE
● If the RF connection (੬ pg. 7) is
used to view the picture, the
channel on the TV is set incorrectly.
● If the AV connection (੬ pg. 7) is
used to view the picture, the TV
receiver is set to the wrong mode.
● Automatic tracking is engaged.
● The video heads may be dirty.
● Audio Monitor setting is incorrect.
CORRECTIVE ACTION
Select channel 3 or 4 on the TV.
Select the AV mode on the TV.
Disengage auto tracking and adjust
the tracking manually (੬ pg. 23).
The heads must be cleaned. Use a
dry cleaning cassette –TCL-2UX– or
consult your JVC dealer.
Set Audio Monitor to “HI-FI”
(੬ pg. 23 or 42).
POSSIBLE CAUSE
● There is no cassette loaded.
● The loaded cassette has had its
record safety tab removed.
● The VCR has been set to “L-1” or “F-
1” input mode by mistake.
● The components have been
incorrectly connected, or correct
video connector (S VIDEO or
VIDEO) is not selected.
● The power to one or more of the
units has not been turned on.
● The recording VCR’s input mode has
been set incorrectly.
SYMPTOM
1. Recording will not start.
2. TV broadcasts will not be recorded
properly.
3. Tape-to-tape editing will not work.
POWER
TAPE TRANSPORT
PLAYBACK
RECORDING
CORRECTIVE ACTION
Insert a cassette.
Remove the cassette and cover the hole
with adhesive tape, or load a cassette
on which the record safety tab is intact.
Select the appropriate channel on the
VCR.
Connect the components correctly
(੬ pg. 46 – 51) or check “REAR AUX
INPUT (or “FRONT AUX INPUT”
only for HR-S5900U/5910U) setting
(੬ pg. 43).
Make sure the power to all units is on.
Select the appropriate input mode on
the recording VCR.