


January 31, 2002 2:48 pm Page 10
—10—
Master Page: Right
24 Hour Express Timer Programming
You can programme a timer recording that starts within 24 hours.
A
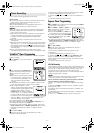
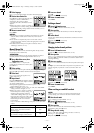
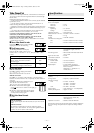
Press 24H EXPRESS #. The start time
indicator ( ) starts blinking on the display
panel.
B
Turn the JOG dial to the left or right to
set the start time.
● One click stop of the JOG dial changes
the time in 5-minute intervals.
C
Push the JOG dial. The stop time
indicator ( ) starts blinking on the display
panel. Turn the JOG dial to the left or right
to set the stop time.
D
Push the JOG dial. Turn the JOG dial to
the left or right to select the channel.
● To set the tape speed, press SP/LP (p).
The current setting for the tape speed
appears on the display panel for about 5 seconds. Press SP/LP
(p) again to change the setting while tape speed is displayed.
● You can cancel the setting at any time by pressing and holding
the JOG dial for more than 3 seconds. Repeat the steps
2
22
2
–
4
44
4
.
E
Press 24H EXPRESS #. The recorder turns off automatically
and “#” is displayed on the display panel.
NOTES:
● If “Err” appears on the display panel, repeat the above steps
again.
● When a menu screen is shown, you cannot use 24 Hour Express
Programming function. Press
MENU
to return to normal screen,
and try again.
● You can use 24 Hour Express Programming function also when
the recorder is turned off.
Checking, canceling or changing programme
settings
A
Disengage timer recording standby mode
Press #, then press 1.
● When “AUTO TIMER” is set to “ON” (
੬
12), press only 1.
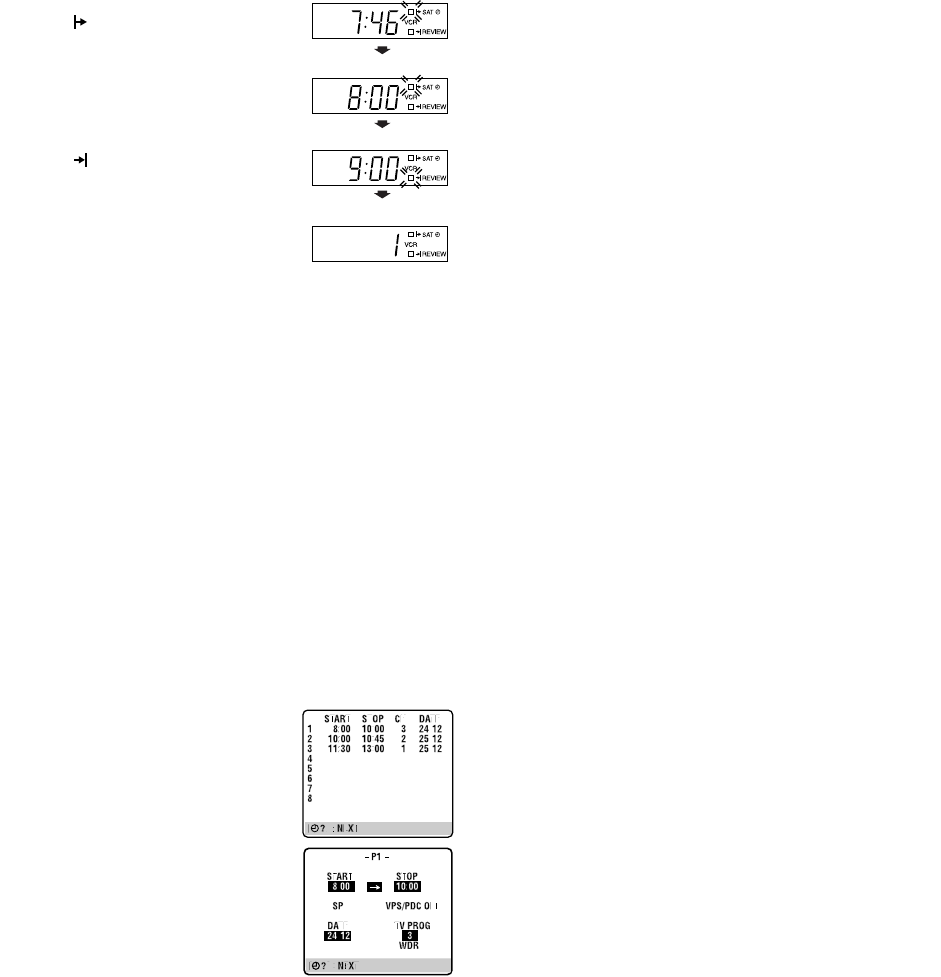
B
Access Program Check screen
Press ".
C
Access Program screen
Press " again. Each time you press ",
the next programme’s screen appears.
D
Cancel or change programme setting
To cancel a programme, press &.
To change a programme, press the
appropriate button: START+/–, STOP+/–,
DATE+/–, DAILY (number key “8”), WEEKLY (number key “9”),
PR+/–, VPS/PDC (number key “7”) and/or SP/LP (p).
● To change “TV PROG” to “SAT” for the channel position, press
the number key “0”.
E
Return to normal screen
Press " repeatedly until no Program screen is shown.
F
Re-engage timer recording standby mode
Press #. The recorder turns off automatically and “#” is displayed
on the display panel.
● When “AUTO TIMER” is set to “ON” (
੬
12), the timer
recording standby mode automatically resumes when you turn
off the recorder.
Automatic Satellite Programme Recording
You can automatically record a satellite programme which is
timer-programmed on your satellite receiver.
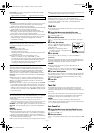
A
Connect a satellite receiver to the L-2 IN/DECODER connector
on the rear panel.
B
Set timer programme on satellite receiver referring to its
instruction manual.
C
Load a cassette with the record safety tab intact.
D
Set “L-2 SELECT” to “A/V” or “SAT”. (
੬
13)
E
To set the tape speed, press SP/LP (p). The current setting for
the tape speed appears on the display panel or the screen for
about 5 seconds. Press SP/LP (p) again to change the setting
while tape speed is displayed.
F
Press SAT# for more than 2 seconds. The recorder turns off
automatically and enter the Automatic Satellite Programme
Recording mode (the SAT# indicator lights up). When signals
come into the recorder from the satellite receiver, the recorder
starts recording (the SAT# indicator blinks). The recorder stops
recording and turns off when signals stop coming in.
NOTES:
● Be sure not to turn on the satellite receiver before the
programme starts broadcasting; otherwise, the recorder starts
recording when the satellite receiver is turned on.
● To disengage the Automatic Satellite Programme Recording
mode, press
SAT
# (the SAT# indicator goes off).
● Depending on the type of satellite receiver, Automatic Satellite
Programme Recording may not be compatible.
● B.E.S.T. does not work in the Automatic Satellite Programme
Recording mode.
● Power Save mode does not work in the Automatic Satellite
Programme Recording mode.
● Just Clock does not work in the Automatic Satellite Programme
Recording mode.
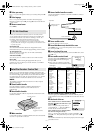
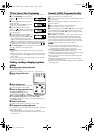
Start time
Stop time
Channel
HR-J790EU-001EN.fm Page 10 Thursday, January 31, 2002 2:50 PM