26 EN
Auto Timer
When the Auto Timer is set to "ON" the timer is automatically
engaged when the recorder power is turned off and automati-
cally disengaged when the recorder is powered back on.
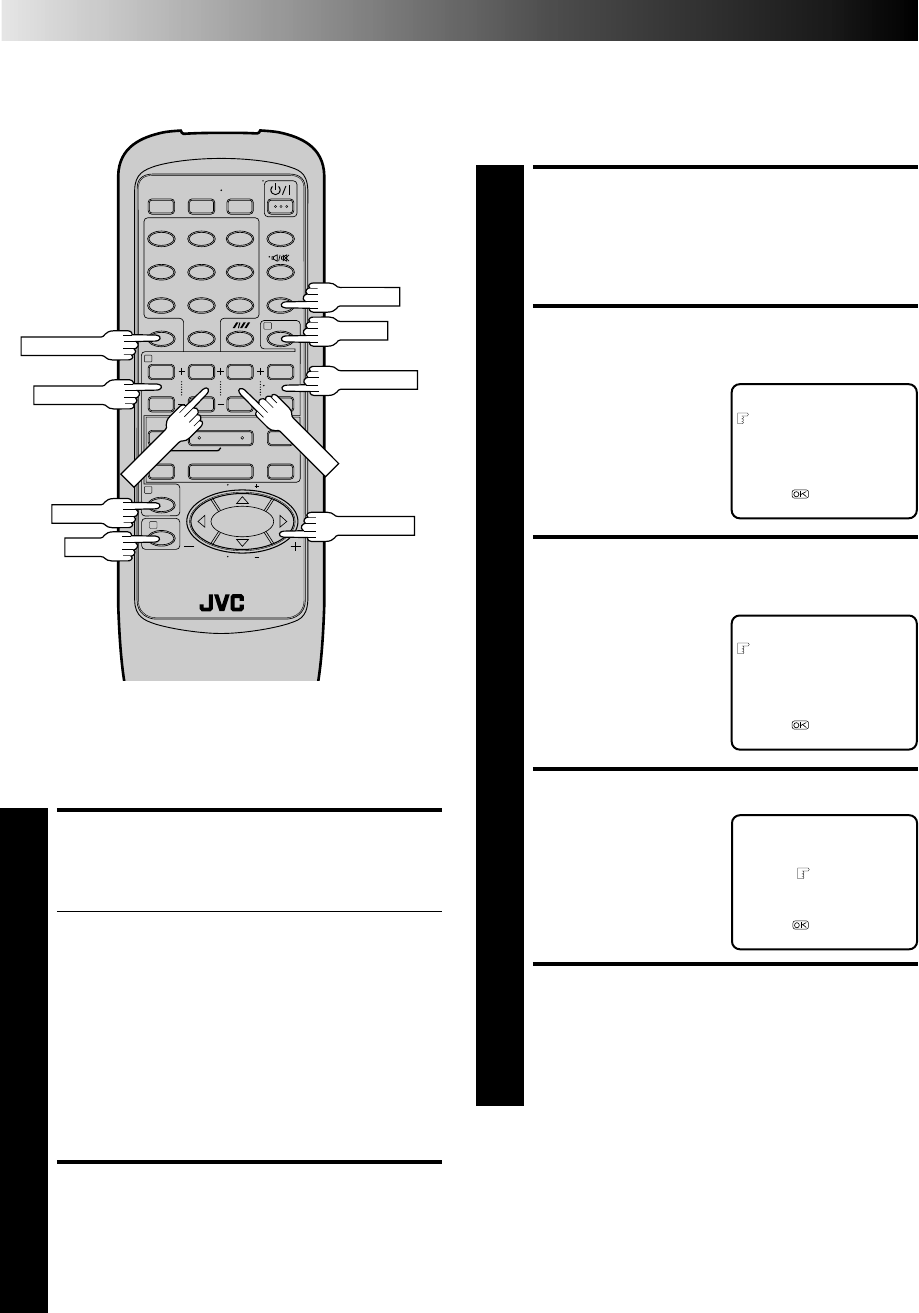
ACCESS MAIN MENU
SCREEN
1
Press MENU twice.
ACCESS FUNCTION SET
SCREEN
2
Press PUSH JOG %fi to
place the pointer next to
"FUNCTION SET", then
press OK.
ACCESS AUTO TIMER
SCREEN
3
Press PUSH JOG %fi to
place the pointer next to
"AUTO TIMER", then press
OK.
SELECT MODE
4
Press PUSH JOG %fi to
select either "ON" or "OFF".
RETURN TO NORMAL
SCREEN
5
Press MENU.
NOTE:
For safety, when Auto timer is set to "OFF", all other recorder
functions are disabled while the Timer mode is engaged. To
disengage the timer, press TIMER.
TIMER RECORDING (cont.)
MAIN MENU
FUNCTION SET
TUNER SET
INITIAL SET
[5/
∞
] =
[MENU] : EXIT
FUNCTION SET
AUTO TIMER
O.S.D.
B.E.S.T.
[
5
/∞] =
[MENU] : EXIT
AUTO TIMER
ON
OFF
[5/
∞
] =
[MENU] : EXIT
1
4¢
7
3
8
¡
123
456
7
8
0
9
2
1
3
MENU
PUSH JOG
TIMER
PROG CHECK
CANCEL
OK
START+/–
DATE+/–
STOP+/–
TV PROG+/–
Check And Cancel
Programmes
ACCESS PROGRAMME
SCREEN
1
Press PROG CHECK.
● If the recorder is turned on and the TV is set to its
VIDEO channel or AV mode, you can check program
information on screen.
● Each time you press PROG CHECK, the next
programme's information appears.
If All Information Is Correct . . .
. . . programming is completed.
If You Wish To Revise Data . . .
. . . with the recorder's power turned on, go to step 2.
If You Wish To Cancel A Program . . .
. . . with the recorder's power turned on, press CANCEL.
All information you input is deleted.
REVISE PROGRAMME
INFORMATION
2
Input the appropriate data using the START +/–, STOP
+/–, DATE +/– and TV PROG +/– buttons on the
remote control.


