


Page 5 July 17, 2003 8:53 am
— 5 —
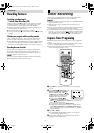
Auto Set Up
The Auto Set Up function simplifies installation by guiding you
through the procedures of setting the language, clock and tuner
channels — simply follow the on-screen menus that appear.
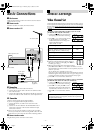
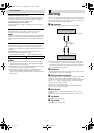
● Turn on the recorder and the TV, and set your TV to its AV mode
or video channel.
A
Select language
Press PR r/t to place the pointer next to your desired language
(English, Russian or Arabic), then press OK or e.
● The Clock Set screen appears.
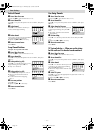
B
Set time
Press PR r/t to set the hour, then press
OK or e.
● Press and hold either button to delay or
advance the time by 30 minutes.
C
Set date
Press PR r/t to set the date, then press OK or e.
● Press and hold either button to change the date by 15 days.
D
Set year
Press PR r/t to set the year, then press MENU.
E
Select TV system
Press PR r/t to place the pointer next to the appropriate TV
system (refer to the table below).
F
Start auto channel set
Press OK or e.
● Receivable channels in your area are
automatically assigned to the PR +/–
buttons, and non-receivable channels
are skipped.
● When Auto Set Up is completed, the
lowest position number will appear on the front display panel. If
“SCAN COMPLETED–NO SIGNAL–” is displayed on the screen,
make sure that the aerial cable is connected to the recorder
properly and press OK on the remote control. The recorder will
try Auto Set Up again.
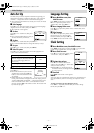
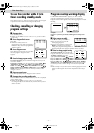
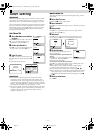
Language Setting
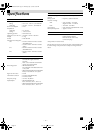
A
Access Main Menu screen, then
Initial Set screen
Press MENU on the remote control. Press
PR r/t to place the pointer next to
“INITIAL SET”, then press OK or e.
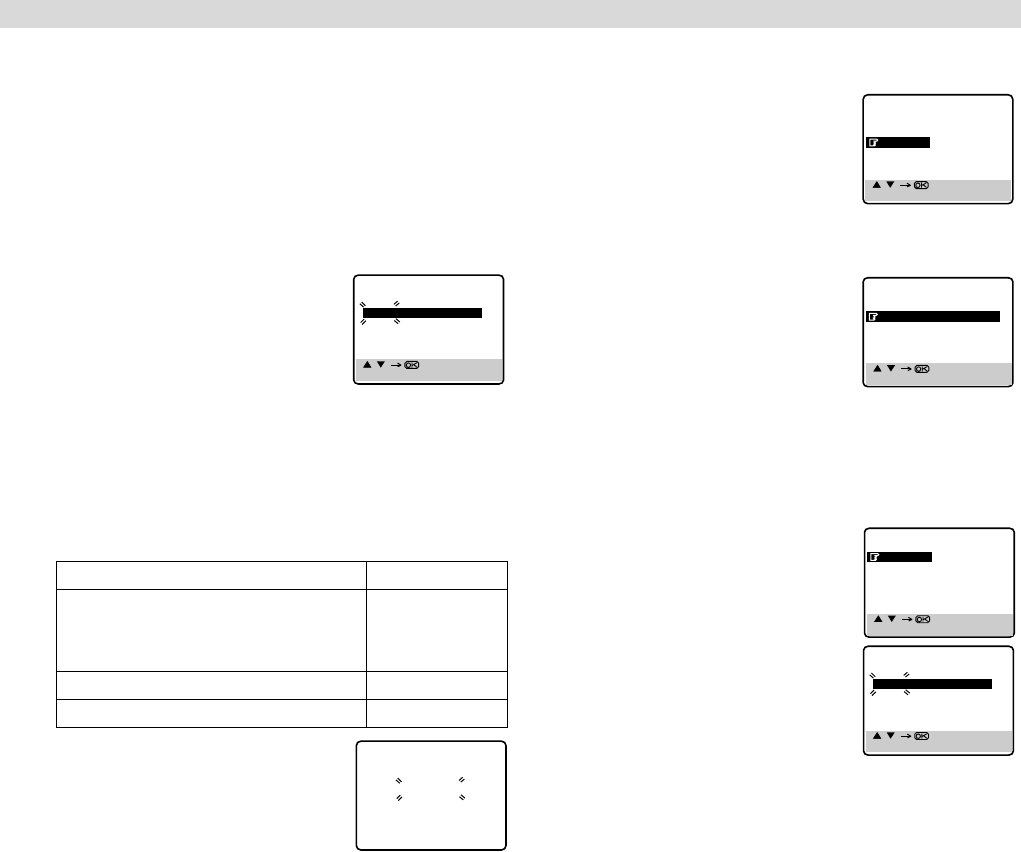
B
Access Language Select screen
Press PR r/t to place the pointer next to “LANGUAGE”, then
press OK or e.
C
Select language
Press PR r/t to place the pointer next to
the language of your choice (English,
Russian or Arabic), then press OK or e.
Press MENU to return to normal screen.
Clock Setting
A
Access Main Menu screen, then Initial Set screen
Press MENU on the remote control. Press PR r/t to place the
pointer next to “INITIAL SET”, then press OK or e.
B
Access Clock Set screen
Press PR r/t to place the pointer next to
“CLOCK SET”, then press OK or e.
C
Set time, date and year
Press PR r/t until the desired time
appears, then press OK or e. Set the date
and year in the same way.
● Holding PR r/t changes the time in
30-minute intervals, or changes the date
in 15-day intervals.
D
Start clock
Press MENU and normal screen appears.
N
O
TE:
If the year digits are automatically cleared, it is possible that you
have input February 29th in a non-leap year. Input the correct
data.
To make corrections any time during the process
Press OK or e repeatedly until the item you want to change
blinks, then press PR r/t.
Major Countries/Areas TV System
Australia, New Zealand, Kuwait, U.A.E.,
Indonesia, Singapore, Thailand, Malaysia,
Iran, Saudi Arabia, Egypt, Morocco,
Lebanon, Iraq
B/G
China, Mongolia, Russia D/K
Hong Kong I
[ / ]
[MENU] : EXIT
CLOCK SET
TIME DATE YEAR
0 : 00 01.01 03
AUTO CH SET
PLEASE WAIT
START FINISH
■
■
■
■
■
■
■
■
■
■
■
■
– – – – – – –
[ / ]
[MENU] : EXIT
MAIN MENU
FUNCTION SET
TUNER SET
INITIAL SET
[ / ]
[MENU] : EXIT
INITIAL SET
CLOCK SET
LANGUAGE
[ / ]
[MENU] : EXIT
INITIAL SET
CLOCK SET
LANGUAGE
[ / ]
[MENU] : EXIT
CLOCK SET
TIME DATE YEAR
0 : 00 01.01 03
– Initial Settings –
HR-V400AG-EN.fm Page 5 Thursday, July 17, 2003 8:53 AM