You can enjoy stereophonic virtual
space through your existing 2 channel
stereo system.
Pess the MODE button during
playback.
Press the
Cursor buttons ( s
or B ) or ENTER button to set it 1(Natural effect),
2(Emphasised effect) or OFF.
Press the
MODE or RETURN button to exit.
NOTES:
•
You can also use the VIRTUAL button on the front panel.
Press it repeatedly to select the required effect: 1, 2 or OFF.
• Select Virtual Surround OFF or adjust the volume down
if the sound is distorted.
• Virtual Surround will not be effective if the sound mode
is set to something other than “STEREO”. (for Audio
CDs or Video CDs play only)
• The setting will be saved even if the player is turned off.
3
2
1
WMA
MP3CDVCDDVD-RWDVD-V
Virtual Surround
–
22
–
EN
PLAYING A DISC
Changing the On-Screen Display
Marker Setup Screen
Hints for the On-Screen Display
• C - indicates Chapter repeat
• T - indicates Title or Track repeat
• A - indicates All (disc) repeat
• A B- indicates A-B repeat
Use markers to memorise your favourite places on a disc.
Press the SEARCH MODE
button repeatedly until the dis-
play screen and Markers
appear during playback.
Press the
Cursor buttons ( s
or B ) to select 1, 2, 3, 4, 5, 6,
7, 8, 9, or 10 and ensure that “_ : _ _ : _ _”
appears in the display.
When reaches the desired point, press the
ENTER
button.
• The title or track and elapsed playing time will appear
in the TV screen.
To return to the Marker later, press the SEARCH
MODE
button repeatedly during playback and the
Cursor buttons ( s or B ) to choose the desired
marker, then press the
ENTER button.
NOTES:
• Opening the disc tray or turning off the power or select
AC at step and press the ENTER button will erase
all Markers.
• To clear a marker, using the Cursor buttons (s or B),
position the cursor on to the marker number to be
cleared and press the CLEAR button.
• You can mark up to 10 points.
Press the SEARCH MODE or RETURN button to
exit.
5
2
4
3
2
1
CDVCDDVD-RWDVD-V
You can check information about the current disc by pressing
the DISPLAY button on the remote control.
Press the DISPLAY button
during playback to show the
current chapter.
• The elapsed and remaining
playing time of the current chapter will be displayed.
Press the DISPLAY button again to show the cur-
rent title.
• The elapsed and remaining playing time of the current
title will be displayed.
Press the DISPLAY button again to show the BIT
RATE and the current repeat setting.
• If you are playing a dual layered
disc, the layer number will also
be displayed (L0: Layer 0 is
playing. L1: Layer 1 is playing).
• If you are playing a DVD-RW
with setting the PLAYLIST, the
following will also be displayed.
ORG: Playing the ORIGINAL.
PL: Playing the PLAYLIST.
Press the DISPLAY button again to remove the
display.
4
3
2
1
DVD-RWDVD-V
Press the DISPLAY button during playback, the
current track will be displayed on the TV screen.
• The elapsed and remaining playing time of the current
track will be displayed.
Press the DISPLAY button again to show the total
tracks.
• The elapsed and remaining playing time of the disc will
be displayed.
2
1
CDVCD
IIII
L0T
9/49 0:00:00 -0:00:00
IIII
ORGT
Some DVD discs contain scenes which have been shot simulta-
neously from various angles.You can change the Camera Angle
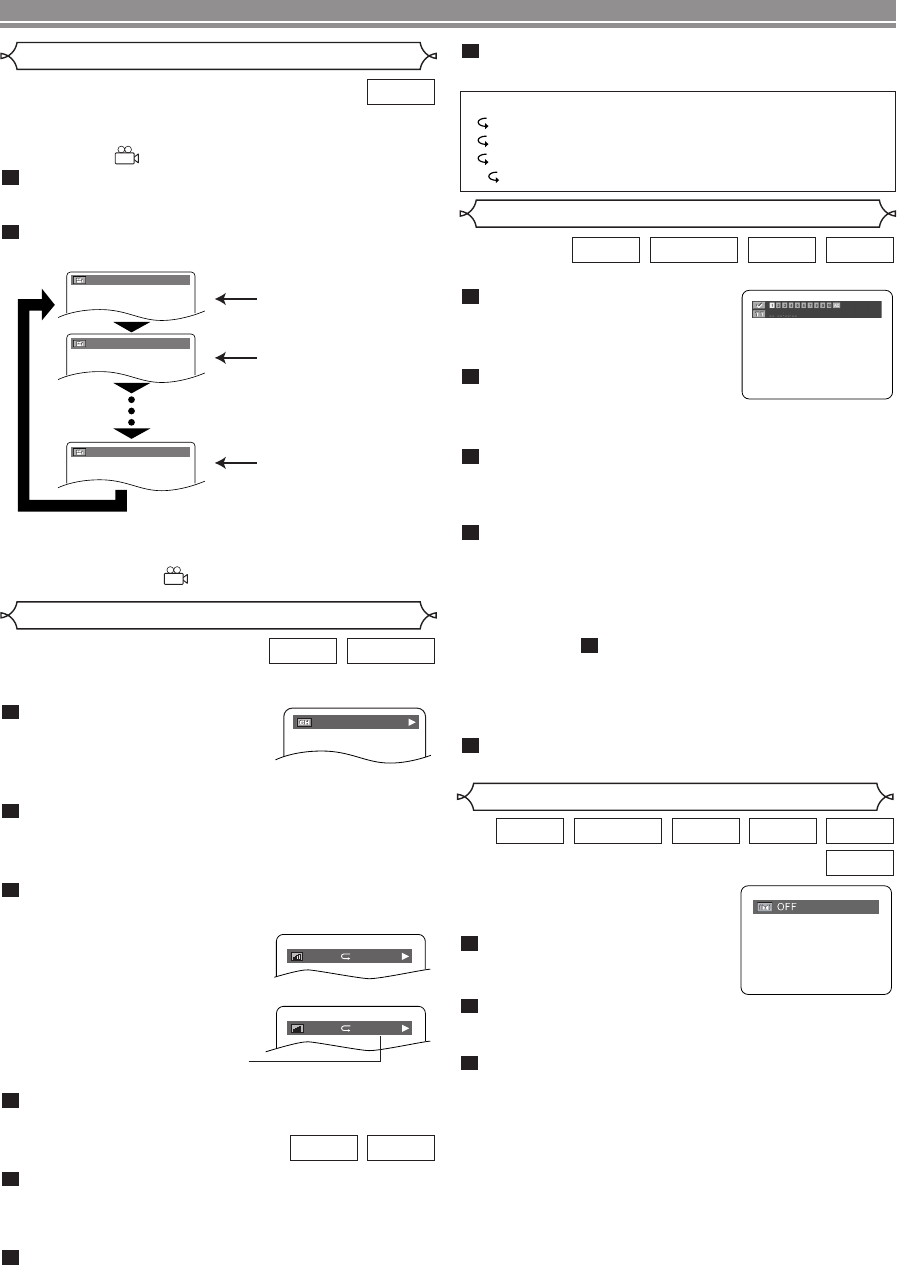
when the mark ( ) appears on the screen.
Press the ANGLE button during playback.
• The selected angle will be displayed on the display bar
at the top of the screen.
Press the ANGLE button repeatedly to select your
desired angle
.
NOTE:
• If the “ANGLE ICON” setting is “OFF” in the Display
menu, the
mark ( )
will not appear.
2
1
DVD-V
Camera Angle
Angle 1
Angle 2
Angle 8
1 / 8
2 / 8
8 / 8
Press the DISPLAY button again to remove the
display.
3
E61M2ED/E61M4ED(EN).qx3 05.6.1 18:34 Page 22


