


-4 -
Preparation
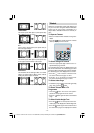
For ventilation, leave a space of at least 10 cm free all
around the set. To prevent any fault and unsafe situa-
tions,pleasedonot placeanyobjectsontop oftheset.
Use this apparatus in moderate climates.
Features
• Remote controlled colour television.
• 100 programmes from VHF, UHF bands or cable
channels can be preset.
• It can tune cable channels.
• Controlling the TV is very easy by its menu driven
system.
• It has2 SCART sockets for external devices (such
as video, video games, audio set, etc.)
• Stereo sound system (German+Nicam).
• Full function Teletext .
Fastext (1000 Pages), TOP text.
• Headphone connection.
• Direct channel access.
•A.P.S. (Automatic Programming System).
•All programmes can be named.
• Forward or backward automatic tuning.
• Sleep timer.
• Child Lock.
•Automatic sound mute when no transmission.
• NTSC Playback.
• AV in and S-VHS in are available.
• It has an HDMI connector for Digital Video and
Audio. This connection is also designed to accept
High Definition signals.
•AVL (Automatic Volume Limiting)
• When no valid signal is detected, after 5 minutes the
TV switches itself automatically to stand-by mode.
• PLL (Frequency Search)
• Stereo PCAudio Input
• 3D Comb Filter
•Audio Line Out
Before Switching On Your TV
Power Connection
IMPORTANT: The TV set is designed to operate
on 220-240V AC, 50 Hz.
•Afterunpacking,allowtheTV set to reach roomtem-
perature before you connect the set to the mains.
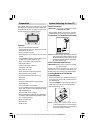
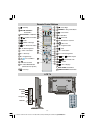
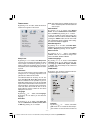
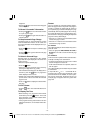
ConnectionsTo The Aerial Input Socket
VHF/UHF
75
REAR OF THE TV
CABLE TV
NOTE : ConnecttheaerialorcableTVplugtotheAerial
input socket located at the rear of the TV and
connect thecable plugcomingout from theTV
outsocketlocatedonthedevices(VCR,DVB-T
etc.)to this socketas well.
How ToConnect Other Devices
IMPORTANT: Switch off the TV before connecting
any external device.
Sockets for external connections are at the rear
side of the TV. For connection of other devices via
SCART refer to themanuals of the related devices.
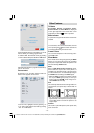
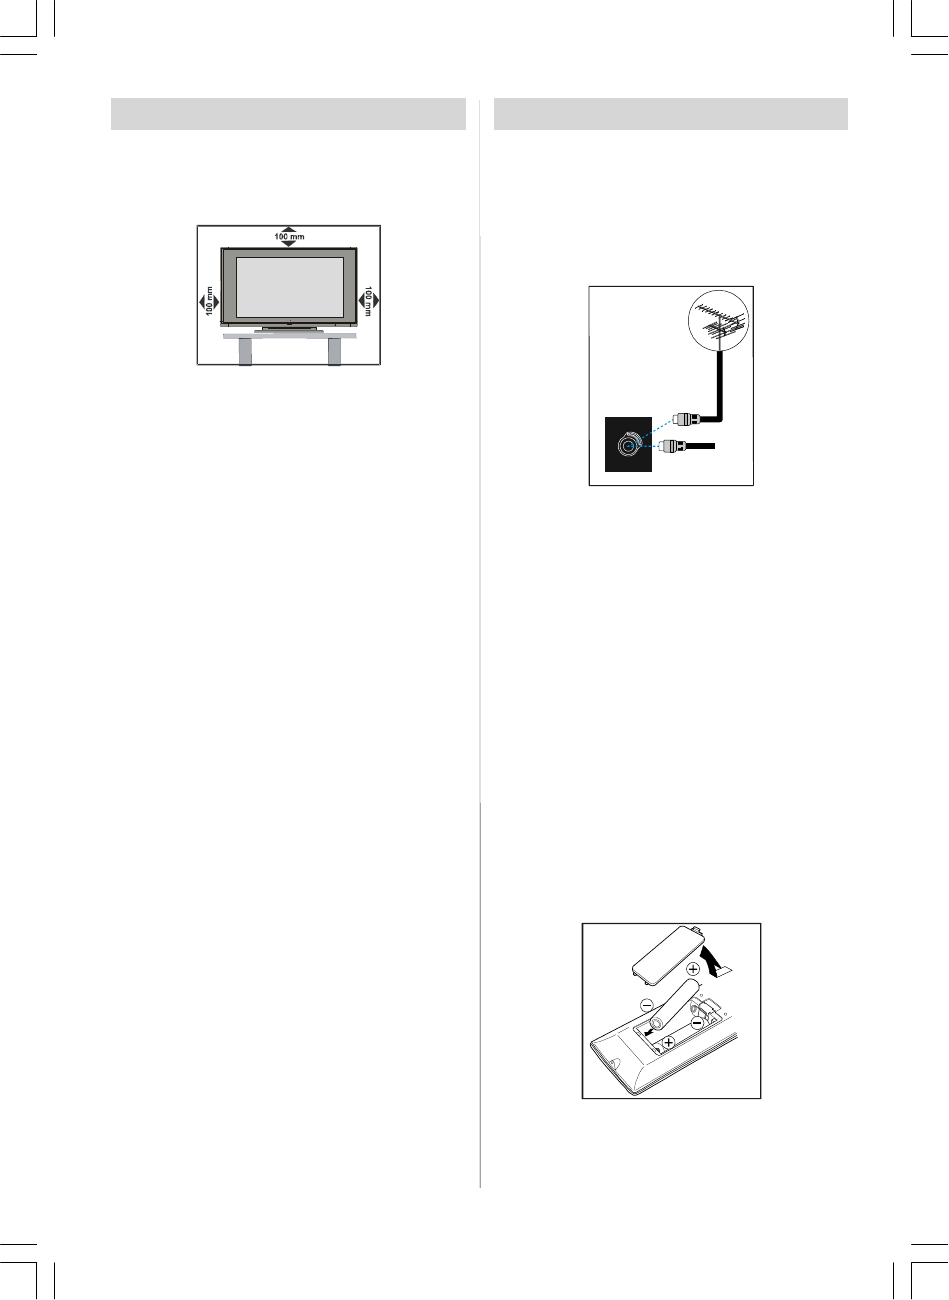
Inserting Batteries In The Remote
ControlHandset
• Remove the battery cover located on the back of
the handset by gently pulling downwards from
the indicated part.
• Insert two AAA/R03 or equivalent type batteries
inside. Place the batteries in the right direction.
• Replace the battery cover.
NOTE: Remove the batteries from remote
control handset when it is not to beused for
a long period.Otherwise it can be damaged
due to any leakage of batteries.
01-ENG-37737W-42737W-1072 UK-37-42 INCH 17MB15 OEM-(HD READY)(WOVGA-WOPIP)(S)-50101853.p6502.04.2007, 11:174