


54
55
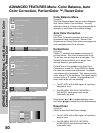
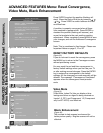
Video Mute
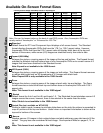
(Figure 51)
Video Mute, (when On) lets you display a blue
background when no signal is being received on
Inputs 1-3, DTV, and Component 1-2 (Component
only for WT-42315) and MonLink.
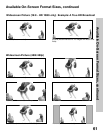
Black Enhancement
(Figure 52)
The contrast in dark scenes is enhanced for
better picture quality. Brighter scenes will not be
affected.
ADVANCED FEATURES Menu: Reset Convergence,
Video Mute, Black Enhancement
RESET FACTORY DEFAULTS
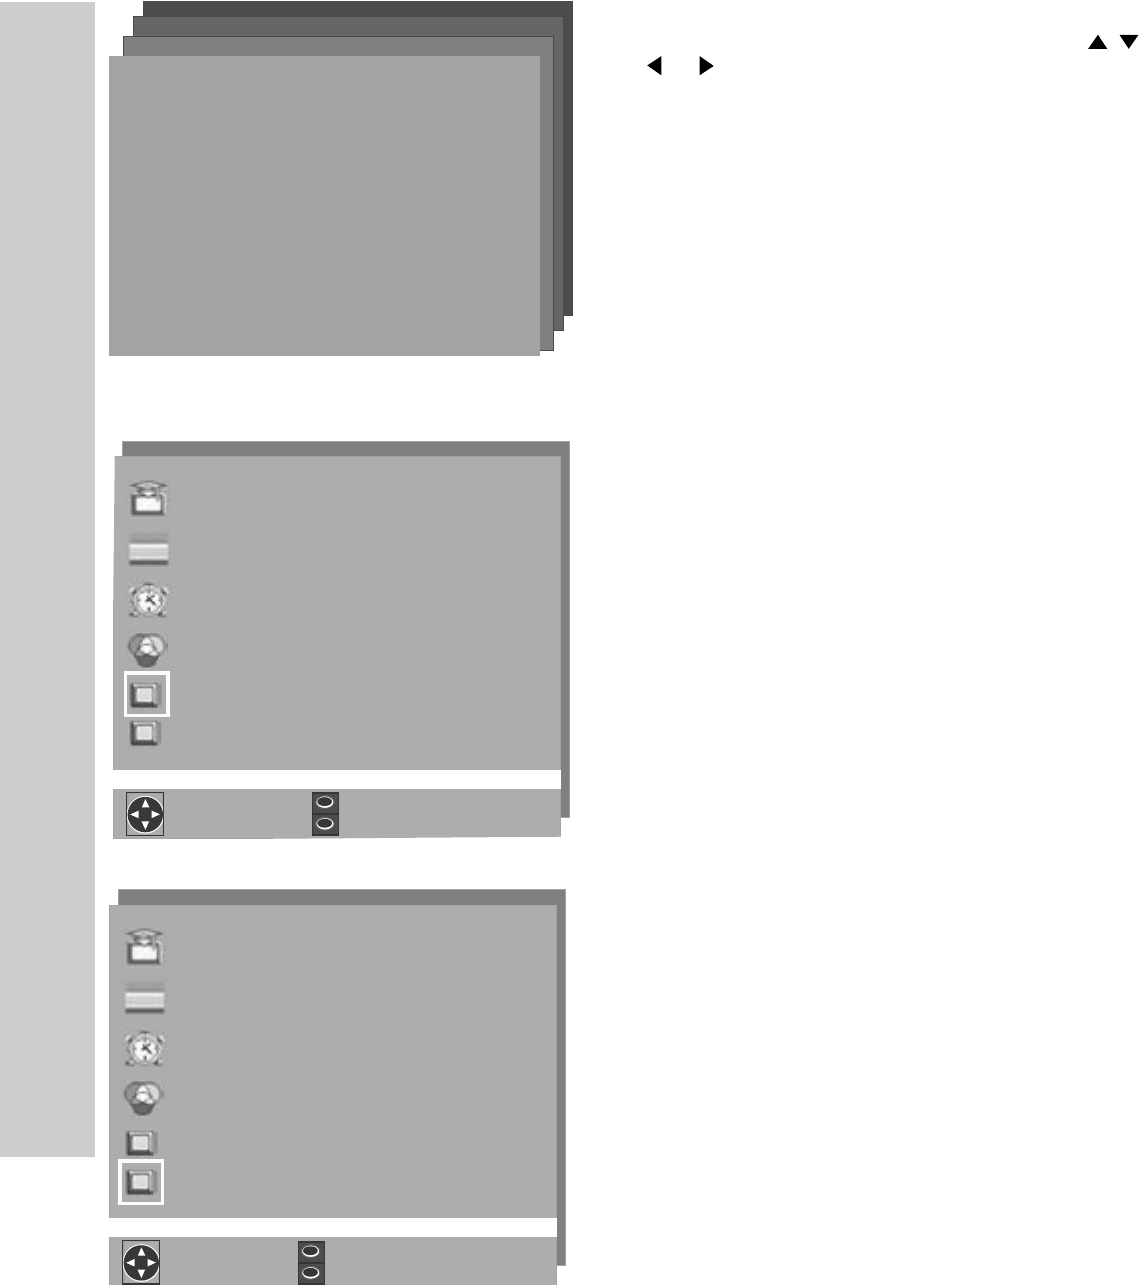
(Figure 50)
If you do not want to reset the convergence, press
the MENU key to return to the Convergence menu
without performing a reset.
You may reset the red and blue convergence to
factory default settings when you first use your TV
or after making manual changes. Press the ENTER
key to restore the convergence to the default
settings. All the changes you made manually will be
deleted. The message “Convergence Completed”
appears when the convergence reset process
ends.
Figure 50. RESET to Factory Defaults
Figure 51. Video Mute
Figure 52. Black Enhancement
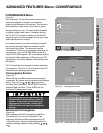
ADVANCED FEATURES Menu: Reset Convergence,
Video Mute, Black Enhancement
Press ENTER to select the position (flashing will
stop). Move the Red or Blue line by pressing ,
, , or . Press VIDEO to switch between the Red
and Blue lines.
A position is properly converged when all three
lines combine to appear white. Press ENTER to
deselect the position (flashing will resume), and
move the brackets to the next position needing
adjustment. When completed, press MENU to save
your changes, and exit the Advanced Convergence
screen.
Note: This is considered a fixed image. Please see
Important Notes on page 6, 12 or 30.