


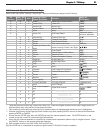


Chapter 3. TV Setup 45
sound such as Dolby Digital or DTS directly to the A/V
receiver, bypassing the TV entirely. A DVD player is
used in this example.
It is also possible for your setup to include two (or
more) devices with digital surround sound connected
directly to the A/V receiver. These devices could be
your DVD player plus a cable box or satellite receiver.
• Audio Directly from TV. Audio from
ANT 1
and
ANT 2
, memory cards, and IEEE 1394 devices is
sent to the A/V receiver from the TV’s analog
AUDIO
OUT LEFT/RIGHT
or DIGITAL AUDIO OUT. In
this setup, you tell NetCommand to switch to the A/V
receiver’s designated TV audio input.
• Analog Stereo Output Only. Audio from sources
with only analog stereo output (such as a VCR) can be
sent directly to the A/V receiver or directly to the TV
first and then on to the A/V receiver.
Mitsubishi recommends you send audio directly to the
TV, which can convert the signal to digital audio and
send it to a digital A/V receiver as digital audio.
Part 1: Learn IR Codes for A/V Receiver Inputs
1. Connect your A/V receiver to the TV and DVD player.
See chapter 2, “TV Connections,” for suggestions.
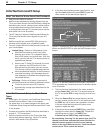
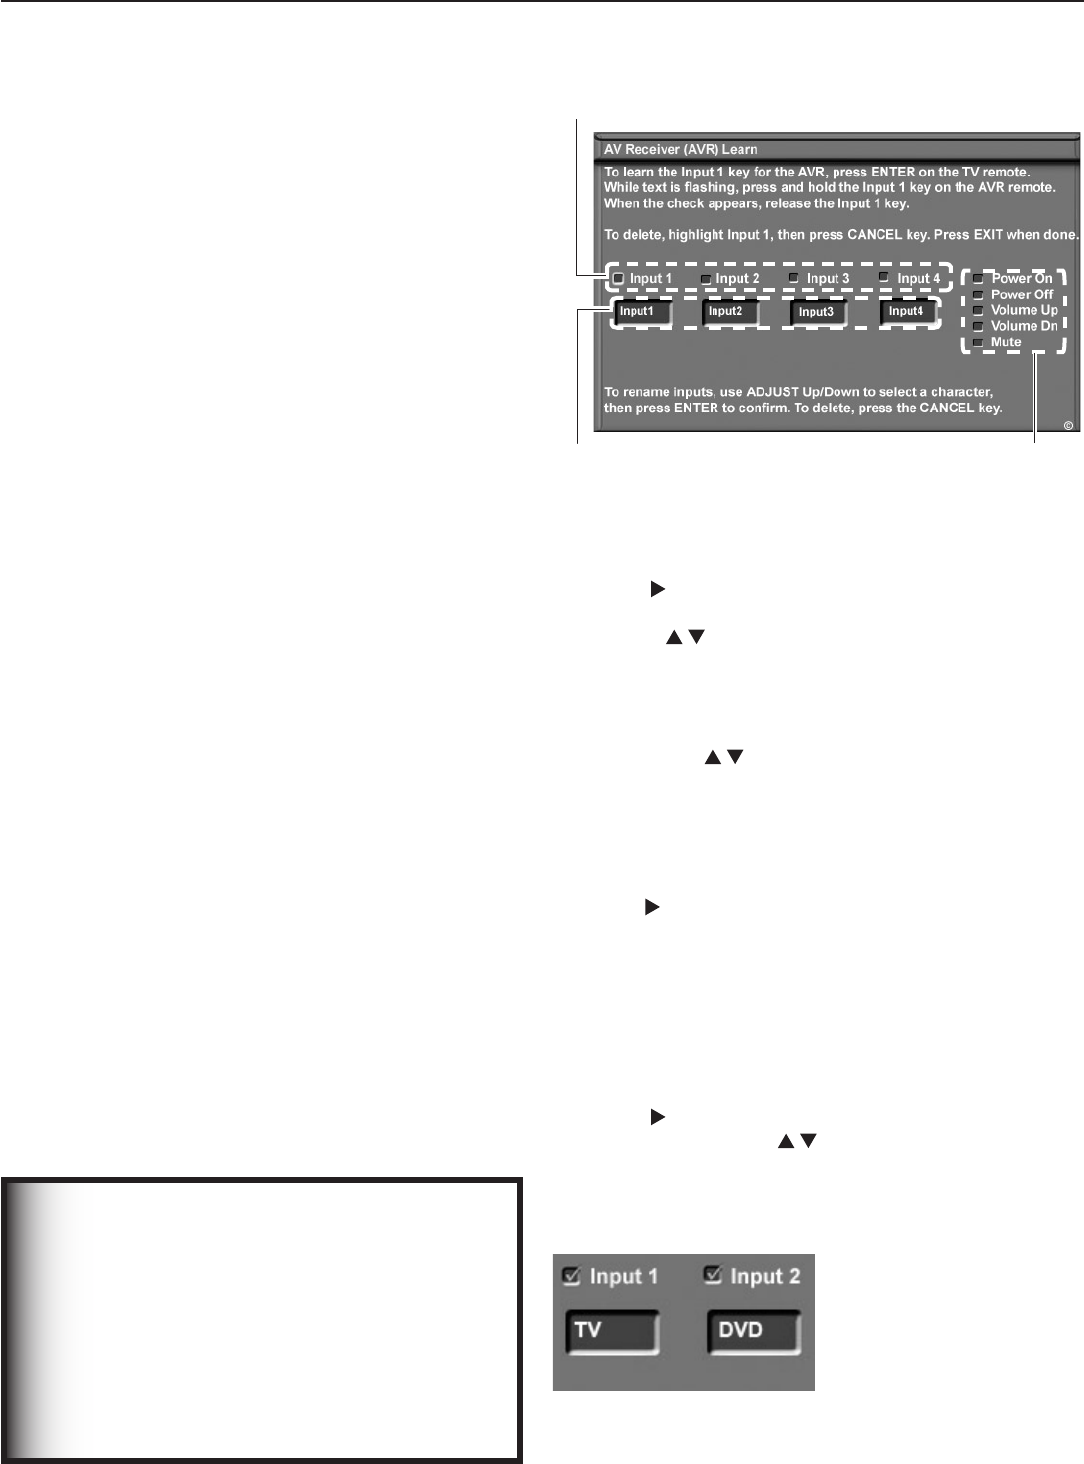
2. Open the NetCommand menu.
3. Highlight the Learn button under AV RECEIVER
SETUP and press
ENTER
to display the AV Receiver
(AVR) Learn screen. See figure 13.
When the AV Receiver Learn screen opens, the
highlight is on the check box for Input 1. The terms
Input 1–Input 4 are generic references to the A/V
receiver inputs for which the TV can learn IR codes.
4. In this example, the IR code for the A/V receiver’s
TV
Audio
input will be “learned” as Input 1.
Press
ENTER
on the TV’s remote control and while the
text Input 1 is flashing, press and hold the
TV INPUT
key
on the A/V receiver’s remote control.
5. When a check appears in the check box, release the
TV INPUT
key.
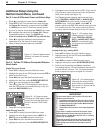
Additional Setup Using the
NetCommand Menu, continued
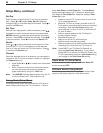
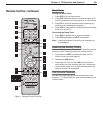
A/V Receiver Audio Inputs
(numbers 1–4 refer to the IR learning sequence in this screen)
Text Boxes for You to Enter the
Name of the Destination A/V
Receiver Audio Input
A/V Receiver Key Commands
the TV Can Send to the A/V
Receiver When “Learned”
Figure 13. The AV Receiver (AVR) Learn screen lets you
set up NetCommand control of your A/V receiver.
6. Press to highlight the text box for Input 1. To enter
a name:
• Use on the TV’s remote control to select a
character.
• Press
ENTER
to set the letter and move the highlight
to the next letter.
• To delete a letter, highlight it and press CANCEL
or press to insert a blank space (underscore
character).
• To return the highlight to the first character,
repeatedly press
CANCEL
.
• To return to the default name, highlight the first
character and press
CANCEL
.
7. Press to highlight the check box for Input 2. In
this example, the IR code for the A/V receiver’s
DVD
Audio
input will be “learned” as Input 2.
8. Press
ENTER
on the TV’s remote control and while the
text Input 2 is flashing, press and hold the
DVD INPUT
key
on the A/V receiver’s remote control.
9. When a check appears in the check box, release the
DVD
key.
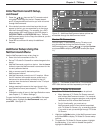
10. Press to highlight the text box for Input 2. Enter
the name DVD. Use to enter the name TV.
Press
ENTER
to set each letter.
11. Repeat steps 7 through 10 for any additional A/V
receiver inputs connected to other devices.
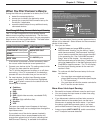
Figure 14. Assign names
to identify “learned” A/V
receiver audio inputs
IMPORTANT
All audio from what you are watching on
the TV is always available as an output on
both the TV’s AUDIO OUT LEFT/RIGHT and
DIGITAL AUDIO OUT jacks.
To use the surround sound capabilities of your
A/V receiver however, you must connect your
DVD player, satellite receiver, or cable box
directly to the A/V receiver, as surround sound
may not be available from the TV’s audio output.