10
R
EMOTE
C
ONTROL
A
NYWHERE
! K
IT
3-30V
AC/DC
STATUS
IN
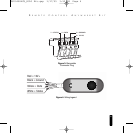
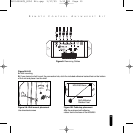
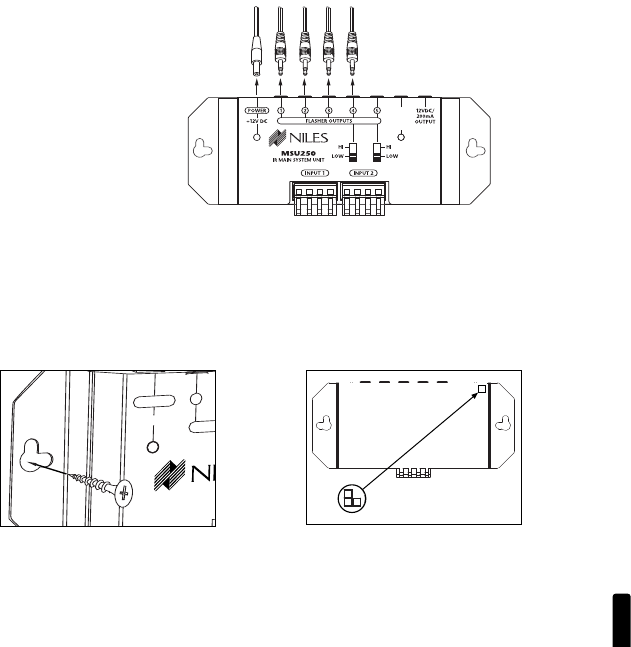
Figure 8: Removing Cables
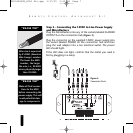
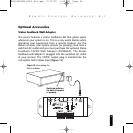
Figure 9A & B
A:
Wall mounting
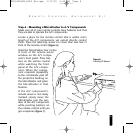
B: If you desire to shelf mount the connection hub, stick the included adhesive backed feet on the bottom
of the unit and place it on the shelf
Figure 9B: Table-top placement
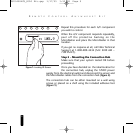
Affix the enclosed self-adhesive
rubber feet to the base of the MSU250
Self-Adhesive
Rubber Feet
1
2
3
4
POWER
+
12V D
C
3-30V
AC/DC
STA
TUS
IN
FLASHER OUTPUTS
MS
U14
0
IR MAIN SYSTEM UNIT
INPUT 1
Figure 9A: Wall-mount placement
Use sheetrock screws
MSU250 Base
DS00408ACN_RCA3 Kit.qxp 1/17/05 3:52 PM Page 10


