


5-5 L6650EA
8. H. Position Adjustment
Purpose: To obtain correct horizontal position of
screen image.
Symptom of Misadjustment: If H. Position is incor-
rect, horizontal position of image on the screen may
not be properly displayed.
Note: Use service remote control unit
1. Operate the unit for at least 20 minutes.
2. Enter the Service mode. (See page 5-1)
3. Receive the monoscope pattern.
4. Press "8" button on the remote control unit.
"H-P" is indicated.
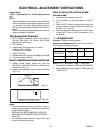
5. Press "CH o/p" buttons on the service remote
control unit so that the monoscope pattern will be
90±5% of display size and the circle is round.
6. Turn the power off and on again. (Main power but-
ton on the TV unit.)
9. V. Size Adjustment
Purpose: To obtain correct vertical width of screen image.
Symptom of Misadjustment: If V. Size is incorrect, vertical
size of image on the screen may not be properly displayed.
Note: Use service remote control unit.
1. Operate the unit for at least 20 minutes.
2. Enter the Service mode. (See page 5-1)
3. Receive the monoscope pattern.
4. Press "9" button on the service remote control unit
and select "V-S" mode. (Display changes "V-S" and
"V-P" cyclically when "9" button is pressed).
5. Press "CH o/p" buttons on the service remote
control unit so that the monoscope pattern will be
90±5% of display size and the circle is round.
6. Turn the power off and on again. (Main power but-
ton on the TV unit.)
10. V. Position Adjustment
Purpose: To obtain correct vertical width of screen
image.
Symptom of misadjustment: If V. Position is incor-
rect, vertical height of image on the screen may not be
properly displayed.
Note: Use service remote control unit
1. Operate the unit for at least 20 minutes.
2. Enter the Service Mode. (See page 5-1)
3. Receive the monoscope pattern.
4. Press "9" button on the service remote control unit
and select "V-P" mode. (Display change "V-S" and
"V-P" cyclically when "9" button is pressed).
5. Press "CH o/p" buttons on the service remote
control unit so that the top and bottom of the mono-
scope pattern will be equal of each other.
6. Turn the power off and on again. (Main power but-
ton on the TV unit.)
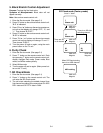
11. U-Pedestal Adjustment
1. In VIDEO mode of V1, V2, or YUV, press "3" button
on the service remote control unit and select "U-
PED" mode. (Display changes "U-PED" and "V-
PED" cyclically when "3" button is pressed).
2. Switch the VIDEO mode to YUV. (Refer to “2. Initial
Setting.”)
3. To select one appropriate value in "0" to "15,"
press "CH o / p" buttons on the remote control
unit.
4. Switch the VIDEO mode to previous mode.
5. Turn the power off and on again. (Main power but-
ton on the TV unit.)
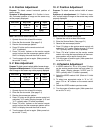
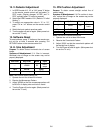
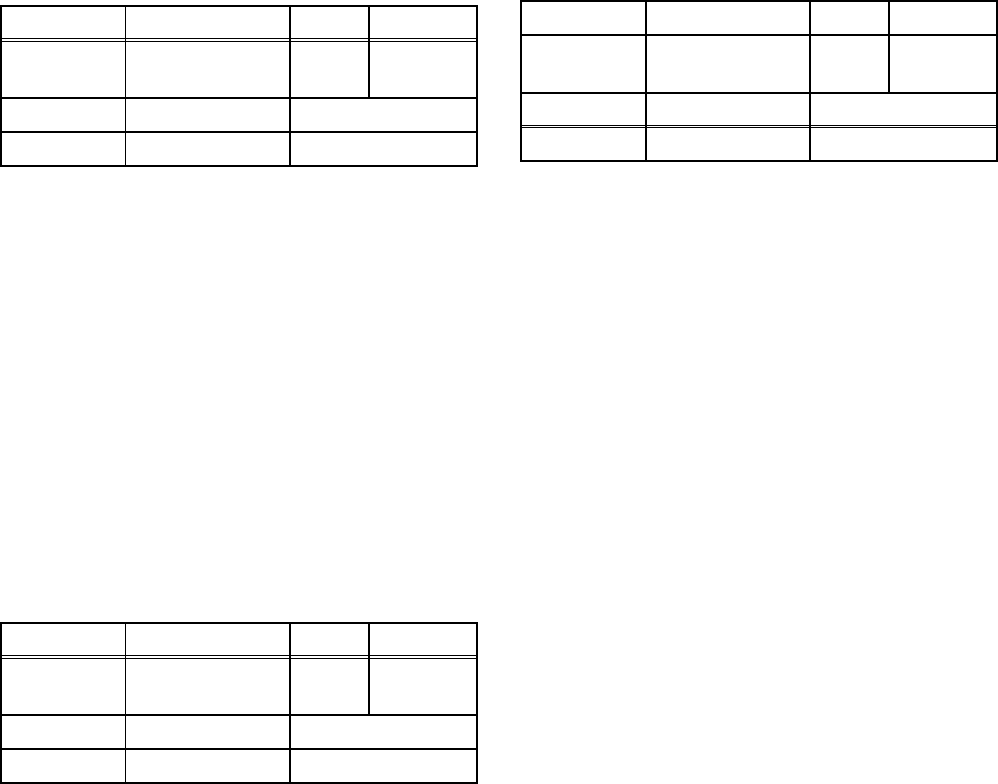
Test Point Adj. Point Mode Input
---
CH o / p
buttons
RF
Mono-
scope
Tape M. EQ. Spec.
--- Monoscope 90±5%
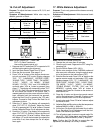
Test Point Adj. Point Mode Input
---
CH o / p
buttons
RF
Mono-
scope
Tape M. EQ. Spec.
--- Monoscope 90±5%
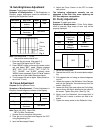
Test Point Adj. Point Mode Input
---
CH o / p
buttons
RF
Mono-
scope
Tape M. EQ. Spec.
--- Monoscope See below.