7
Getting Start ed
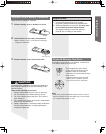
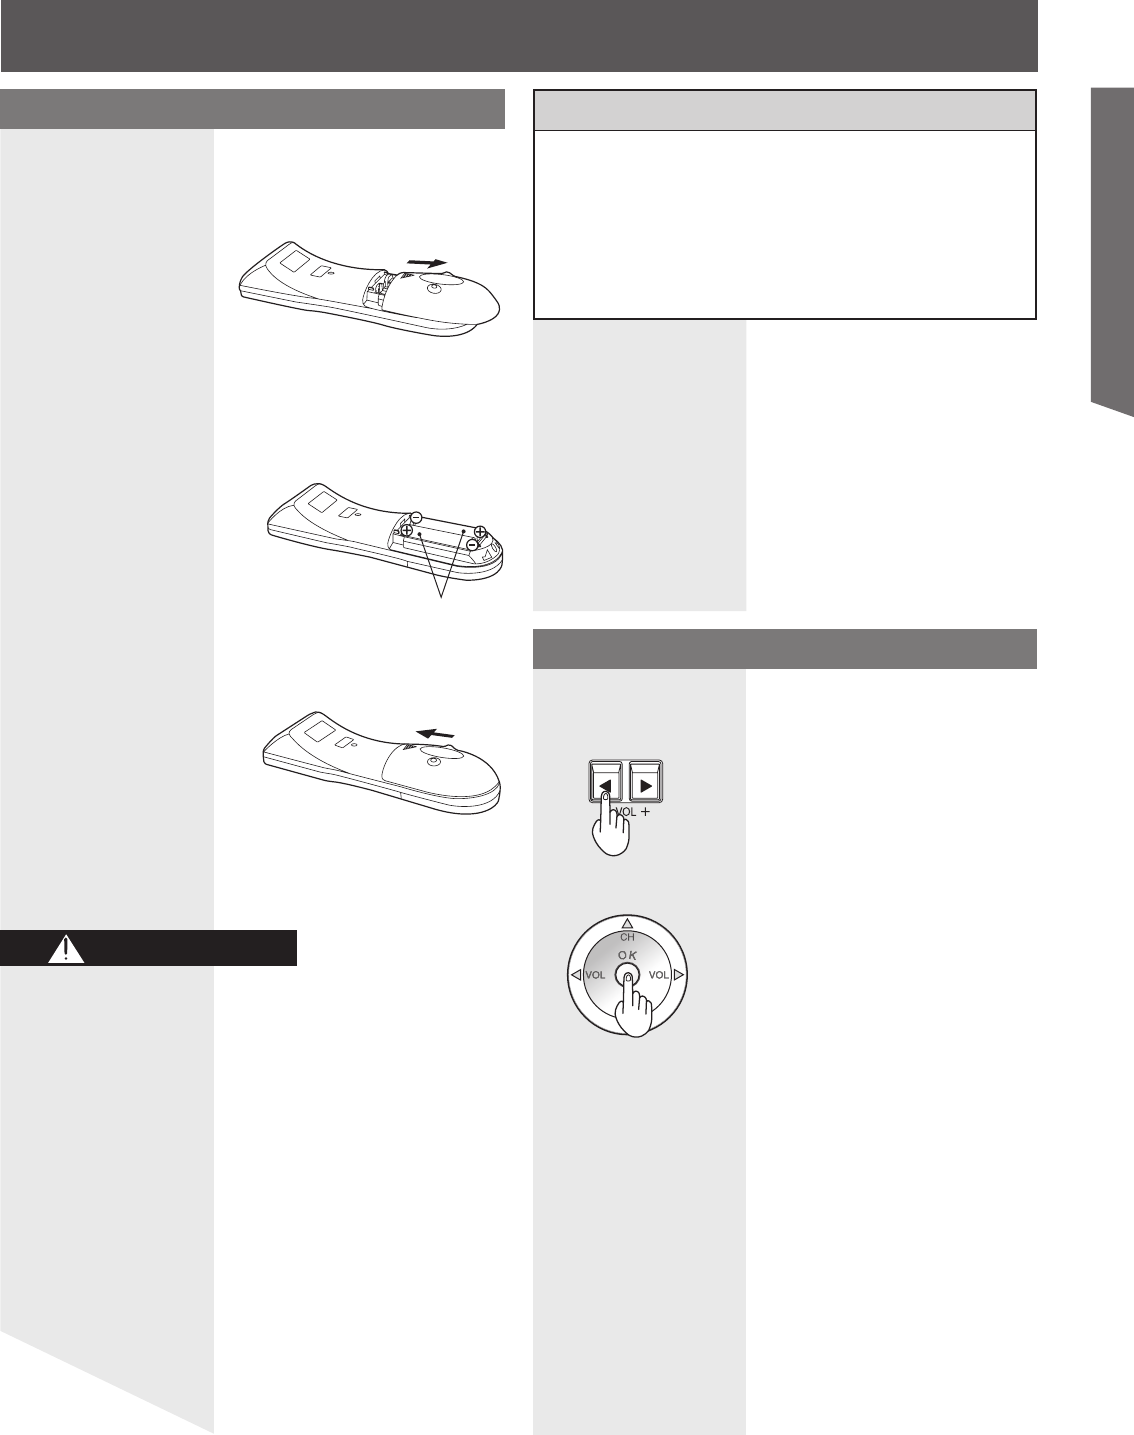
Requires two AA batteries (supplied).
2. Install batteries in the battery compartment.
• Battery polarity (+) and (-) must match the markings
inside the compartment.
Two AA size
Remote Control Battery Installation
1. Slide the battery cover in direction of arrow.
3. Slide the battery cover until it snaps shut.
Incorrect battery installation can cause the batteries to
leak, leading to personal injury and/or damage to the
Remote Control.
Observe the following precautions:
1. Always replace batteries with a pair of new ones.
2. Do not combine a new battery with an old one.
3. Do not mix battery types (example: “Zinc Carbon”
with “Alkaline”).
4. Do not attempt to charge, short-circuit, disassemble,
heat or burn used batteries.
5. Battery replacement is necessary when the Remote
Control acts sporadically or stops operating the
Projection Display set.
Helpful Hints:
(1) Frequent Remote Control users, choose
long-lasting Alkaline batteries as replacements.
(2) Whenever batteries are removed, you may need
to reset Remote Control infrared codes.
We suggest making a note of the codes on
page 58 prior to setting up the remote.
Reset All Memory Functions
Use when moving unit to a new location, or when First
Time Setup needs to be done over.
Press together the VOL- button
on the unit and OK button on the
Remote Control for more than
3 seconds. Unit shuts itself off when
reset is done.
• POWER indicator flashes red. After
flashing stops, unplug the unit then
plug it back in and turn power ON.
CAUTION
Note:
• When using “Control with HDMI (HDAVI Control)”, with the
device connected, set “Ctrl with HDMI” first to “Off” and then
“On” using the Setup Menu. (p. 56)


