


6
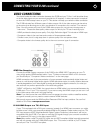
UNPACKING YOUR D 200 AND PLACEMENT GUIDELINES
Unpacking Your D 200
Carefully unpack your D 200 from its shipping carton and locate all the enclosed accessories:
•
Remote control, two AAA batteries
•
AC power cord
•
Combination cord for two channel audio and composite video
While you are unpacking your D 200, inspect it thoroughly for possible shipping damage and
tell your Parasound dealer right away if you find any. If possible, save and store both the inner
and outer cartons and–most especially–the foam packing inserts, so you can use them to protect
the D 200 if you have to move it or ship it. You can flatten the cartons to save room in storage
by cutting the taped seams on the bottom flaps.
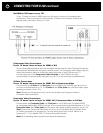
Placement Guidelines
The D 200 will be easy to use and will last longer if you follow these simple guidelines:
•
Place the D 200 on a shelf that will adequately support its weight.
•
Unless you’ll control the D 200 through a remote infrared sensor/repeater system, pick a shelf
where you can aim the remote control handset directly at the D 200. (If you do use remote
repeater sensors, be sure the remote’s signals can’t reach both the IR repeater’s sensor and the
unit’s front-panel sensors at the same time.)
If you’re installing the D 200 yourself, use cables that are long enough to leave at least two feet
of slack; that will enable you to pull the D 200 out of the cabinet to check or change connections
without inadvertently disconnecting cables. If you’re putting the D 200 in a cabinet, make sure
there’s grab space on each side; with a space that’s at least 22 inches wide, you’ll be able to turn
it around for access to its rear panel connections.
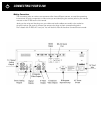
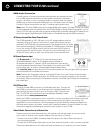
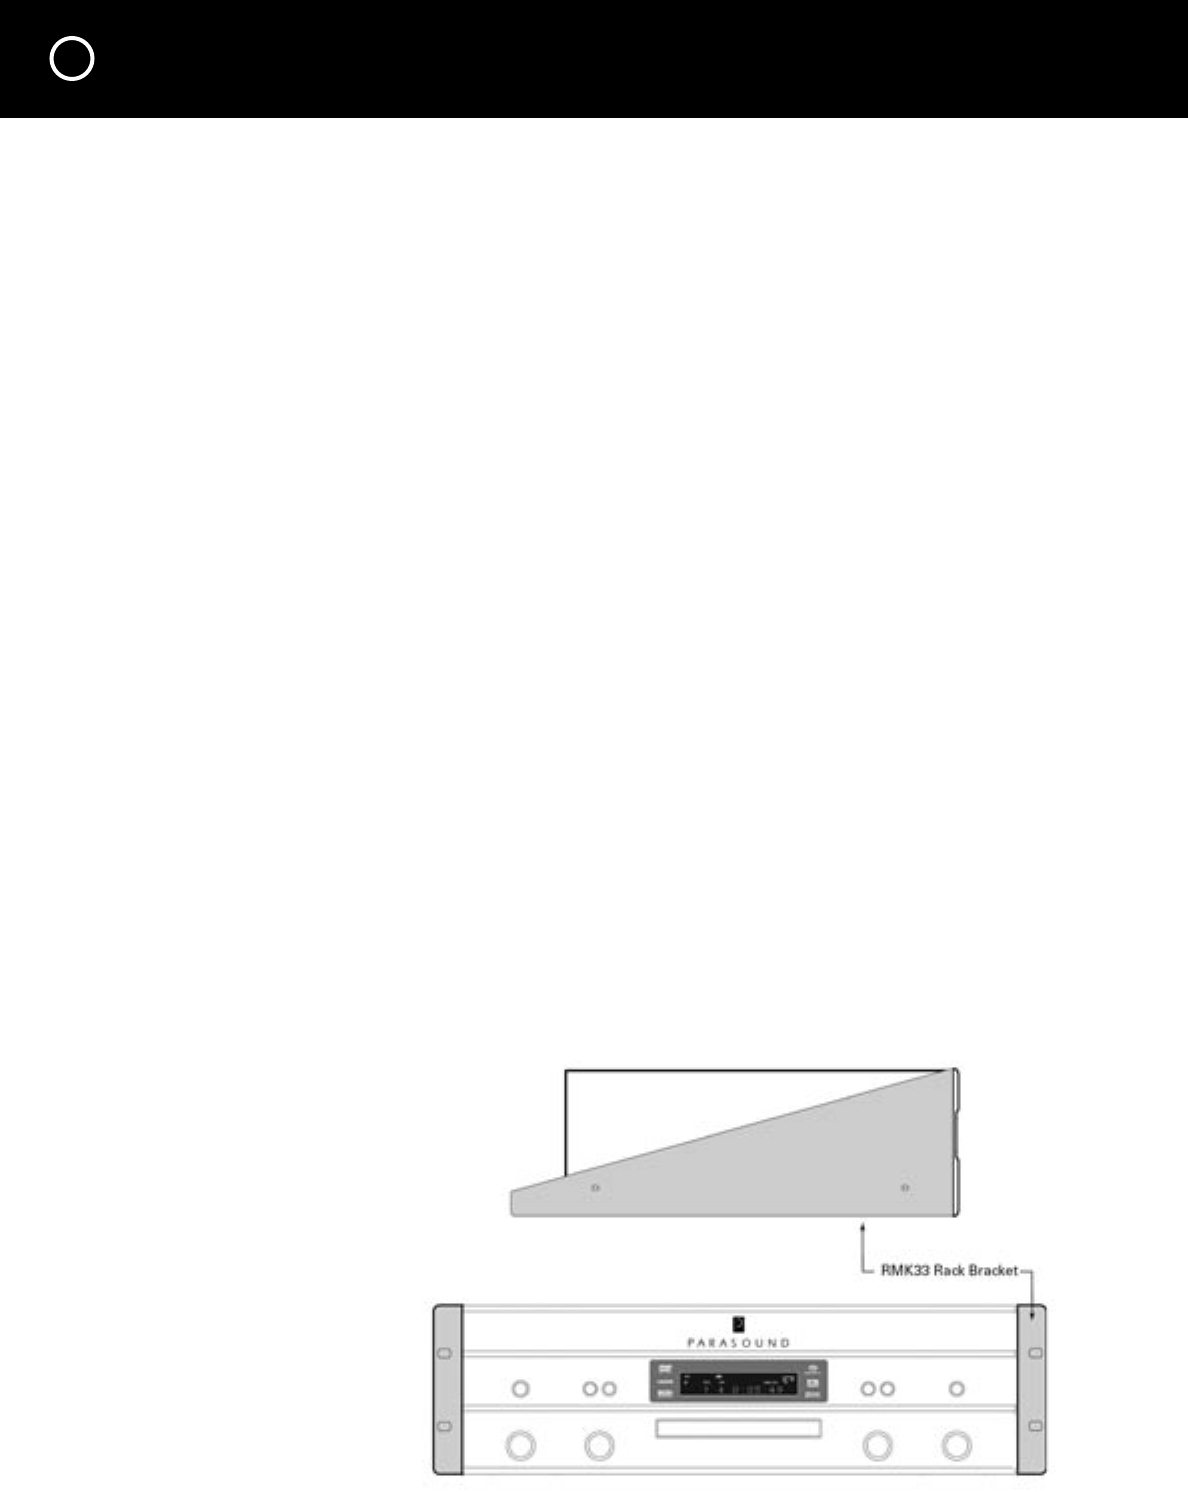
Rack Mounting Your Parasound D 200
With its four feet removed, the D 200’s front panel height occupies three rack spaces (5
1
⁄4” or
133 mm—a single standard rack space occupies 1
3
⁄4” vertical space.) For mounting in a standard
19” equipment rack, you must use the Parasound RMK33 rack mount kit (purchased separately).
The RMK33 includes four bolts and eight plastic washers with raised “shoulders.”
Slide one washer onto each mounting bolt with its raised shoulder pointing toward the panel hole.
Carefully insert the bolt through the hole and slide the other washer on the bolt with its raised
shoulder facing the rear side of the panel. The washers will sandwich the D 200 panel and the
four mounting bolts to prevent metal-to-metal contact between the Model D 200 chassis, the
equipment rack, and the other components mounted in the rack.
Note: Tighten each bolt just
enough to keep the unit secure
in the rack to avoid deforming
the shoulder washers.