


58 C2602M-A (6/06)
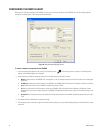
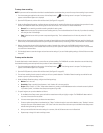
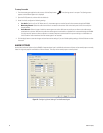
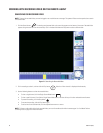
To set up live audio
1. From the remote agent application main screen, click the Setup button if the Settings screen is not open. The Settings screen
appears and the Remote Agent tab is displayed.
2. Open the DVR System tab, and then click the Audio tab.
3. Under Live Audio, configure the following settings:
• Live Audio: Set this to On or Off. When set to On, the remote agent can receive live audio from cameras through the DX4000.
• Monitoring Channel: Select the audio channel that is connected to the camera. Refer to the back panel of the unit to verify the
channel number.
• Audio Network: Select the type of audio the remote agent can receive. With one-way audio you can listen to the audio stream
associated with a camera. With two-way audio the remote agent can send audio to a speaker that is connected through the DX4000.
You might use this feature to allow an operator at a remote computer to communicate with a person waiting at a locked door or a
similar situation. Audio transmitted from the remote agent is not recorded.
4. Click the Apply button to save the changes and continue to other settings. If you are finished updating settings, click the OK button to close
the screen.
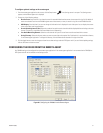
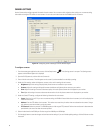
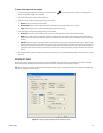
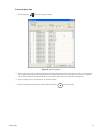
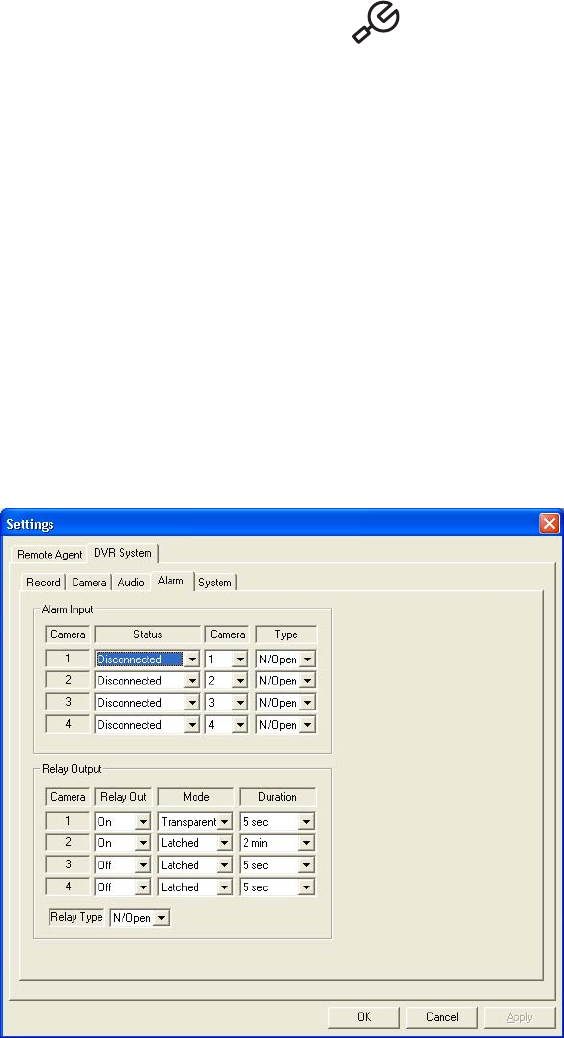
ALARM SETTINGS
Use the Alarm tab to set up alarms for the DX4000. A separate alarm input is available for each camera. Alarms can be normally open or normally
closed. A single relay output is available for all of the cameras. This relay can be normally open or normally closed.
Figure 72. Configuring Alarm Settings From the Remote Agent