


68 C2602M-A (6/06)
To save a snapshot
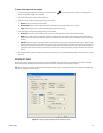
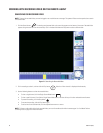
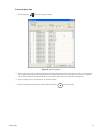
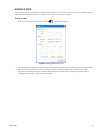
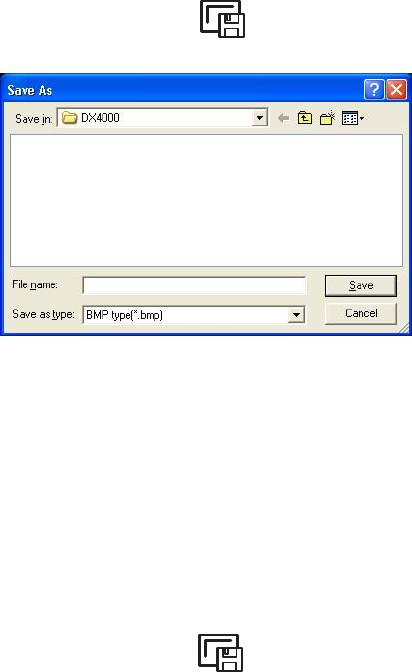
1. While viewing recorded video, click the Save Image button . The Save as... dialog box appears.
Figure 81. Saving a Snapshot
2. Enter a name for the snapshot, and select a file type. Options are BMP type (bmp) and JPG type (jpg).
3. Click the Save button. Unless you changed the default directory, the file is saved in the default directory C:\Program Files\Pelco\DX4000.
To save the snapshot in a different directory, click the Browse button next to the “Save in” field before you click Save. To use a different
default directory permanently, click the Setup button, open the Remote Agent Settings screen, and then select a different saving directory.
Refer to Configuring the Remote Agent on page 50 for more information.
4. To view the image file, open it with any viewer program. If you were viewing video in Quad mode, the snapshot will contain all four videos.
To save a snapshot of a single video, switch to Single-Screen Mode before you save it.
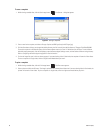
To print a snapshot
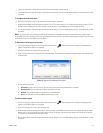
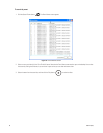
1. While viewing recorded video, click the Print Image button . The Print screen appears.
2. Select a printer and click the OK button. The image is printed on the selected printer. Note that if you were viewing video in Quad mode, the
printout will contain all four videos. To print a snapshot of a single video, switch to single-screen mode before you print it.