C2968M-A (10/09) 11
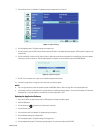
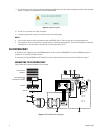
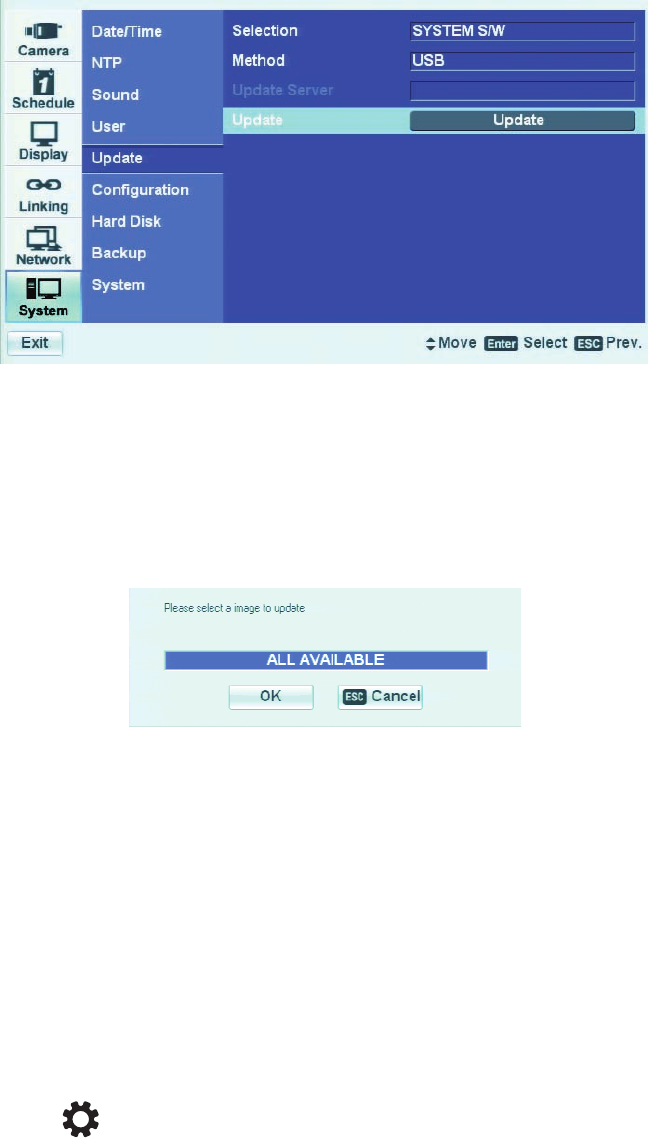
5. From the System menu, click Update. The Update settings box appears (refer to Figure 3).
Figure 3. Update Settings
6. Click the Update property. The Update settings box changes color.
7. On the front panel, press the SHIFT button, and then press the SET button. The Update dialog box appears. “MTD by default” appears in the
image text box.
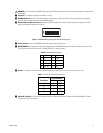
8. Click ALL AVAILABLE, and then click OK (refer to Figure 4). When the system locates the update file on the USB drive, the system updates
the firmware, software, and kernel. After the update process is complete, you are prompted to restart the DX4500/DX4600.
Figure 4. Update Dialog Box
9. Click OK. The unit restarts and is ready for you to update the application software.
10. If necessary, repeat steps 1 through 9 to install more than one firmware update.
NOTES:
• Your unit might require more than one update to support the KBD300A. Refer to Table C on page 10 for the required update files.
• If the system cannot find a valid update file in the root directory, the following message appears: “Cannot find valid update file.” Make sure
the update file is in the root directory of the USB drive, and then repeat steps 7 and 8.
Updating the Application Software
1. Log on to the DVR at the administrator level. The DVR application window and toolbar appear.
2. Insert the USB device.
3. Click the Setup icon . By default, the Camera menu is selected.
4. Click the System menu.
5. From the System menu, click Update. The Update settings box appears.
6. Click the Method settings box to display USB.
7. Click the Update property. The Update settings box changes color.
8. Click the Update settings box. The following message appears: “Do you want to update the DVR S/W?”


