14 C2968M-A (10/09)
INSTALLING THE KBD300A
To install the KBD300A keyboard:
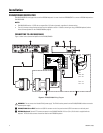
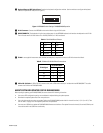
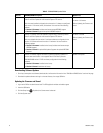
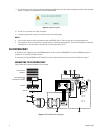
1. Attach the KBDKIT power supply to the RJ-45 wall block, but do not connect the power supply to a power source. Refer to Figure1 on
page 8 and Table A on page 9 for information about setting up the RJ-45 wall block for a DX4500/DX4600. Refer to Figure 6 on page 12 and
Table D on page 13 for more information about setting up the RJ-45 wall block for DS ControlPoint.
NOTE: Do not connect the PV140 power supply. The PV140 receives power from the DX4500/DX4600 or the computer (depending on the
installation) and does not need a separate power supply.
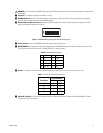
2. Wire the RX-, RX+, TX-, and TX+ terminals from the PV140 to the RJ-45 wall block using a user-supplied interconnect cable (shielded
twisted pair). Refer to Figure 1 on page 8 and Table B on page 9 for correct wiring information for DX4500/DX4600. Refer to Figure 6 on
page 12 and Table E on page 13 for correct wiring information for DS ControlPoint.
3. Connect the RJ-45 wall block power supply to a power source.
4. Use the USB to RS-232 converter cable to connect the PV140 to the computer.
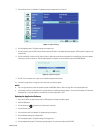
5. Set up the KBD300A operation mode and address:
a. On the KBD300A back panel, remove the two Phillips screws and the DIP switch cover.
b. Set the keyboard to operate in CM6700 ASCII mode. Set switch 7 to the ON position (down) and set switch 8 to the OFF position (up).
c. Set switches 1 to 5 to the OFF position (up) and set switch 6 to either the ON or OFF position.
d. Reinstall the DIP switch cover.
6. Connect one end of the data cable to the RJ-45 wall block and the other end to the keyboard.


