


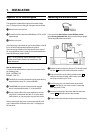
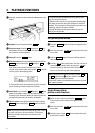
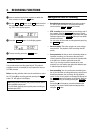


1 Insert a cassette into the video recorder or switch the
video recorder on with the P q button.
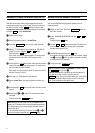
2 Use the P r or P q button or the 0-9 buttons to select
the programme number from which you wish to record,
e.g. ’P 01’. In the display appears:
BBC1
3 Press the RECORDn button. In the display appears:
0:00
4 To stop recording, press the STOP h button.
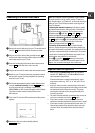
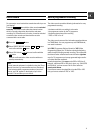
Long play function
You can reduce the recording speed by half. This makes it
possible to record, for example, 8 hours instead of 4 hours on
an ’E240’ cassette.
Before recording, with the video recorder switched on, select
the ’LP’ (=LongPlay) recording speed by pressing the SP/LP
button. ’LP’ will appear in the display.
Note: During picture scanning, still picture and slow motion
colour playback may be poor.
* You will obtain the best picture quality when recording at
standard speed (’SP’).
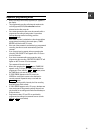
Some general notes for recording
• Recording from external sources: Programme numbers
’E1’ and ’E2’ are provided for recording from external
sources (via the EXT.1 or EXT.2 scart socket).
• OTR - recording: If you do not want to record to the end of
the cassette, press the RECORDn button again. The dis-
play shows at what time the recording will stop. With each
subsequent press of the RECORDn button you can add 30
minutes to this time.
You can return to the normal recording status by pressing
the CLEAR(CL) button.
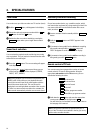
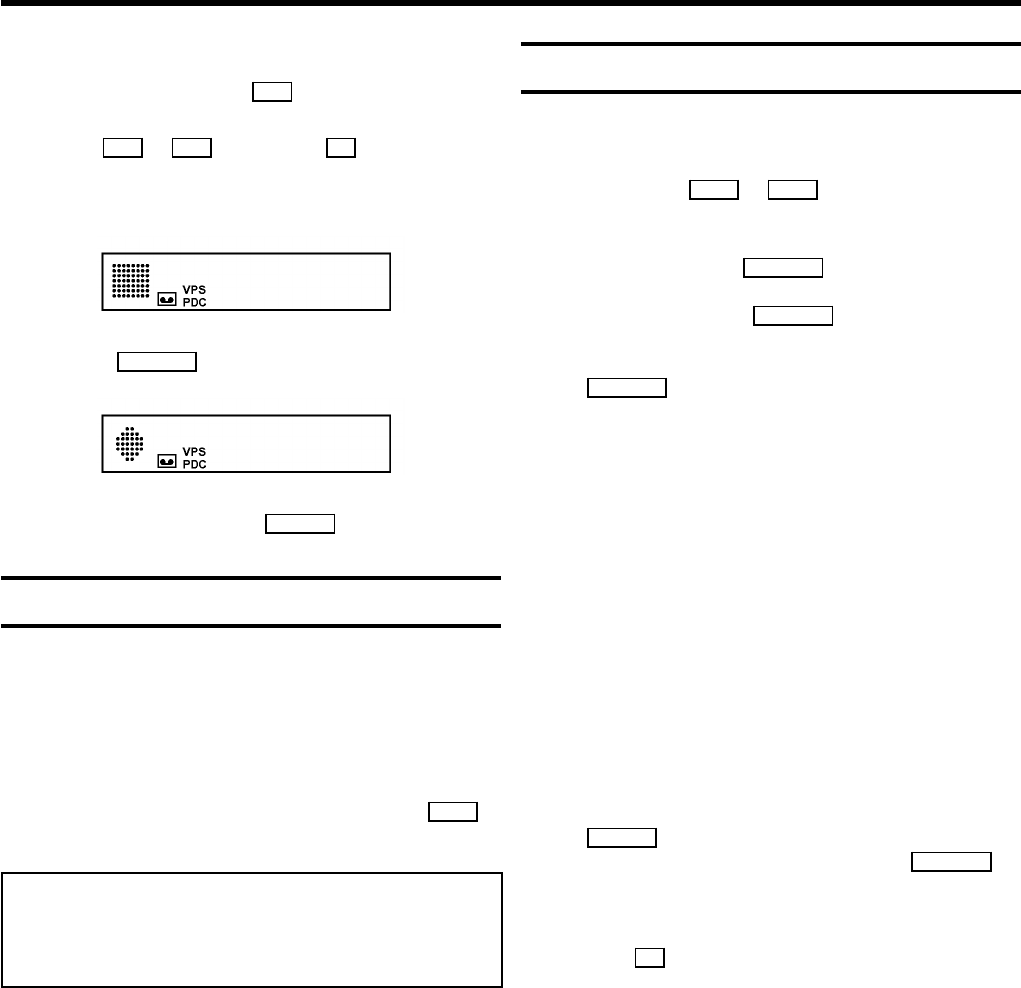
• Stereo reception: This video recorder can record stereo
transmissions. The playback of HiFi recordings has HiFi
quality.
• Erase protection: So that you don’t accidentally delete an
important recording, you can remove the special tab
(erase protection) on the narrow side of the cassette with
a screwdriver or slide the special tab to the left.
Later, if you no longer want the cassette to be erase
protected, you can seal the gap again with adhesive tape
or slide the special tab to the right.
• Auto-assembling: You can use the auto-assembling func-
tion to join individual recordings without any major picture
disturbance between the recordings. During playback,
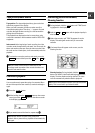
search for the correct position on the tape and then press
the STOP h button. 9will appear in the display. Now you
can start recording as usual by pressing the RECORD n
button.
During Stop hor Pause 9you can switch between the
display for TV channel identification and tape position,
using the OK button.
3. RECORDING FUNCTIONS
10