User Manual BDL4251V
39
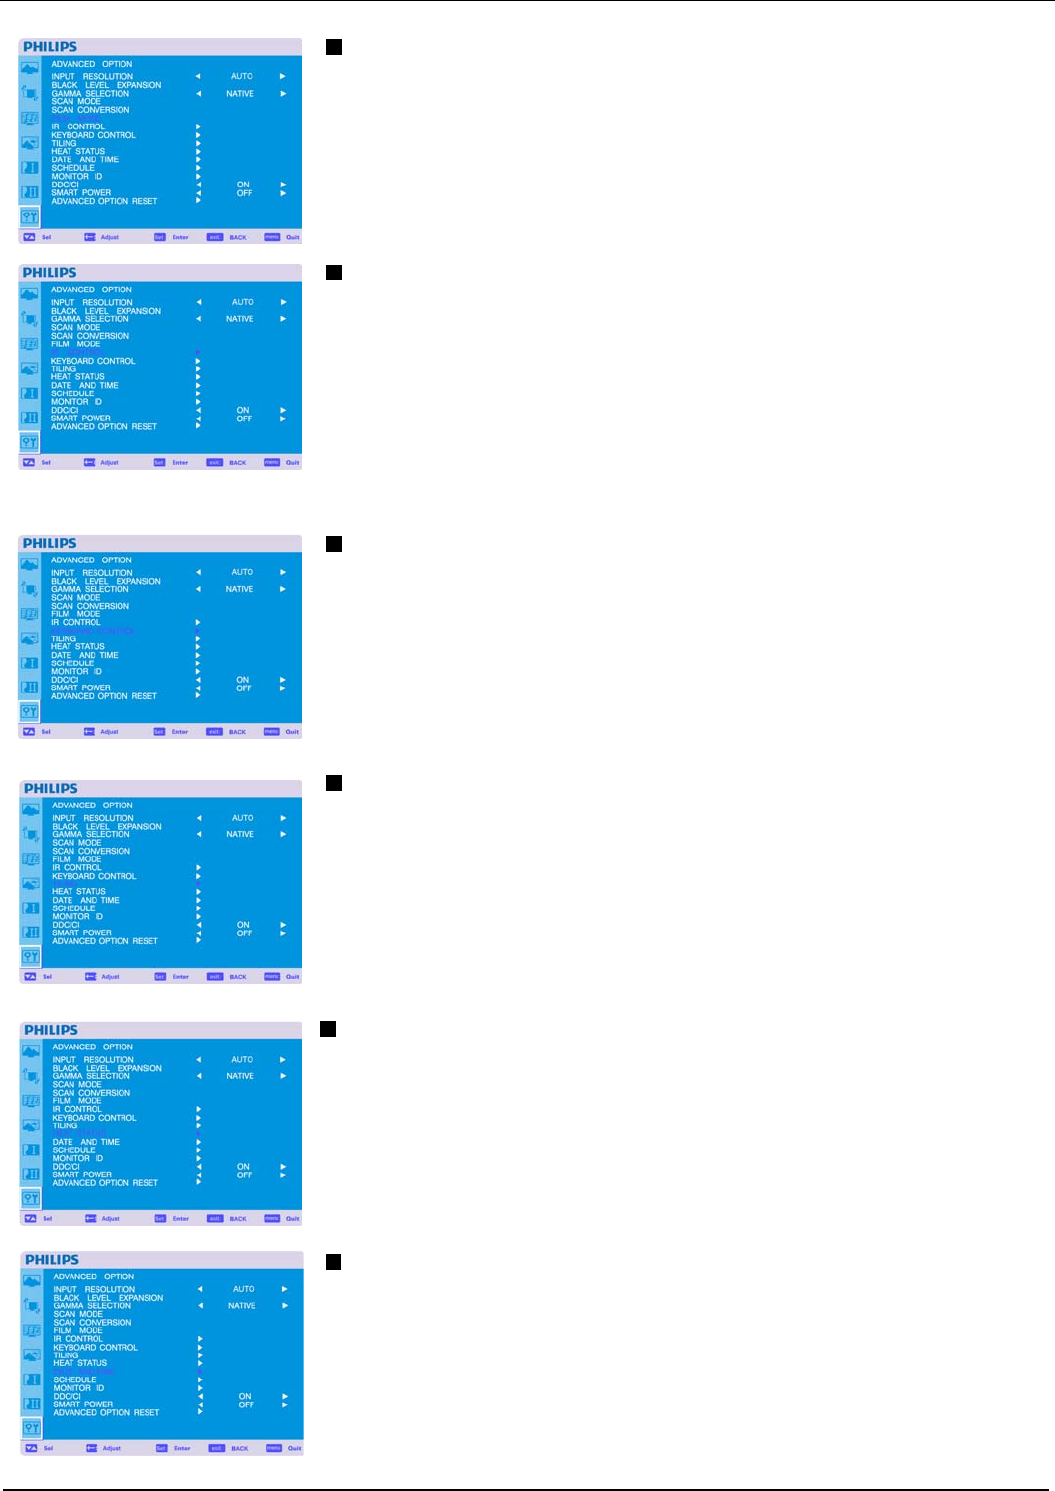
FILM MODE * : INPUT HDMI, DVI-D(MODE-HD), S-VIDEO, VIDEO only
Selects Film mode function.
AUTO: Enable the Film mode function. This mode is better suited for movies, which is converted 24
Frames/sec source to DVD Video. We recommend to select “PROGRESSIVE” in “SCAN CONVERSION”.
OFF: Disable the Film mode function. This mode is better suited for Broadcasting or VCR source.
IR CONTROL
Selects the operation mode of the remote controller when multiple BDL4251V monitors are connected via
RS232C.
The item in this menu will become effective by pressing “SET” button on the selected item.
NORMAL: The monitor will be controlled normally by remote controller.
PRIMARY: The first BDL4251V monitor of those multi-connected via RS232C is designated as PRIMARY.
SECONDARY: BDL4251V monitors other than the first one multi-connected via RS232C are designated
as SECONDARY.
LOCK: Disable the monitor control by infrared remote controller.
Keep pressing “DISPLAY” button during 5 sec or more, this setting will return to “NORMAL”.
KEYBOARD CONTROL
Selects the operation mode of the keyboard control.
Select “LOCK” to disable the keyboard.
Select “UNLOCK” to enable the keyboard.
TILING
TILING demonstrates multiple screens. This feature provides a single large screen using up to 25 monitors.
It will be able to divide up to 5 each H and V.
This requires you to feed the PC output into each of the monitors through a distributor.
H MONITORS: Select number of horizontal monitors.
V MONITORS: Select number of vertical monitors.
POSITION: Select a position to expand the screen.
FRAME COMP: Works in tandem with TILING to compensate for the width of the tile bezels in order to
accurately display the image.
ENABLE: Select “YES”, the monitor will expand the selected position.
PIP and STILL will be disabled when “TILING” is activated.
HEAT STATUS * : Disclamer: Heat sensor is indicative.
HEAT STATUS allows you to watch the thermal status at any time via the OSD menu and/or via RS232C
commands. The indicated temperature has a accuracy of 3 degrees (plus and minus).
Press “SET” button to enter the submenu to monitor the heat status.
Press “EXIT” button to cancel and then return the previous menu.
DATE AND TIME
Adjusts the current date and time for internal clock.
You should set this function when you use “SCHEDULE”.


