


18
Display Setting
Use markers to memorise your favourite places on a disc.
1
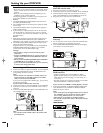
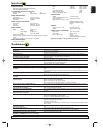
Press SYSTEM MENU in STOP mode.
2
Press B to select CUSTOM, then press OK.
• CUSTOM mode will appear.
3 Press s or B to select DISPLAY,then OK to confirm.
4 Press K or L to select the below items,then press OK.
TV Aspect :
Press K or L for an item selection,
then press OK.
Select 4:3 LETTER BOX for a black
bars appears on top and bottom of
the screen.
Select 4:3 PAN & SCAN for a full height picture with both sides
trimmed.
Select 16:9 WIDE if a wide-screen TV is connected to the
DVD/VCR.
The default setting is 4:3 LETTER BOX.
Angle Icon :
Press OK repeatedly to turn Angle icon ON or OFF.
The default setting is ON.
Auto Power Off :
Press OK repeatedly to turn Auto Power off ON or OFF.
The default setting is ON and it will turn the DVD/VCR to off
automatically after 35 minutes of no use.
5 Press SYSTEM MENU to exit.
Notes:
- Be sure to press SYSTEM MENU,or the setting will not
work.
- You can also choose the item by pressing the numbers.
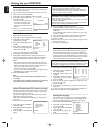
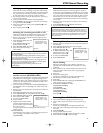
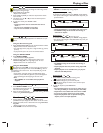
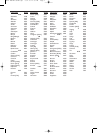
QUICK
DVD-V
DISPLAY
TV ASPECT
4:3 LETTER BOX
ANGLE ICON ON
AUTO POWER OFFON
Language Setting
Language options are not available with some discs.
1
Press SYSTEM MENU in STOP mode.
2
Press B to select CUSTOM, then press OK.
• CUSTOM mode will appear.
3 Press s or B to select LANGUAGE,then OK to confirm.
4 Press K or L to select the below items,then press OK.
AUDIO :
Sets the audio language.
SUBTITLE :
Sets the subtitle language.
DISC MENU :
Sets the language for DVD Menu.
PLAYER MENU :
Sets the language for the On-Screen display.
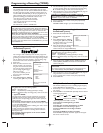
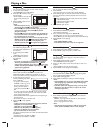
QUICK
DVD-V
DVD Setup
Audio Setting
Choose the appropriate Audio settings for your equipment as it
only affect during the playback of DVD discs of the DVD/VCR.
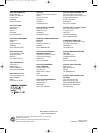
1 Press SYSTEM MENU in STOP mode.
2 Press B to select CUSTOM, then press OK.
CUSTOM mode will appear.
3 Press s or B to select AUDIO,then OK to confirm.
4 Press K or L to select the below items,then press OK.
DRC (Dynamic Range Control) :
To compress the range of sound volume.
The default setting is OFF.
Dolby Digital :
Set to ON when the player is connect-
ed to Dolby Digital Decoder.
(ON :Output by Dolby Digital)
(OFF :Convert the Dolby Digital to PCM)
The default setting is ON.
DOWN SAMPLING :
Set to ON when outputting in 48kHz.
The default setting is ON.
When playing disc with copyright Protection
• If you select OFF,copyright protection will be activated and
sound will be down sampled at 48kHz.
MPEG :
Set to ON when the player is connected MPEG Decoder.
(ON:Output by MPEG)
(OFF:Convert the MPEG to PCM)
• The default setting is OFF.
5 Press SYSTEM MENU to exit.
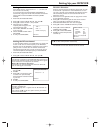
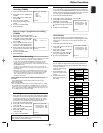
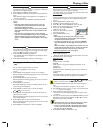
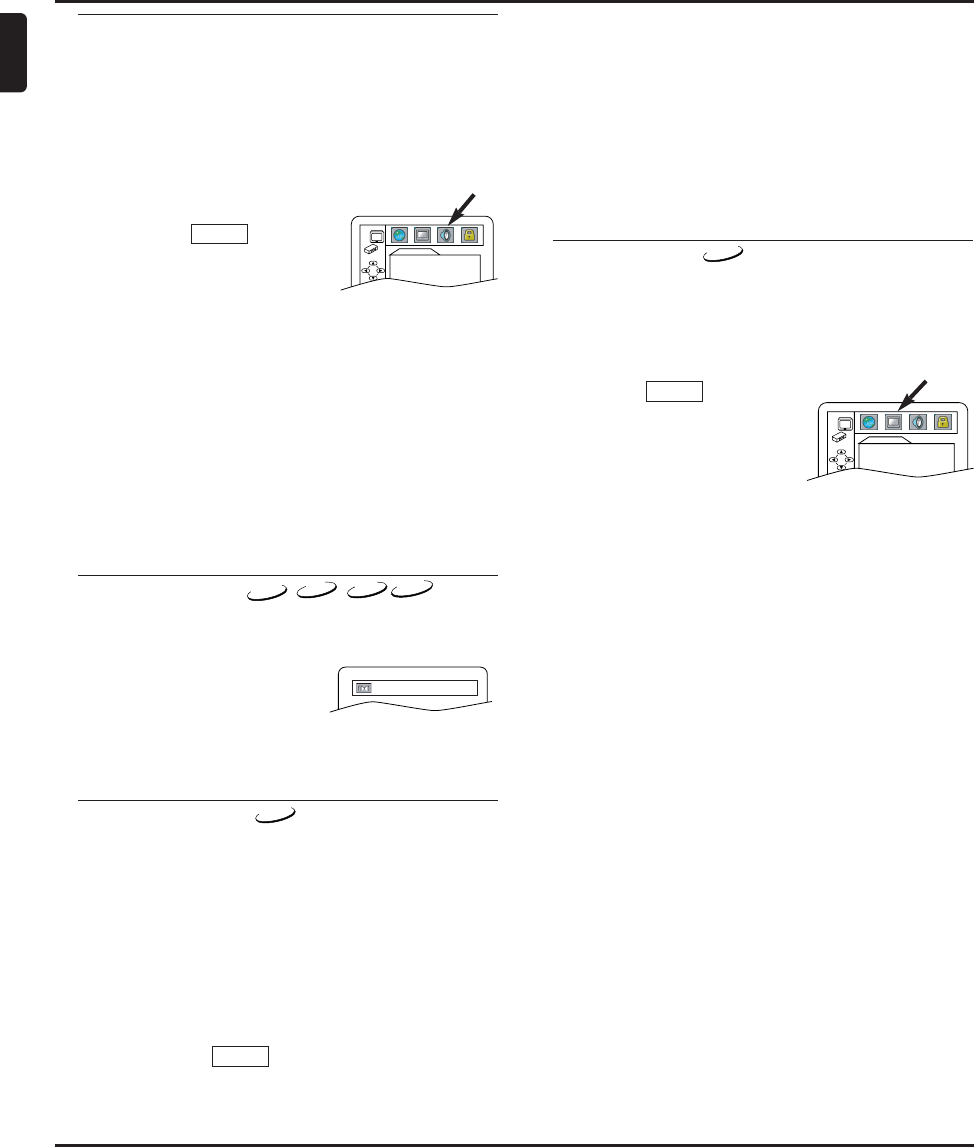
QUICK
AUDIO
DRC OFF
DOLBY DIGITAL ON
DOWN SAMPLING ON
MPEG OFF
Virtual Surround
You can enjoy stereophonic visual space on your existing stereo
system.
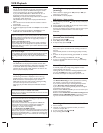
1 Press MODE during playback.
2 Press OK to set it 1(Natural effect),
2(Emphasized effect) or OFF.
3 Press MODE or RETURN to exit.
Note (for CD play only):
-
Virtual Surround will not be effective if the sound mode
is set to something other than STEREO.
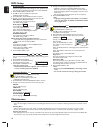
DVD-V
OFF
CD
MP3
VCD
Cleaning the Cabinet
• Use a soft cloth slightly moistened with a mild detergent solution.Do not use a solution containing alcohol,spirits, ammonia or abra-
sives.
Cleaning Discs
• When a disc becomes dirty,clean it with a cleaning cloth.Wipe the disc from the centre out.Do not wipe in a circular motion.
• Do not use solvents such as benzine, thinner,commercially available cleaners, or antistatic spray intended for analogue records.
Cleaning the disc lens
• After prolonged use, dirt or dust may accumulate at the disc lens.To ensure good playback quality,clean the disc lens with Philips CD
Lens Cleaner or any commercially available cleaner.Follow the instructions supplied with the cleaner.
Maintenance
English
5 Press K or L to select a setting,then press OK.
• If OTHER is selected in the AUDIO, SUBTITLE or DISC
MENU screen,press four-digit number to enter the code for
the desired language.(Refer to the language code list on back
inside cover).
• Only the languages supported by the disc can be selected.
6 Press SYSTEM MENU to exit.
Note:
- Language Setting for Audio and Subtitle is not available
with some discs.Then use AUDIO and SUBTITLE. Details
are on pages 16-17.