Getting started
04
20
En
Chapter 4
Getting started
Switching on and setting up
When you switch the recorder on for the first time, you
can make several basic settings using the Setup
Navigator. This takes you through setting the clock and
the internal TV tuner settings.
If you’re using the recorder for the first time, we strongly
recommend you use the Setup Navigator before starting
to use the recorder.
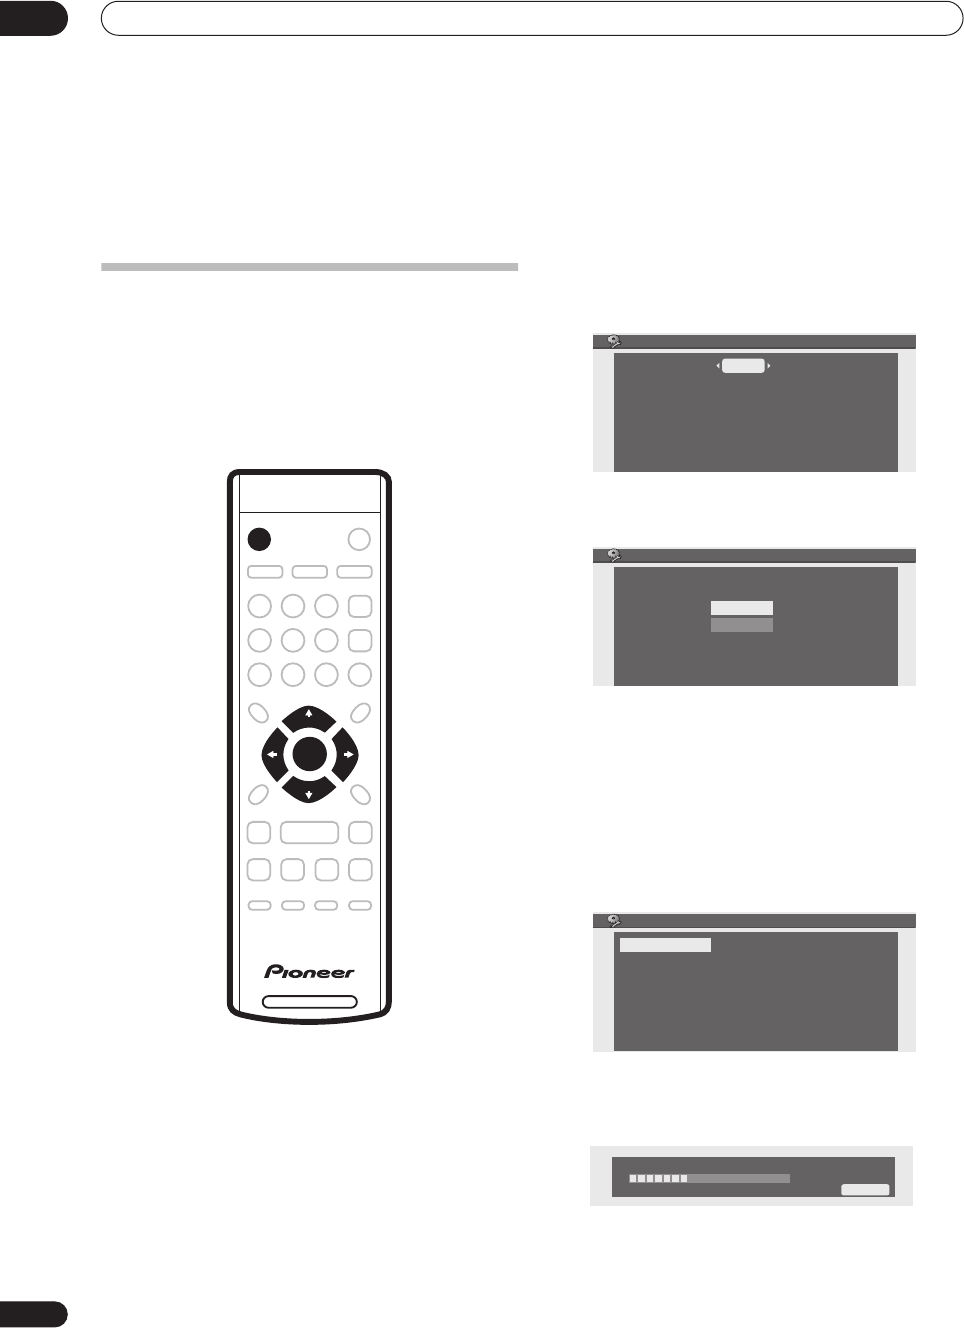
1 Switch on your TV and set the video input to this
recorder.
2 Press the
STANDBY/ON button on the remote
control or the front panel to switch on.
When you switch on for the first time, your TV should
display the Setup Navigator screen. (If the Setup
Navigator doesn’t appear, you can also access it from the
Initial Setup menu; see page 45).
3 Use the
/
(cursor left/right) buttons to select
English, French or Spanish as the on-screen display
(OSD) language, then press ENTER.
4 Press ENTER again to start setting up using the
Setup Navigator.
• If you don’t want to use the Setup Navigator, press
(cursor down) to select
Cancel
, then press
ENTER
to
exit the Setup Navigator.
5 Use the
/
(cursor up/down) buttons to select
‘Antenna’ or ‘Cable’ depending on how you receive
your terrestrial TV channels, then press ENTER.
You can also select
Do not set
if you don’t need the
recorder to retune all the channels (if you’re using the
Setup Navigator for a second time, for example).
After selecting
Antenna
or
Cable
the recorder starts
automatic tuning. This takes a couple of minutes to
complete.
DVD RECORDER
STANDBY/ON
ENTER
OSD Language
OSD Language
English
Complete this setup before you start using your recorder.
Please use the Initial Setup if you want to make more
detailed settings.
Start
Cancel
Setup Navigator
Tuner
Cable
Do not set
Antenna
Tuning
Please wait a moment.
20/68
Cancel
DVR-230_KU.book Page 20 Thursday, January 27, 2005 2:42 PM


