


Using with other equipment
10
46
En
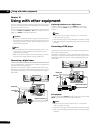
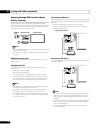
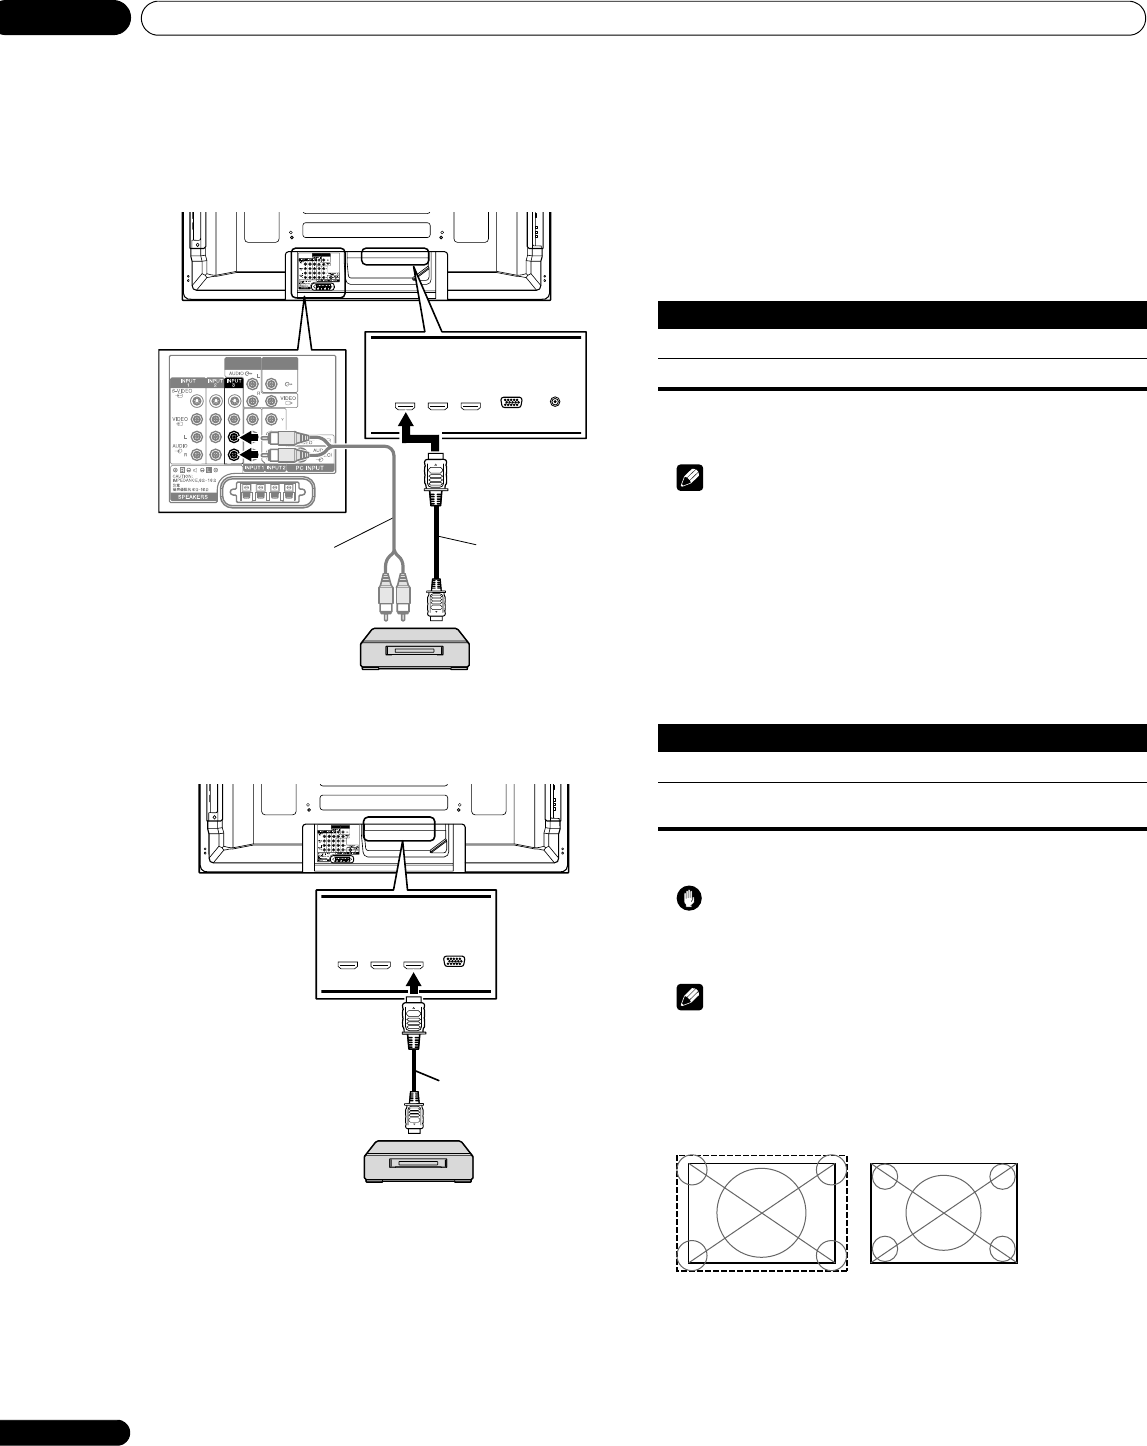
Connecting HDMI equipment
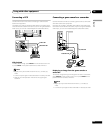
For INPUT 3, connect an HDMI cable for the video and (if
necessary) a stereo audio cable for analog audio. You can select
the audio and video format according to the device you’ve
connected – see below for more.
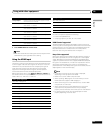
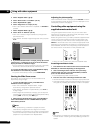
For INPUT 4 and INPUT 5, connect just an HDMI cable – this
carries both the audio and video signals (the illustration below
shows the connection to INPUT 5).
Activating the INPUT 3 HDMI terminal
1 Press HOME MENU.
2 Select “Option“ (/ then ENTER).
3 Select “HDMI Input“ (/ then ENTER).
4 Select “Setting“ (/ then ENTER).
5 Select “Enable“ (/ then ENTER).
6 Press HOME MENU to exit the menu.
Note
• You need not manually activate the INPUT 4 and INPUT 5 HDMI
terminals.
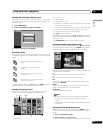
Specifying the type of input signals
1 Repeat steps 1 to 3 provided for Activating the INPUT 3
HDMI terminal.
2 Select “Signal Type” (/ then ENTER).
3 Select “Video” or “PC” (/ then ENTER).
4 Press HOME MENU to exit the menu.
Caution
• Make sure to select “PC” when a PC is connected to the HDMI
input terminal.
Note
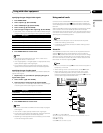
• In the “Video” mode, the image is “over-scanned” (enlarged),
and the mode is automatically switched to “PC” when PC
signals are received.
• In the “PC” mode, the image is displayed in full size for
optimum image quality.
MONITOR
OUT
SUB
WOOFER
MONITOR
OUT
SUB
WOOFER
HDMI device
HDMI compliant cable
(HDMI cable having the
HDMI mark)
Stereo audio
cable
(Rear view)
MONITOR
OUT
SUB
WOOFER
HDMI device
HDMI compliant cable
(HDMI cable having the
HDMI mark)
(Rear view)
Item Description
Disable (default) Deactivates the INPUT 3 HDMI terminal
Enable Activates the INPUT 3 HDMI terminal
Item Description
Video (default) Select this option except when a PC is connected
PC Select this option when a PC is connected to the HDMI
input terminal
when “Video” is selected
(“overscan” size screen)
when “PC” is selected
(“underscan” size screen)