9 Adjustments and Settings
36
En
* Dolby and the double-D symbol are registered trademarks of Dolby
Laboratories.
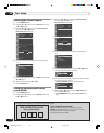
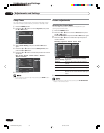
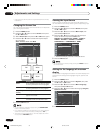
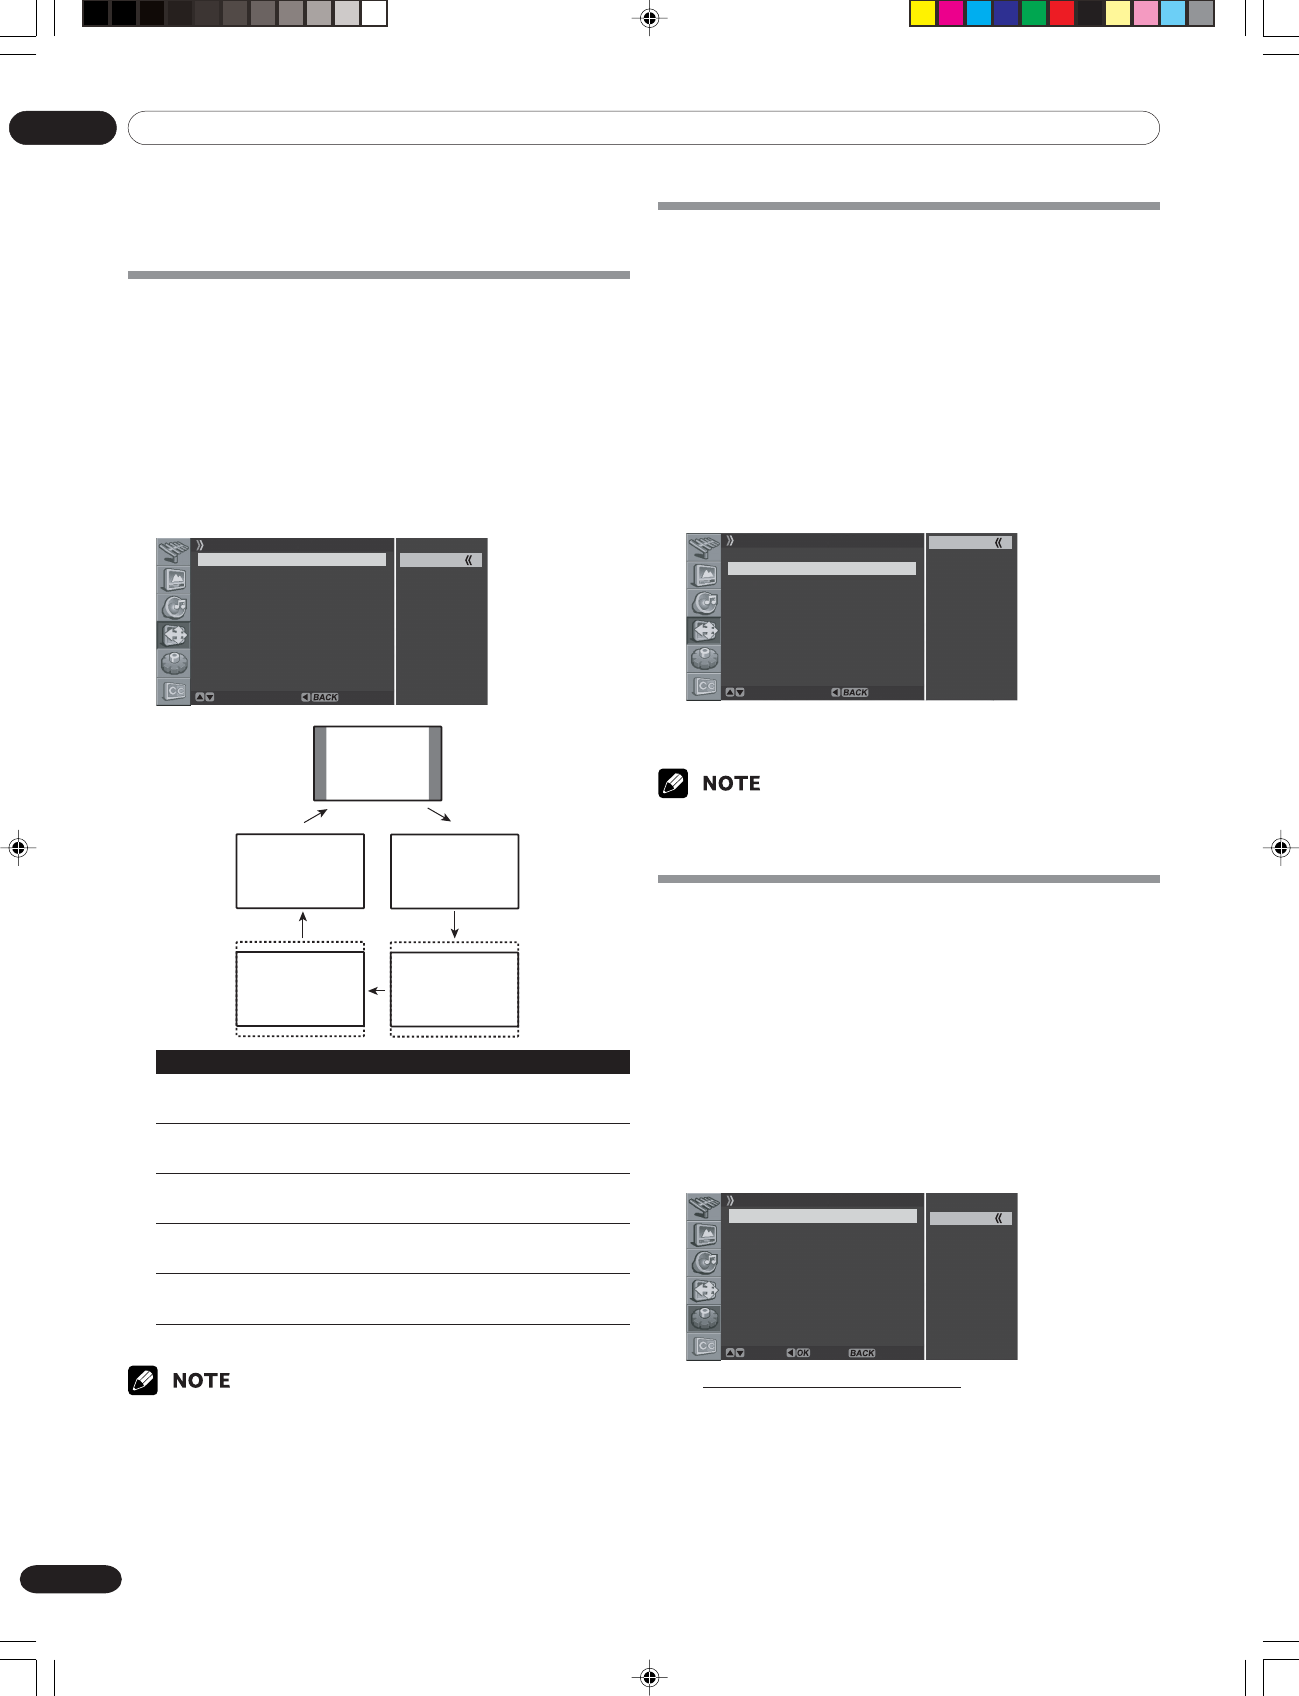
Changing the Screen Size
You can change the aspect ratio of the screen to correspond to
your viewing requirements.
1
Press the MENU button.
2
Press the c or d button to move to Screen, then press
the a or OK button.
3
Select Screen Size and press the a or OK button again.
4
Press the c or d button to select the required aspect
ratio as follows:
Zoom - Cinema - Full - 4:3 - Wide
Zoom
Cinema
Full
4:3
Wide
Screen
Screen Size Zoom
Main Input Analog TV
PIP/TWIN
Screen Saver
Adjust Return
4:3
Full
Cinema
Wide
Zoom
Item Description
Zoom For 16:9 letterbox pictures. Bars may appear
on the top and bottom with some programs.
Cinema For 14:9 letterbox pictures. Bars may appear
on the top and bottom on some programs.
Full (factory For 16:9 squeeze pictures.
default)
4:3 For 4:3 “standard” pictures. A side bar
appears on each side.
Wide In this mode pictures are progressively
stretched toward each side of the screen.
5
Press the EXIT button.
•You can select the modes by simply pressing the SCREEN SIZE
button on the remote control.
• If you watch High Definition TV broadcasting, you cannot select the
screen mode. (The Screen Size setting is always set to “Full”.)
•To enlarge 4:3 normal aspect ratio to 16:9 wide aspect ratio in DTV
mode, press the HD WIDE button.
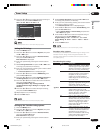
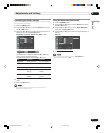
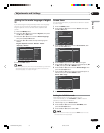
Viewing the Input Source
Once you have connected your audio and video systems, you
can view different sources by selecting the corresponding input.
1
Press the MENU button.
2
Press the c or d button to move to Screen, then press
the a or OK button.
3
Press the c or d button to move to Main Input, then
press the a or OK button.
4
Press the c or d button to select the required input
source as follows and press the OK button.
DIGITAL CH - ANALOG CH - VIDEO 1 - VIDEO 2 -
VIDEO 3 - S-VIDEO 1 - S-VIDEO 2 - S-VIDEO 3 -
COMPONENT 1 - COMPONENT 2 - HDMI
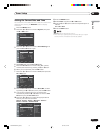
Screen
Screen Size Zoom
Main Input DIGITAL CH
PIP/TWIN
Screen Saver
Adjust Return
DIGITAL CH
ANALOG CH
VIDEO 1
VIDEO 2
VIDEO 3
S-VIDEO 1
S-VIDEO 2
S-VIDEO 3
COMPONENT 1
COMOPNENT 2
HDMI
• The Plasma Display switches to selected source.
5
Press the EXIT button.
•You can select the sources by simply pressing the INPUT button on
the remote control.
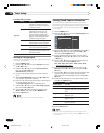
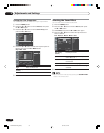
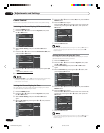
Setting for the language of on-screen
display
You can select a language to be used for on-screen display such
as menus from among three languages: English, Spanish and
French.
1
Press the MENU button.
2
Press the c or d button to move to System, then press
the a button or OK button.
3
Press the c or d button to move to Menu Language,
then press the a or OK button.
4
Press the c or d button to select the language (English,
Spanish or French).
English
Spanish
French
Move Enter Return
System
Menu Language English
Audio Language English
Clock Setting
Parental Control
• The factory default is “English”.
5
Press the EXIT button.
10-PDP42A3HD-Eng (32-38) 05.4.20, 4:31 PM36


