


26
En
Basic Adjustment Settings
08
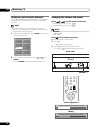
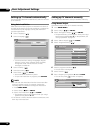
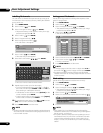
Labelling TV channels
You can name TV channels that you have set up, using up to
five characters. This may help you easily identify the channels
during selections.
1 Press HOME MENU.
2 Select “Setup” ( / then ENTER).
3 Select “Analogue TV Setup” ( / then ENTER).
• The password entry screen appears. Enter your 4-digit
password using buttons 0 – 9.
4 Select “Label” ( / then ENTER).
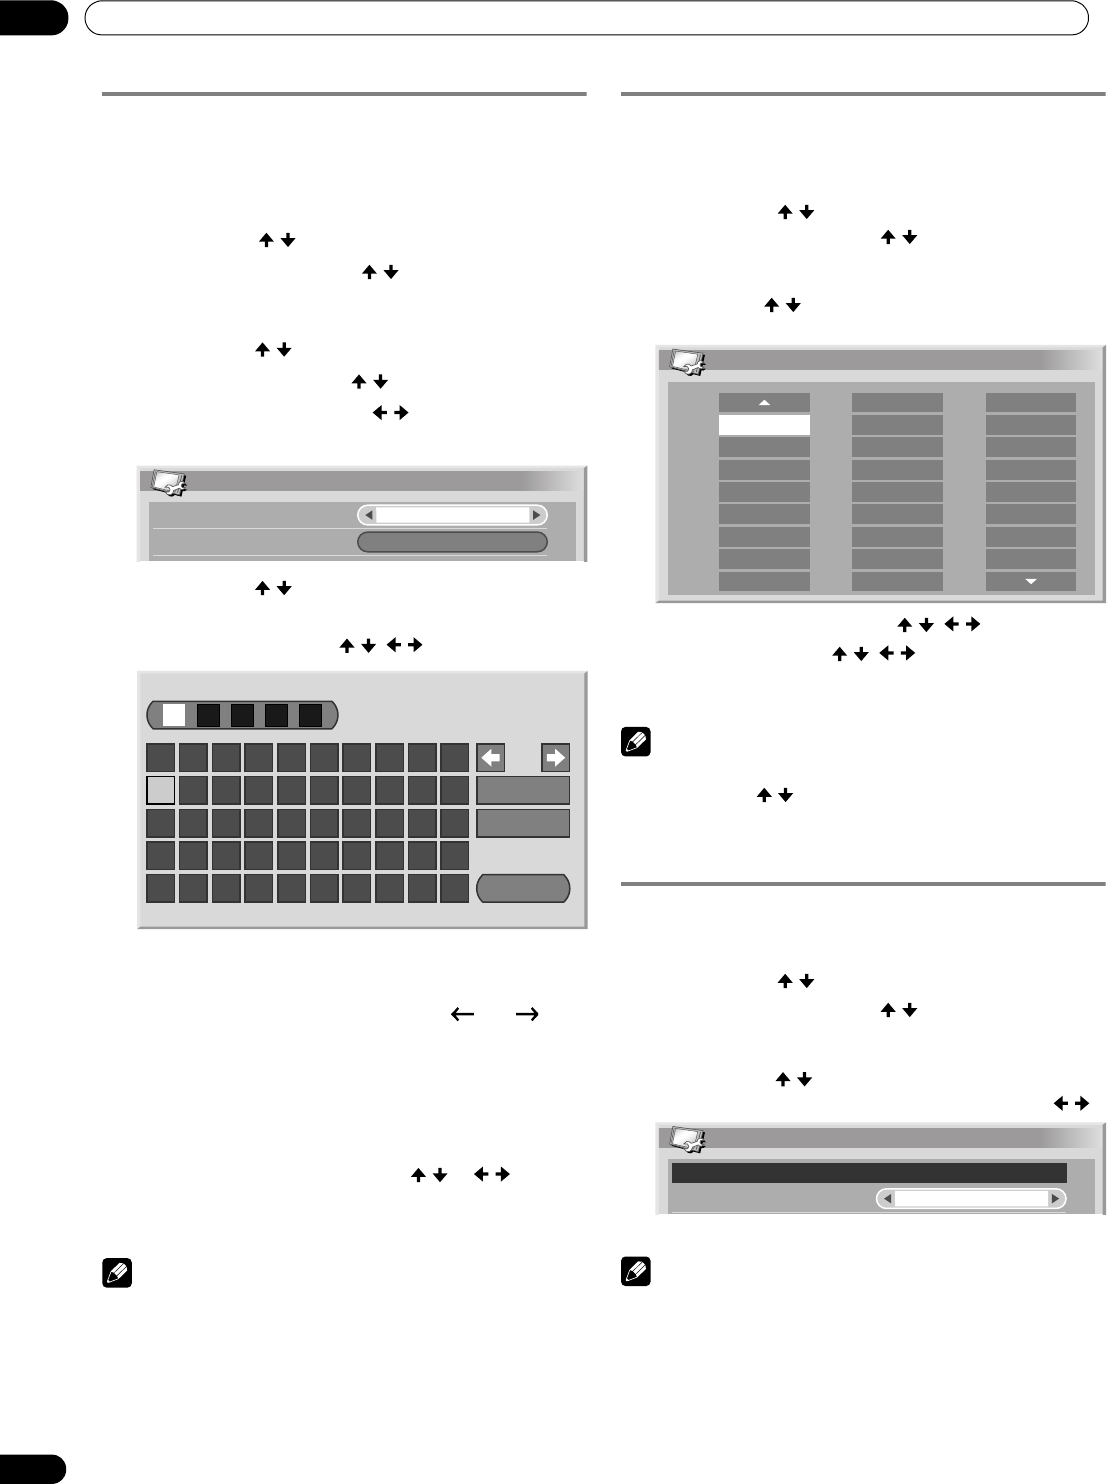
5 Select “Programme Entry” ( / ).
6 Select a programme number ( / ).
• You can select 1 through 99.
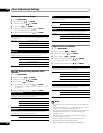
7 Select “Label” ( / then ENTER).
• The name entry screen appears.
8 Select the first character ( / , / then ENTER).
• The cursor moves to the second character.
9 Repeat step 8 to enter up to five characters.
• To correct entered characters, select [] or [] on
the screen, and then press ENTER. The cursor moves to
the preceding or subsequent character.
• To delete the current character, select [Delete] on the
screen, and then press ENTER.
• To put a space for the current character, select [Space]
on the screen, and then press ENTER.
10 To complete the name entry, press / or / to select
[OK] on the screen, and then press ENTER.
11 Press HOME MENU to exit the menu.
NOTE
• The above procedure transfers and sets the selected channel
information to the connected recording equipment such as
a VCR or DVD recorder.
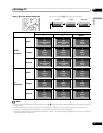
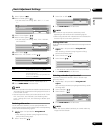
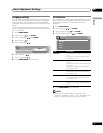
Sorting preset TV channels
Use the following procedure to change the sequence of the
preset TV programmes.
1 Press HOME MENU.
2 Select “Setup” ( / then ENTER).
3 Select “Analogue TV Setup” ( / then ENTER).
• The password entry screen appears. Enter your 4-digit
password using buttons 0 – 9.
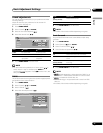
4 Select “Sort” ( / then ENTER).
• The sort screen appears.
5 Select a channel to be shifted ( / , / then ENTER).
6 Select a new location ( / , / then ENTER).
• Sorting is executed.
7 Press HOME MENU to exit the menu.
NOTE
• To change a page on the Sort screen in step 6, select
▲
/
▼
on
the screen with / to select a page, and then press
ENTER
.
• The above procedure transfers and sets only the shifted
channel information to recording equipment such as a VCR
or DVD recorder.
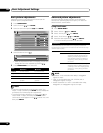
Clock setting
Use the following procedure to set the time correctly.
1 Press HOME MENU.
2 Select “Setup” ( / then ENTER).
3 Select “Analogue TV Setup” ( / then ENTER).
• The password entry screen appears. Enter your 4-digit
password using buttons 0 – 9.
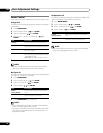
4 Select “Clock” ( / then ENTER).
5
Select a TV channel to be used for auto clock setting ( / ).
6 Press HOME MENU to exit the menu.
NOTE
• If the system fails to set the date and time through the
selected TV channel, the “Time & Date” entry screen appears.
Set the correct, current time.
• The system obtains and displays time by adding Universal
Coordinated Time (UTC) and Local Time Offset (LTO) data
received with broadcasting signals. If the system fails to
display a correct time, check with your local broadcasting
station.
Label
Label
Programme Entry
1
1234567890
A
Delete
Space
OK
BCDEFGH I J
KLMNOPQRST
UVWXYZ, . : ;
&' ()+-*/_@
Sort 1/4
AAAAA01
BBBBB02
CCCCC03
DDDDD04
EEEEE05
FFFFF06
GGGGG07
HHHHH08
IIIII09
10
11
12
13
14
15
16
17
RRRRR18
19
20
21
22
23
24
25
JJJJJ
KKKKK
LLLLL
MMMMM
NNNNN
OOOOO
PPPPP
SSSSS
TTTTT
UUUUU
VVVVV
WWWWW
XXXXX
YYYYY
QQQQQ
Clock
Clock Set Programme
1 ABCDE
02/07/2004 FRI 0:00