


6 Chapter 1
Graphics contained within this publication are for representation only.
Connections & Setup
v
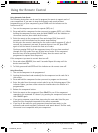
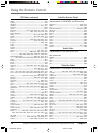
The Front of Your TV
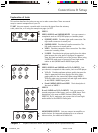
Front Input Jacks
The TV has front input jacks for your convenience: one set of
audio/video inputs, an S-Video and a headphone jack. These
jacks are towards the front of the TV on the side. To access
the component you connected to the front of the TV, press
the INPUT button on your remote until FRNT appears on the
screen. The jacks are ideal for connecting a video game
console or a camcorder.
Note: When connecting a component that only has one audio jack,
such as some camcorders, use the TV’s AUDIO L/MONO jack to hear
the audio.
H-PHONE Allows you to connect headphones to listen to
the sound coming from the TV.
L/MONO and R AUDIO Receives audio from another
component such as a VCR, camcorder, or video game console.
VIDEO Receives video from another component such as a
VCR, camcorder, or video game console.
MENU/OK
VOL
CH
CH
VOL
POWER
READY
ADVISORY
WATCH
WARNING
VIEW
MESSAGE
STOP
ALARM
HEAR
VOICE
L/MONO
AUDIO
VIDEO
R
H-PHONE
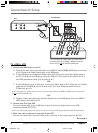
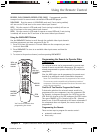
Front Panel Buttons
If you cannot locate your remote, you can use the front panel buttons of your TV
to operate many of the TV’s features.
MENU/OK Brings up the Main menu. In the menu system, it selects highlighted
items.
CH v Scans down through the current channel list. In the menu system, acts like
the down arrow button on the remote control and adjusts menu controls.
CH Scans up through the channel list. In the menu system, acts like the up
arrow button on the remote control and adjusts menu controls.
VOL < Decreases the volume. In the menu system, acts like the left arrow button
on the remote control and adjusts menu controls.
VOL > Increases the volume. In the menu system, acts like the right arrow button
on the remote control and adjusts menu controls.
POWER Turns the TV on and off.
Plug in the TV
Plug the end of the power cord into a grounded wall outlet. Insert the plug
completely into the outlet.
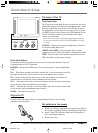
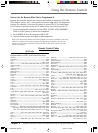
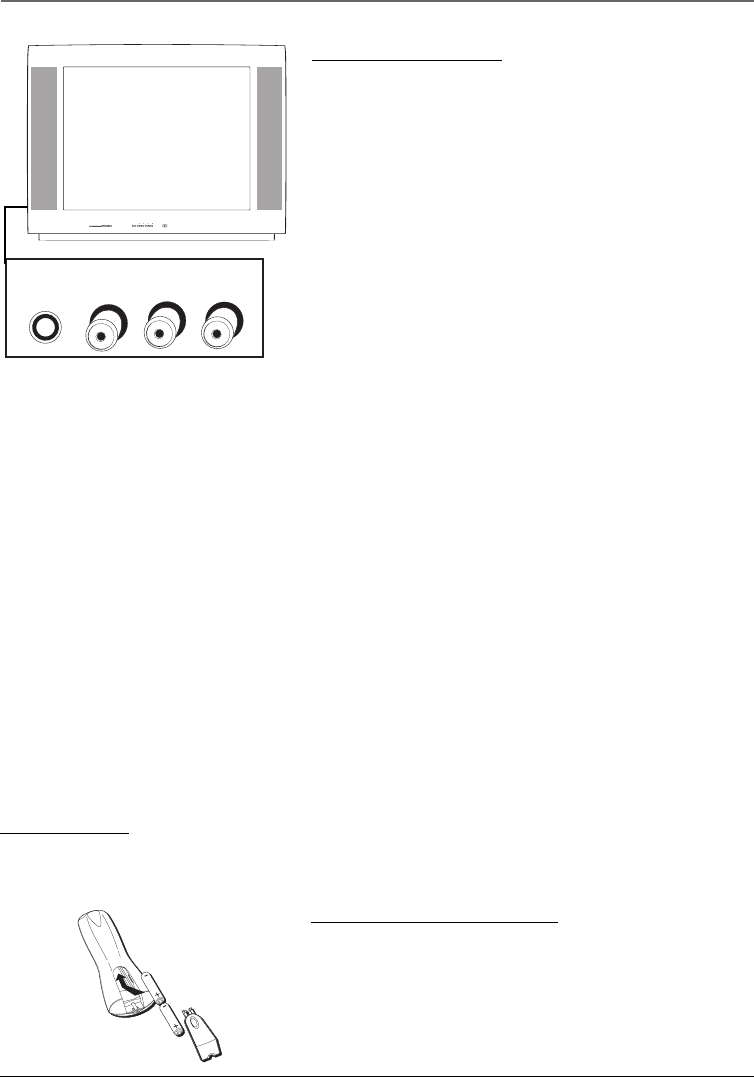
Put batteries in the remote
• Remove the battery compartment cover from the back of
the remote by pushing down on and sliding off the cover.
• Insert 2 fresh “AA” batteries. Make sure the polarities (+
and -) are aligned correctly.
• Replace the cover.
1616362B.01_C&S 4/22/04, 7:44 PM6