24
VCR Basics
Numbers (0 through 9) Select a channel up to 99 by pressing
two numbers. Select a cable channel over 99 by pressing and
holding 1 until 1 – – appears on the screen. Then press the other
two numbers.
ON•OFF Turns a compatible TV off and on.
VOL Up and Down Raises and lowers sound of TV.
Playing a Tape
1. Tune the TV to your VCR viewing channel (3, 4, or TV’s video
input- see page 68 for more about the video input channel).
Press the VCR button on the remote control to switch to VCR
viewing mode (The front panel display will indicate “VCR”).
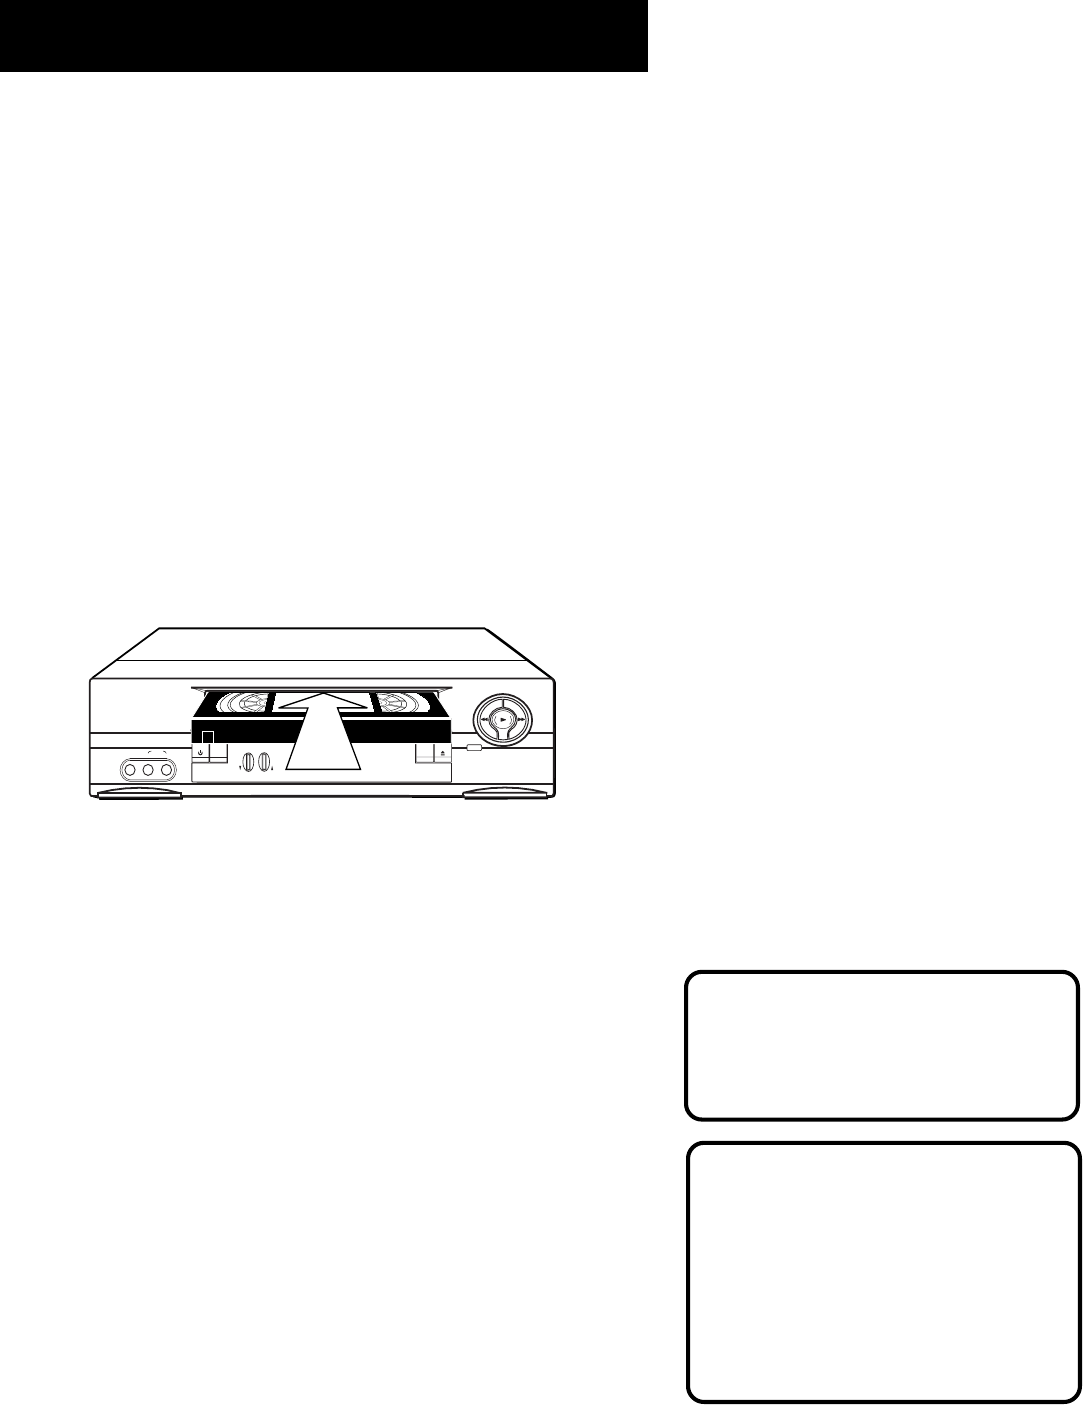
2. Insert a tape in the VCR.
If the Auto Play feature is set to ON, the tape automatically
begins playback (if the safety tab on the cassette is removed).
• Press FWD or REV to position the tape.
• Press PLAY PAUSE (if necessary) on the VCR (PLAY on remote)
to begin tape play.
• Press PLAY PAUSE (PAUSE on remote) for stop action.
• Press TRACKING up or down to remove any streaks from the
picture, if necessary.
• Press STOP•EJECT on VCR (STOP on remote) to stop playback.
Automatic Rewind
The VCR automatically rewinds the tape if it reaches the end of
the tape during playback. While rewinding, you can press
POWER on the VCR (ON•OFF on remote) and the VCR will turn
off after rewinding.
Automatic Tracking
The VCR has automatic tracking
which adjusts the picture when
playing back a tape recorded on
another VCR. Automatic tracking is
turned on whenever a tape is
inserted or the VCR’s power is
turned on.
Pause
If you pause, the VCR automatically
switches from pause to stop after a
few minutes to reduce tape wear.
REV
RECORD
INPUT
AUDIO
VIDEO
TRACKING
RIGHT
STOP•EJECT
TAPE SPEED
P
L
A
Y
P
A
U
S
E
FWD
TV•VCR
POWER
CHANNEL
LEFT MONO
