33
RECORDING
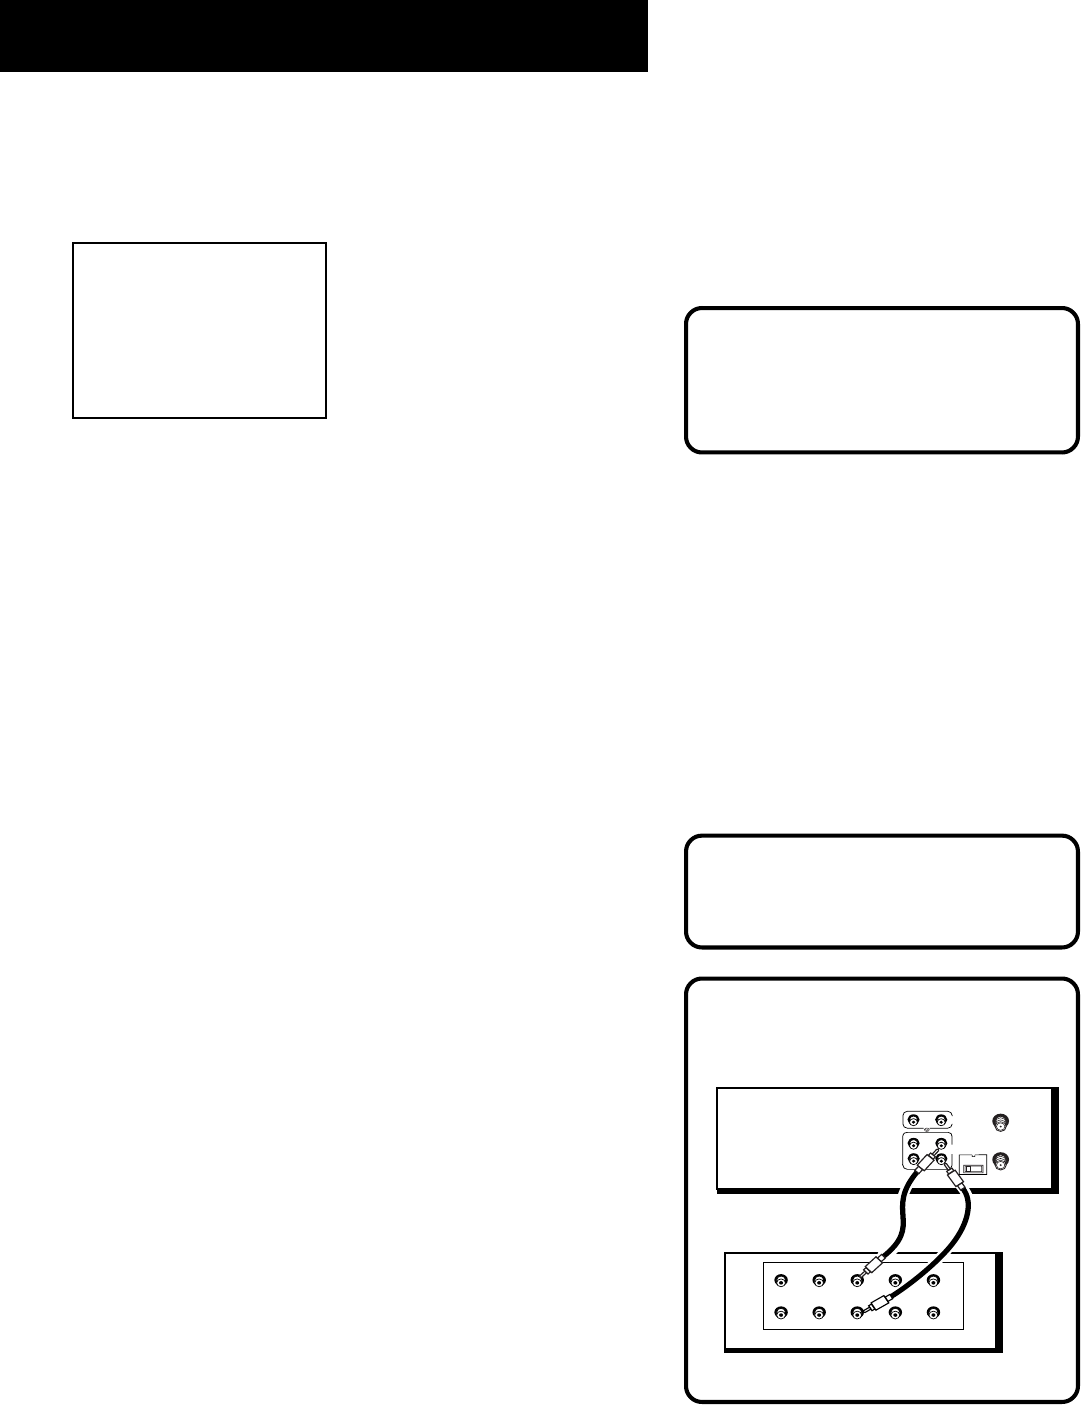
BACK OF AMPLIFIER / RECEIVER
PHONO TUNER TAPE
OUT IN
AUX
LEFT
RIGHT
BACK OF VCR
3 CH. 4
ANT. IN
RF OUT
VIDEO
AUDIO
OUT
IN
L
R
Audio Connection
Recording audio only will erase
anything that was previously
recorded on the tape.
5. Select the channel or line input to be recorded.
6. Set the Reception: STEREO/MONO/SAP feature for the type of
audio you want to record. See Other Features section.
AUDIO
1 Reception: STEREO
2 Tape Playback: HI-FI
0 Exit
7. Press RECORD to start recording.
8. Press STOP when you are finished.
Recording Audio Only
You can record audio only from another audio source connected
to the AUDIO IN (R and L) jacks on the back or front of the VCR.
1. Press the INPUT button on the remote to select the line
input (L1 or L2). Select (L1) to record from the back jacks or
(L2) to record from the front jacks.
The VCR will record audio from the audio equipment
connected to the AUDIO IN jacks.
2. Use TAPE SPEED on the VCR (SPEED on the remote) to select
the recording speed.
3. Start audio source playing and press RECORD to begin
recording.
4. Press STOP when you are finished.
Playing Back Audio Only
To get stereo sound, connect the AUDIO OUT jacks of the VCR to
the appropriate input on your amplifier or receiver. Do not use
the phono input. Refer to your amplifier or receiver user’s guide.
Using Two VCRs For Copying and
Editing Tapes
Use one VCR as the playback VCR and the other as the
recording VCR.
1. Connect the VCRs using the diagram at the right.
2. Turn on both VCRs and TV.
Video Input Channel Explained
If you’re having trouble understanding
the TV’s Video Input Channel, turn to
page 68 for more information.
Continued on Next Page
