Setting the Clock
Here are some things you should know before you set the clock:
• When you first plug in your VCR, the clock will read
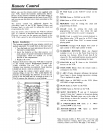
• The buttons for setting the clock are on the remote
hand unit.
• While you are setting the clock, the display on the
VCR will prompt you through the procedure.
• If you press a wrong digit, press CLEAR repeatedly
uniil the incorrect digit flashes, and then enter the
correct digit.
• If you enter an illogical time or date (13th month for
example), it is just rejected• Re-enter the correct digit.
• The clock must be set to the correct time before you
can program the timer for unattended recordings or
use Express Recording (XPR).
• If power is interrupted for an extended period, you
will have to reset the clock and re-enter your
programs in the timer.
I11
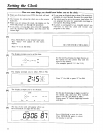
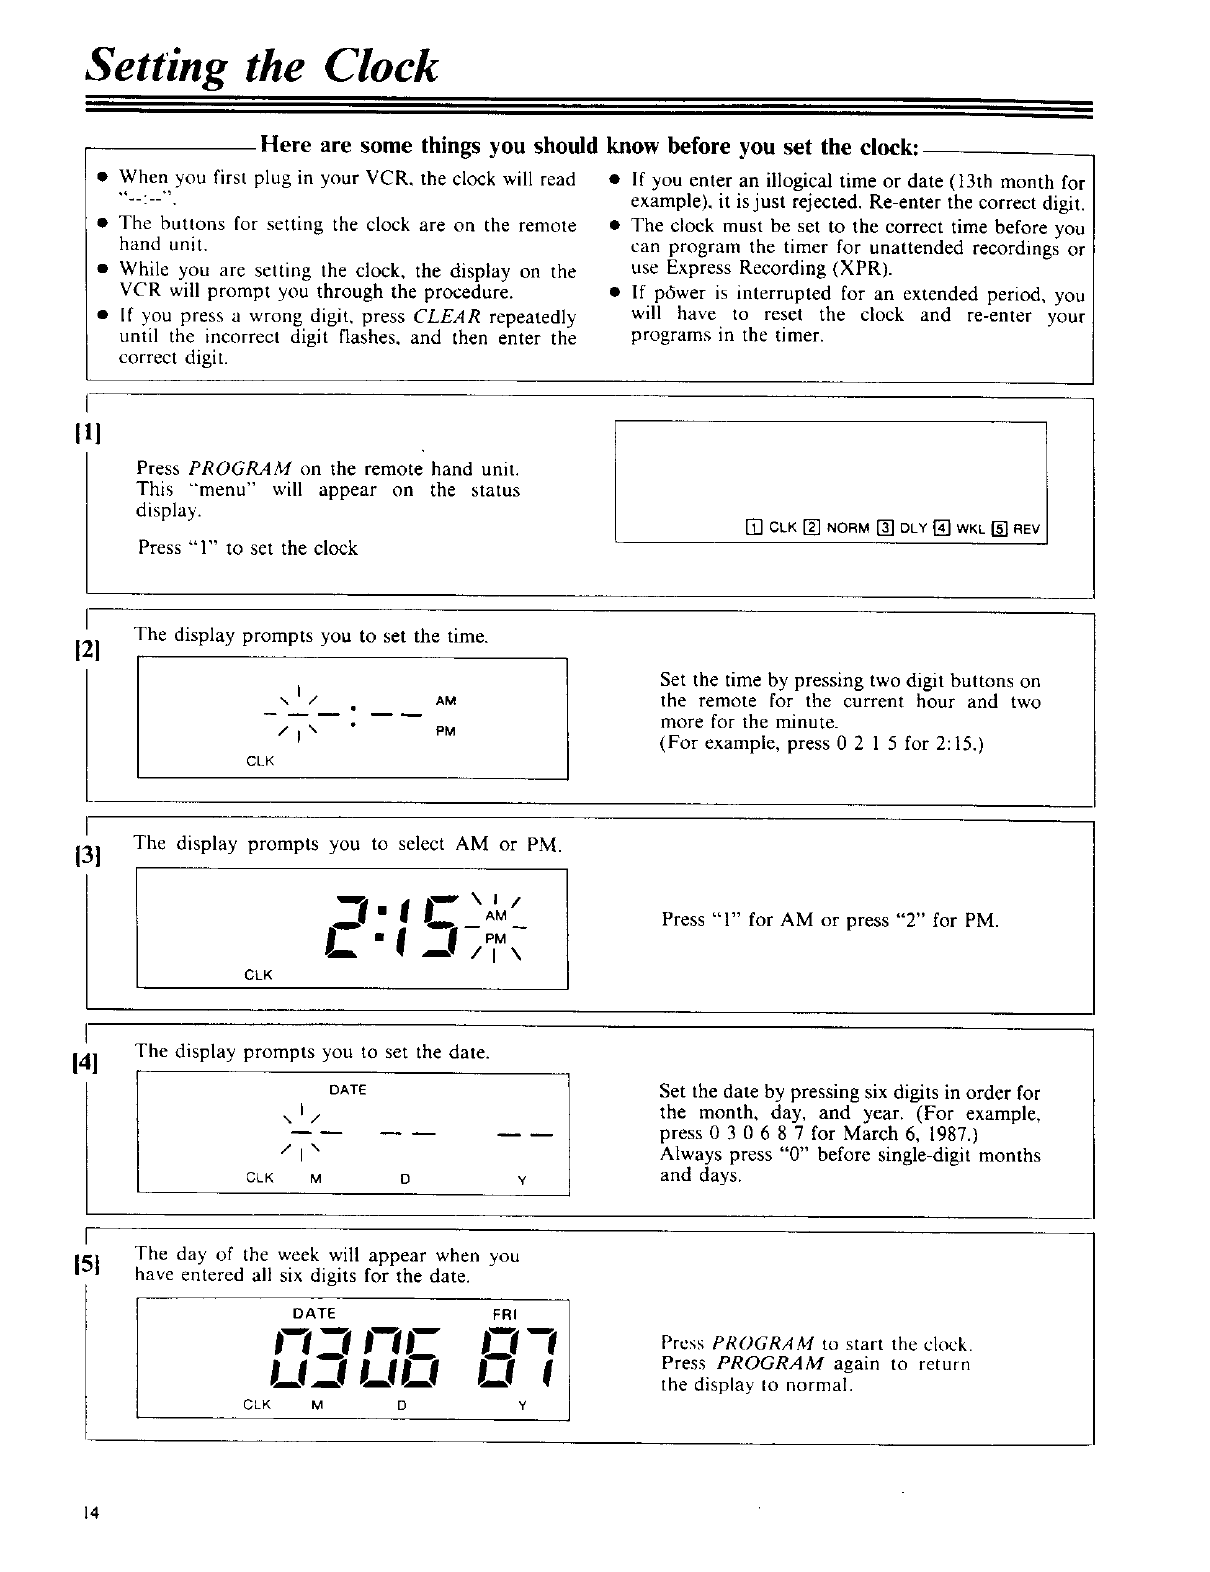
Press PROGRAM on the remote hand unit.
This "menu" will appear on the status
display.
Press "1" to set the clock
[] CLK [] NORM [] DLY [] WKL [] REV ]
_
121
The display prompts you to set the time.
I
\ / AM
/ 1% PM
CLK
Set the time by pressing two digit buttons on
the remote for the current hour and two
more for the minute.
(For example, press 0 2 1 5 for 2:15•)
i_
131
The display prompts you to select AM or PM.
CLK
Press "1" for AM or press "2" for PM.
I
141
The display prompts you to set the date.
DATE
\1/
/1"
CLK M D
Y
Set the date by pressing six digits in order for
the month, day, and year. (For example,
press 0 3 0 6 8 7 for March 6, 1987.)
Always press "0" before single-digit months
and days.
The day of the week will appear when you
15] have entered all six digits for the date.
DATE FRI
m3mC
U--! UL!
CLK M D Y
Press PROGRAM to start the clock.
Press PROGRAM again to return
the display to normal.
14


