Connections & Setup
Chapter 1 11
Set the VCR’s CH 3/4 Switch
The CH 3/4 switch on back of the VCR determines what channel the TV must be tuned to see
the VCR’s image. Choose whichever channel is not used locally in your area.
Note: If you connected components using A/V jacks and cables, the VCR’s signal must be
viewed using the TV’s Video Line Input. To find the Video Line Input, refer to the manual
that came with the TV or see How to Find Your TV’s Video Line Input on page 52 in the
Other Information section of this manual.
Plug in the VCR
Your VCR’s power cord has a plastic band strung through the blades. Remove the plastic band
before plugging the cord into the power outlet. To remove the band, cut with a pair of
scissors and pull it free of the blades. Once the plastic is removed, match the wide blade of the
power cord to the wide slot in the AC outlet. Be sure to insert the plug completely.
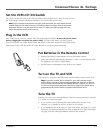
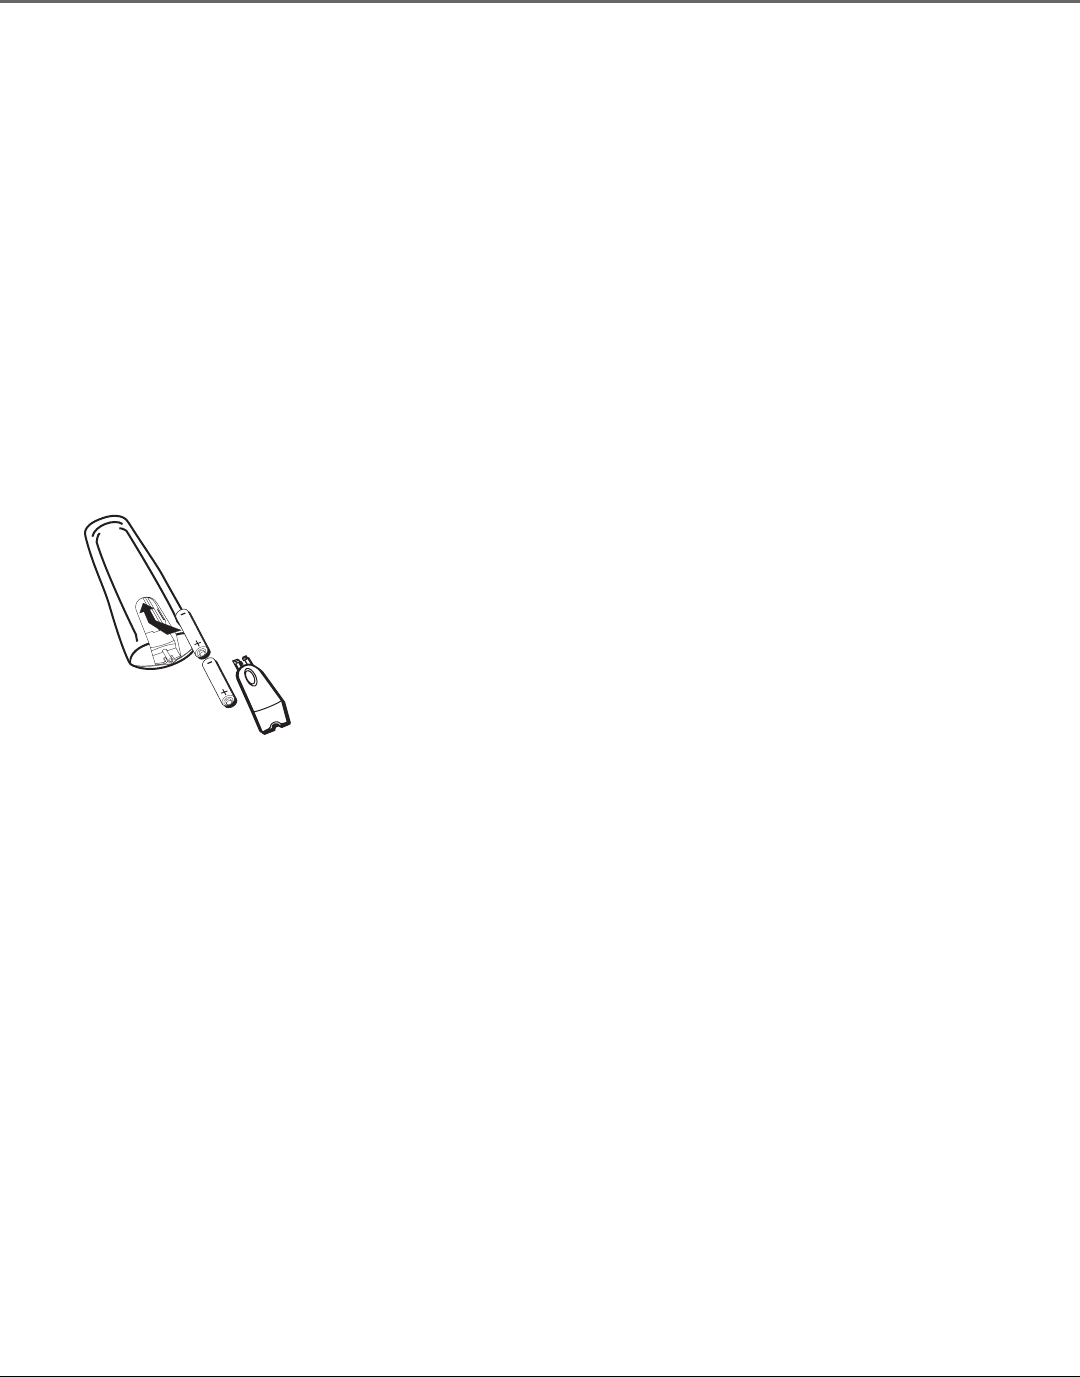
Put Batteries in the Remote Control
1. Remove the battery compartment cover on the remote control.
2. Insert new batteries matching the polarities (+ and –) on the batteries with
the diagram in the battery compartment.
3. Put the battery compartment cover back on the remote.
Turn on the TV and VCR
Turn on the TV and press the VCR button on the remote control to turn it on.
Note: If you have an RCA, GE, or Proscan TV, your VCR’s remote control
may be able to operate it without being programmed. Press the TV button
on the remote control and then the ON•OFF button. If neither one turns on
the TV, see Using the Remote Control starting on page 25 for details about
programming the remote control to operate other brands of TVs.
Tune the TV
Tune the TV to the VCR viewing channel. The VCR viewing channel is channel
3, 4, or the TV’s video line input.
• If you connect your VCR using RF coaxial cable only, turn the TV to
channel 3 or 4 (whichever was set on the CH 3/4 switch).
• If you connected the VCR using A/V jacks and cables, select the TV’s video
line input. For more information see How to Find the TV’s Video Line Input
on page 52 in the Other Information section of this manual.


