


6
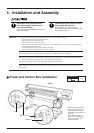
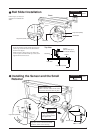
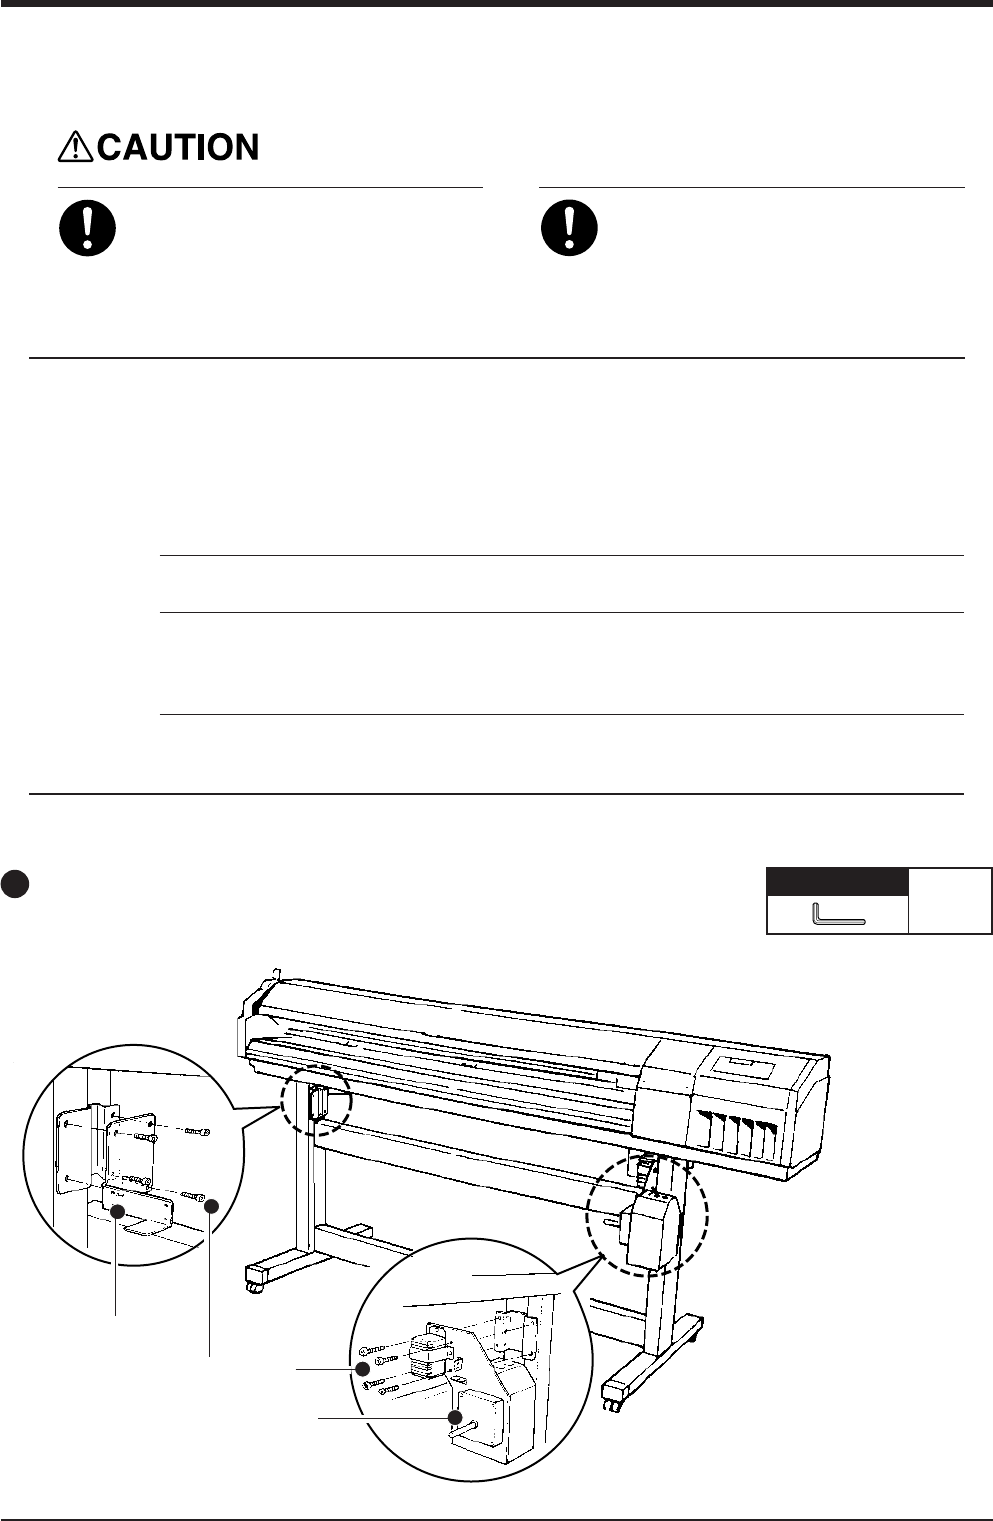
Frame and Control Box Installation
3. Installation and Assembly
Required tool
Large
Installation of the control box is a
task which must be carried out by
two or more persons.
Injury may result if attempted by one person
without assistance.
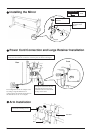
To secure the part in place, use the
bolt included with the unit.
A loose bolt or use of other than the
specified bolt may result in the falling of the
part, leading to injury.
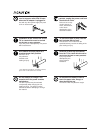
Never install this unit in any of the following situations, as it could result in damage:
• Do not install the unit on an unstable surface.
• Places with excessive electrical noise.
• Places with excessive humidity or dust.
• The unit and AC adapter become hot during use. Avoid installation in an are a with poor heat-radiating
characteristics (poor ventilation).
• Avoid subjecting the unit to severe vibration or shocks.
• Places exposed to strong illumination or direct sunlight.
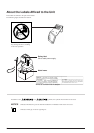
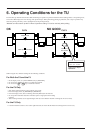
Do not strike the mirror. Doing so may damage the mirror, resulting in incorrect operation.
Be sure to connect the sensor cable securely so that it does not come loose or cause a poor connection during
use. Failure to connect securely may cause faulty operation or breakdown.
Be sure to switch off the power to the TU before connecting the sensor cable.
Before affixing the cable retainer, make sure the surface where the retainer is to be attached is clean and free of
dust or grime.
NOTICE
Front
Frame
Cap screw (large)
Control box
* Move the media flange that is
at the rear side of the FJ to
the position where it doesn't
avoid frame and controller box
to be fixed.
When installing on the CJ,
carry out the installation with
the arm on the back of the
machine detached.