1919
English
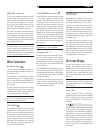
DVD Region Codes
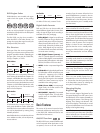
DVD-Video discs are encoded with region
codes which also appear on the packag
-
ing:
4
2
3
1
2
21
ALL
1
A disc can only be played if its region code
matches the code printed on the back-panel
of the RDV-1092.
The RDV-1092 can play discs encoded in
either the NTSC or PAL video formats, out
-
putting the correct video signal as set by the
back-panel NTSC/PAL switch.
Disc Structure
Each type of disc has its own organization,
allowing you to locate various portions of the
program recorded on the disc. Depending on
the type of disc, these may be called Titles,
Groups, Chapters, or Tracks:
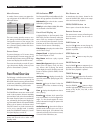
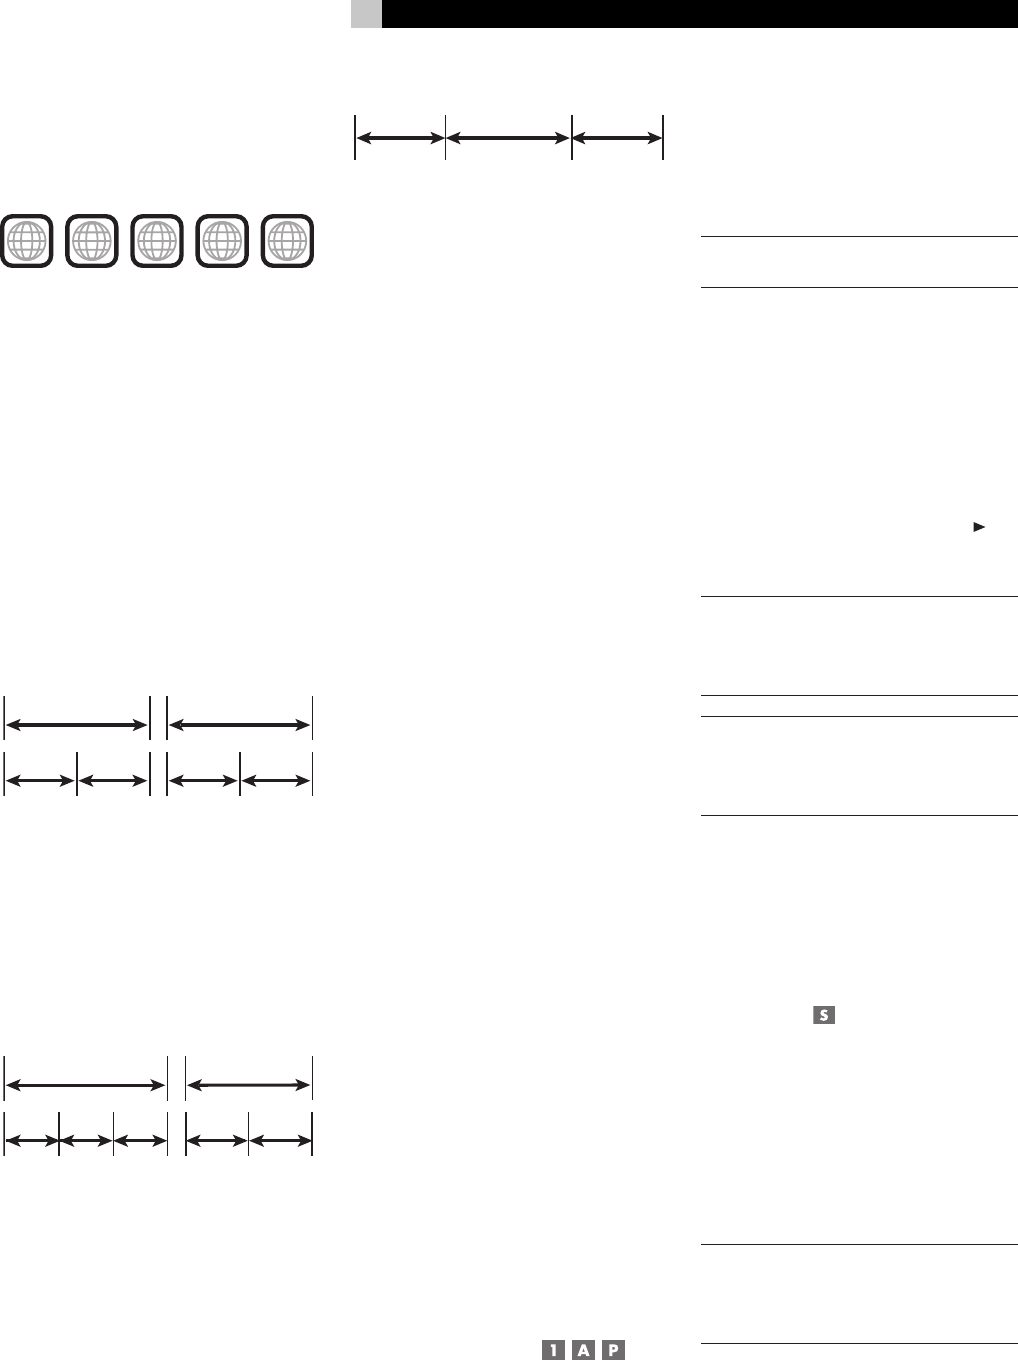
DVD-Video:
Chapter 1
Chapter 2
Chapter 1
Chapter 2
Title 1
Title 2
A DVD-Video disc is comprised of Titles and
each Title may be divided into Chapters. For
example, a DVD-Video disc may contain sev-
eral movies, each with its own Title number,
and each movie may be divided into several
Chapters. In a DVD-Video karaoke disc, each
song usually has its own Title number and
does not have Chapters
.
DVD-Audio:
Track 1 Track 2 Track 3 Track 1 Track 2
Group 1
Group 2
A DVD-Audio disc contains Groups, with
each group divided into Tracks. Some DVD-
Audio discs also contain a Bonus Group that
can only be played back by entering a Key
Number password.
Most DVD-Audio discs include other informa
-
tion in addition to audio, such as still pictures,
movies and text.
Audio CD:
Track 1 Track 2 Track 3
An Audio CD disc only contains Tracks.
Digital Audio Formats
DVD and CD discs can be encoded with
several different digital audio formats. Gen
-
erally, the type of digital audio encoding is
indicated on the disc packaging.
• Dolby Digital. A digital surround format
that may contain as many as five discrete
audio channels plus an LFE (low frequency
effects) channel (referred to as 5.1 chan-
nel surround). Particularly for older sound
tracks, Dolby Digital may be used for a
2.0 channel stereo sound track with Dolby
Surround matrix encoding.
• DTS (Digital Theater Systems). An
-
other 5.1 channel digital surround format
similar to Dolby Digital, but somewhat dif-
ferent encoding characteristics. Also plays
DTS 96/24 used on DTS music discs.
• MPEG. Another compressed digital for
-
mat.
• DVD-Audio. A high quality digital format
for DVD-Audio with the compression ratio
of about 2:1 supporting up to 192kHz
sampling rate and 24-bit resolution, al
-
lowing the PCM signal to be recreated
without loss. Some content may only be
available at the analog outputs.
• LPCM (Linear PCM). Uncompressed
digital audio, the format used on CDs
and most studio masters.
• MP3 (MPEG 1, Layer 3). Compressed
2-channel digital audio, a format often
used for music on recordable CD-R and
CD-RW discs.
Basic Features
This section of the manual covers the basic
commands and features need to play a disc
in the RDV-1092. Additional features are
described in later sections.
ON/OFF Functions
The RDV-1092 has a master POWER switch
on the front panel. When this button is in the
out position, the unit is off and cannot be
turned on from the remote. When the front
panel POWER button is pressed in, the unit
becomes fully activated. With the master
POWER button in the ON position, the unit
can be activated or put in a standby mode
from the remote.
NOTE: In normal use, the front panel POWER
button should be left in the IN position.
The remote control has discrete ON and OFF
buttons. Press the ON button to activate the
unit. Press the OFF button to put the unit into
standby mode. The LED above the front panel
POWER button lights whenever the POWER
button is in the on position. The front panel
display is lit when the unit is activated and
goes out when the unit is in standby mode.
Pressing the OPEN/CLOSE or PLAY
but-
ton will also activate the unit from standby
mode.
NOTE: The unit can also be activated and put
in standby mode based on a control signal
(from other Rotel components) at the back
panel 12V TRIGGER input.
NOTE: To completely power off the RDV-1092
when away from home for a long period
of time, unplug the unit from the AC wall
outlet.
There is an auto standby function that can
automatically turn the unit off after 60, 90,
or 120 minutes. See the System Setup item
in the Setup Menu section for selecting the
time option or disabling this feature.
Changing Display
Brightness
There are seven stages of brightness for the
front panel display plus an OFF option. Press
the DIM button on the remote repeatedly to
step through the options. The 0 setting is the
brightest. The 6 setting is the dimmest. OFF
turns off the display. If the display is turned
off, press the DIM button once to restore the
display to the brightest setting.
NOTE: This button overrides the default bright-
ness set in the System Setup item of the Setup
menus. When the unit is turned off and then
back on, the default setting is restored.


