


Installation
62 Q-1500d Series Installation/Operation Manual
PRE
L
IMINAR
Y
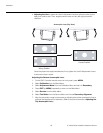
“Keystoning” usually occurs when the projector is tilted relative to the screen. “Pincushion”
distortion can sometimes occur if the throw distance is very short and/or the projector is
equipped with an anamorphic lens.
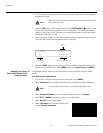
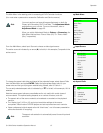
Corner/Midpoint Alignment — 16:9 Aspect Ratio:
1. Select the 16:9 aspect ratio using either the DHD Controller remote control unit (see
Figure 2-8) or the OSD menu (press MENU, then select Aspect Ratio -> 16:9). This
should move the anamorphic lenses out of the optical path.
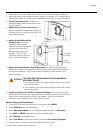
2. On the DHD Controller remote control or front panel, press MENU.
3. Select Calibration from the Main Menu.
4. Select Adjustment Mode from the Calibration Menu and set it to Secondary.
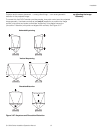
5. Select Image Alignment from the Calibration Menu.
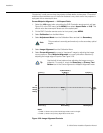
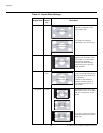
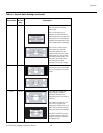
6. Select Corner Alignment to correct a “keystoned” image by adjusting the image
corner positions. Select Midpoint Alignment to correct pincushion distortion by
adjusting the image edge mid-points. See Figure 3-28.
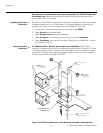
Figure 3-28. Image Alignment Controls
This procedure is normally performed only on the secondary optical
engine.
Use the built-in test pattern when adjusting the image corners or
midpoints. To access it, check the Secondary (or Primary) Test
Pattern box in the Corner Alignment or Midpoint Alignment menu.
Note
Tip
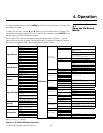
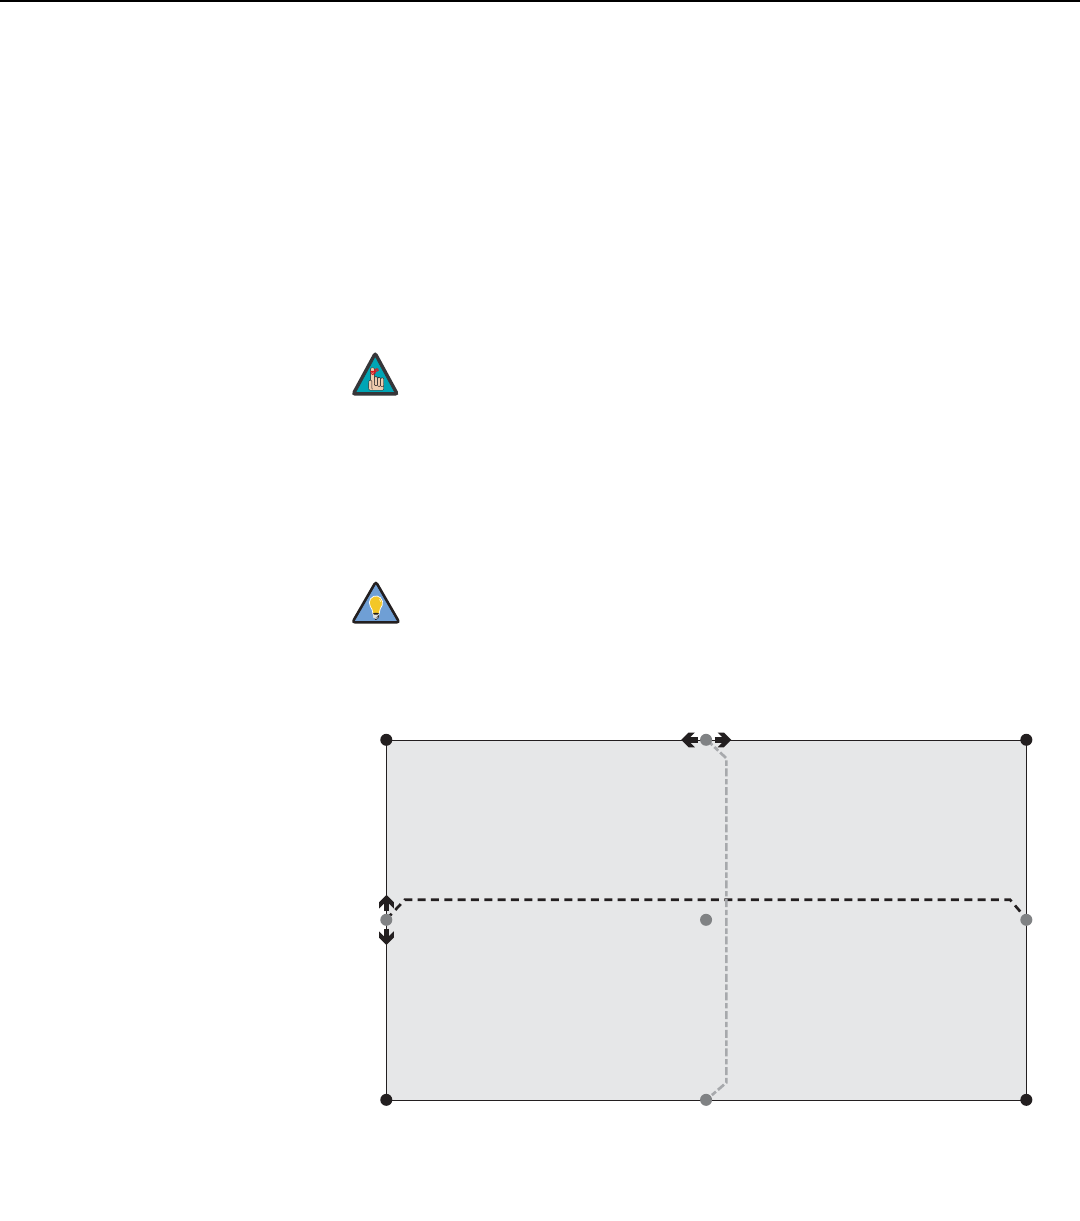
Top Left (x, y)
Left
Middle (x)
Left/Right
Middle (y)
Right
Middl
e
(x)
Bottom Left (x, y)
Top Right (x, y)
Bottom Right (x, y)
Top/Bottom Middle (x)
Top Middle (y)
Bottom Middle (y)
Notes:
1. Smaller “x” values move a point to the left; larger values move it to the right.
2. Smaller “y” values move a point up; larger values move it down.
Center
(x, y)