


English _31
CONNECTING WITH OTHER DEVICE
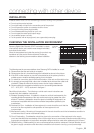
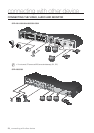
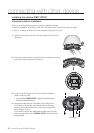
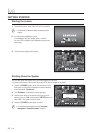
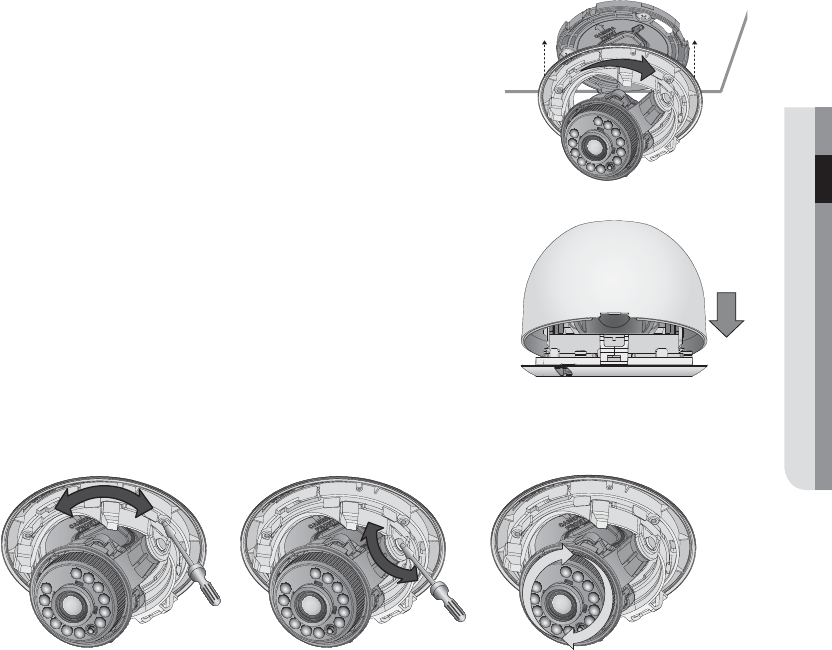
5. Mount the main unit onto the bracket.
Align the marking hole of the main unit with the <CAMERA FRONT>
label of the bracket, and turn the unit in the <LOCK> direction.
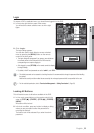
6. Adjust the lens in a desired direction.
For adjusting the lens direction, refer to “Adjusting the monitoring
direction for the camera”.
7. Fix the cover to the main unit.
Align the lock key of the main unit with the latch of the cover.
Press down the cover until you hear a click.
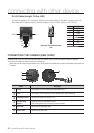
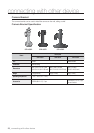
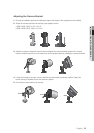
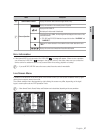
Adjusting the monitoring direction for the camera
You can adjust the camera direction only when the camera is fixed on the ceiling.
Then, turning the camera to the left or right is referred to as “Panning”, while tilting the angle is “Tilting”.
- If you want to adjust the panning direction, loosen the bottom screw and turn the camera to a desired
direction. Then, tighten the screw back.
If you couldn’t tighten the screw for positioning reasons, select a different screw hole and try again.
- The tilting is available between 0˚ and 60˚. When you finish adjusting the tilt, tighten the tilt adjustable screw
if you want to fix the angle.
- If you install the camera vertically on a slanting ceiling or wall, the video from the camera may not be
displayed properly. If this is the case, adjust the lens direction to correct the display of the video.
Panning Lens rotationTilting