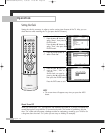
Picture Control
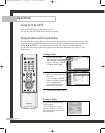
You can use the on-screen menus to change the “Contrast”, “Brightness”, “Sharpness”, “Color”
and “Tint” according to personal preference. (Alternatively, you can use one of the automatic
settings. See next page.)
Operation
English - 34
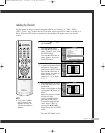
Customizing the Picture
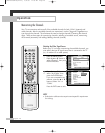
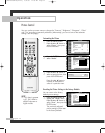
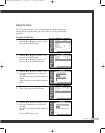
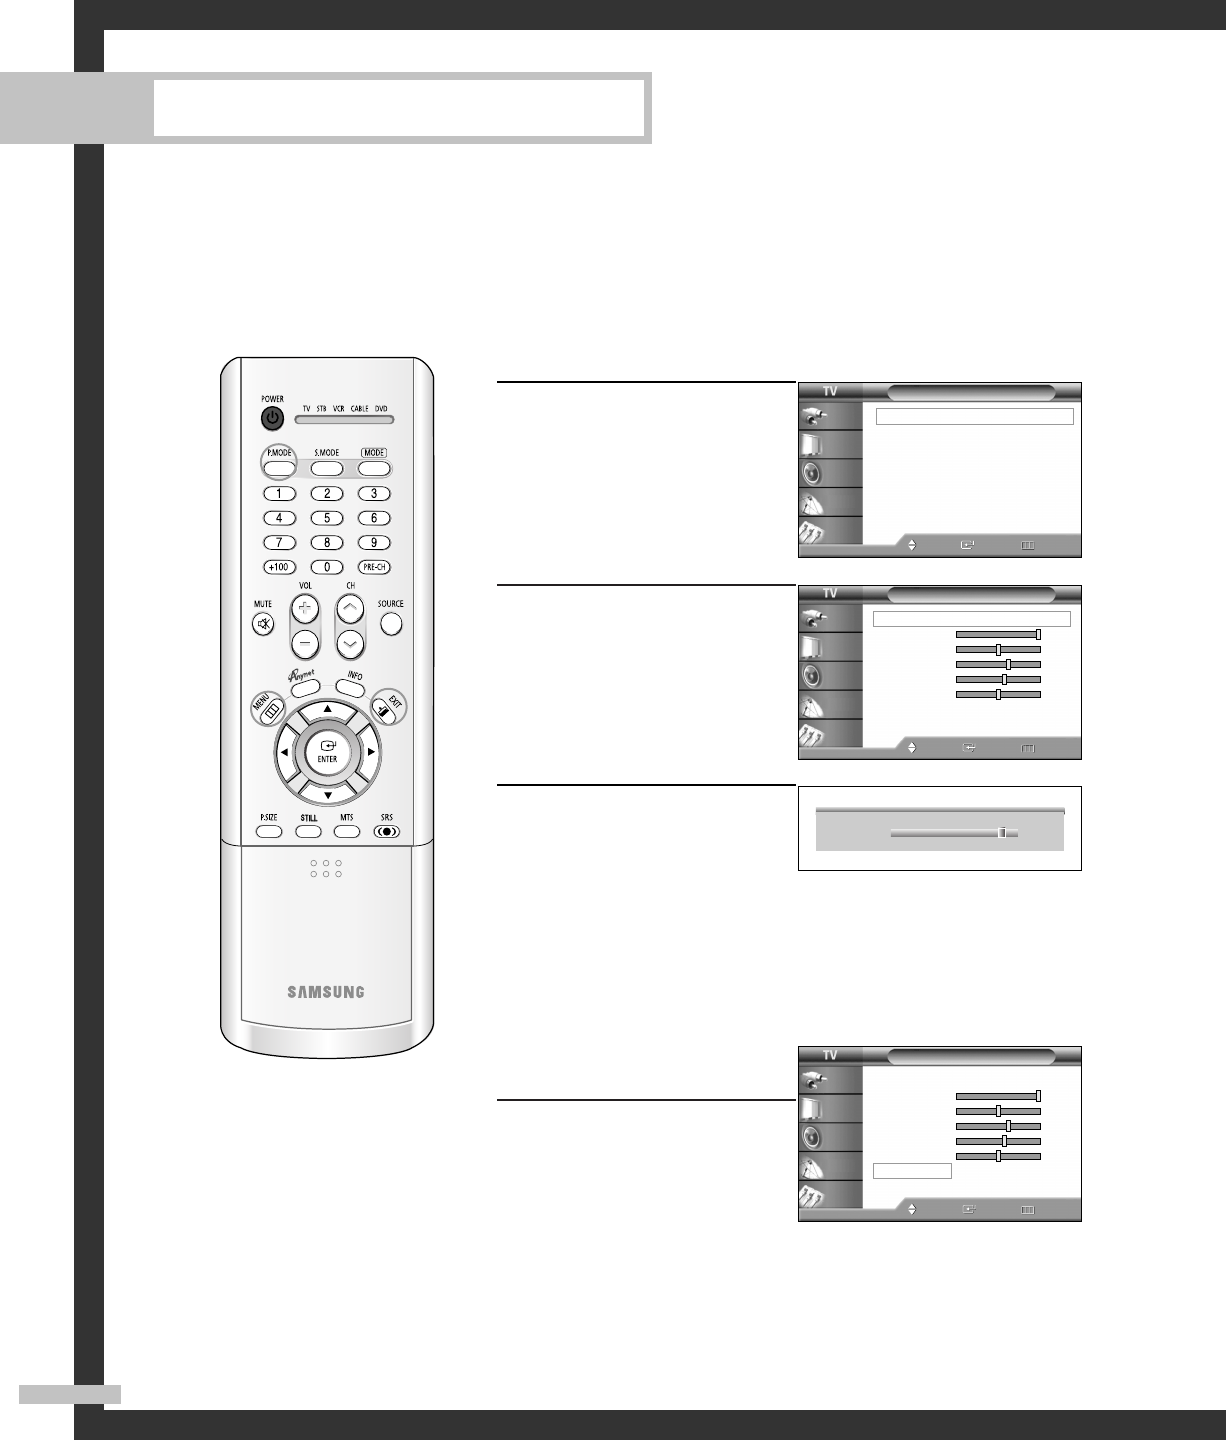
1
Press the MENU button.
Press the … or † button to
select “Picture”, then press
the ENTER button.
2
Press the ENTER button to
select “Mode”.
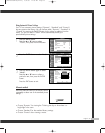
3
Press the … or † button to
select a particular item, then
press the ENTER button.
Press the œ or √ button to
increase or decrease the
value of a particular item.
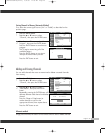
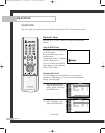
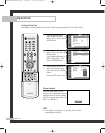
Resetting the Picture Settings to the Factory Defaults
You can return to the factory
default picture settings.
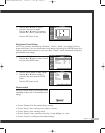
4
Press the MENU button to
display the “Mode” menu.
Press the … or † button to
select “Reset”, then press the
ENTER button.
The previously adjusted
picture settings will be reset
to the factory defaults.
▲
Contrast
▼
90
Picture
Mode : Standard
√
Color Tone : Warm1
√
Size : Wide
√
Digital NR : On
√
DNIe : On
√
My Color Control
√
Film Mode : Off
√
PIP
√
Move Enter Return
Input
Picture
Sound
Channel
Setup
Mode
Mode : Standard
√
Contrast 100
Brightness 50
Sharpness 65
Color 60
Tint G 50 R 50
Reset
Move Enter Return
Input
Picture
Sound
Channel
Setup
Mode
Mode : Standard
√
Contrast 100
Brightness 50
Sharpness 65
Color 60
Tint G 50 R 50
Reset
Move Enter Return
Input
Picture
Sound
Channel
Setup
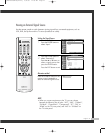
NOTE
•“Tint” doesn’t operate
in PC, DVI, HDMI or
480p-Component or
higher modes.
3_BP68-00433A-00(24~45) 5/31/05 11:35 AM Page 34


