30
OPERATION
Setting the Clock
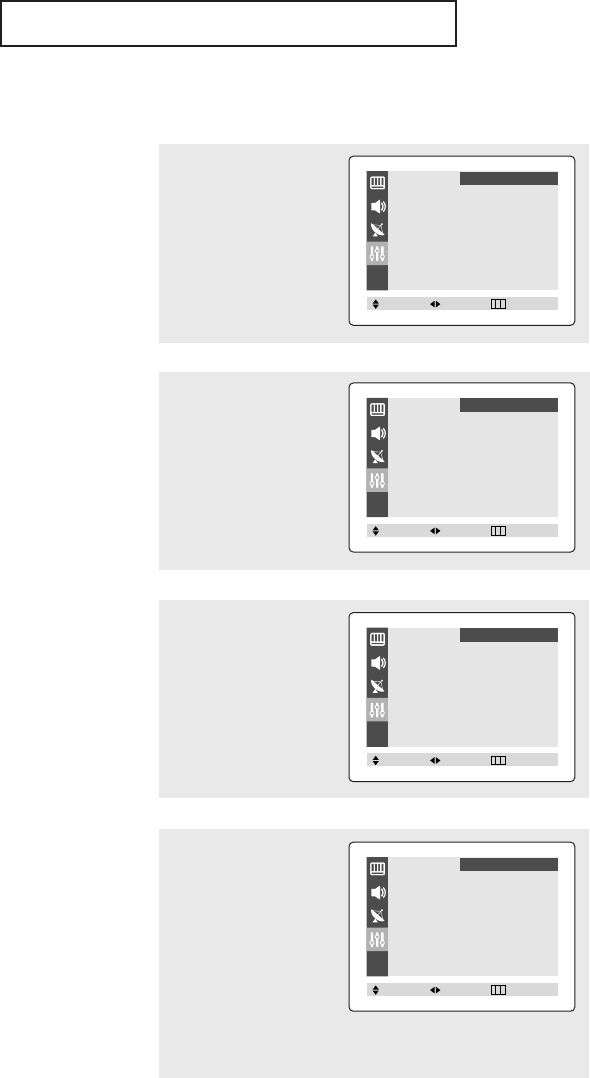
1
Press the MENU button to
display the on-screen
menu.
Press the ▲ or ▼ button
to select “Function”, then
press the
œœ
or
√√
button.
2
Press the ▲ or ▼ button
to select “Time”, then press
the
œœ
or
√√
button.
The Time menu will appear
on the screen, and “Clock”
will be selected.
3
Press the
œœ
or
√√
button
again (the hours digits will
be selected).
Press the ▲ or ▼ button
repeatedly until the correct
hour appears.
▼
When selecting the hours, be sure
to select the proper time of day (AM
or PM).
You can change the hours by pressing
▲ or ▼ repeatedly (or by holding
down either of these buttons).
4
After the hour is entered,
press the
√√
button. (at this
point the minutes digits will
be selected.)
Press the
▲ or ▼ button
to select the correct min-
utes.
Press the EXIT button to
exit.
▼
The time will appear every time
you press the INFO button.
Language
œœ
English
√√
Time
√√
Caption
√√
V-Chip
√√
Function
Move Select Exit
Time
Clock - - : - - am
On time - - : - - am Off
Off time - - : - - am Off
Function
Move Select Exit
Time
Clock 10 : 00 am
On time - - : - - am Off
Off time - - : - - am Off
Function
Move Select Exit
Time
Clock 10 : 30 am
On time - - : - - am Off
Off time - - : - - am Off
Function
Move Select Exit
AA03382A-00_SEA/SECA_ENG 3/10/04 2:29 PM Page 30


