


USB REC operation
• Thimehift has not been created as a real recording
method, so the recorded data will be deleted each time
you cancel it, change programme or input source, or
switch off the TV. The recorded data will never be available
for any external device.
• During TimeShift mode, p, “EPG” and m show live
broadcast information, not recorded one.
• Keeping “ALWAYS” mode as a permanent option may
shorten the life of the external USB memory.
• Programmes which require a PIN to watch them cannot be
recorded with TimeShift function until you enter the PIN.
USB REC can activate immediately recording by using
REC on the remote control, or with a timer using data
taken from EPG or programming an event manually. To
use either method follow the instructions below:
●
●
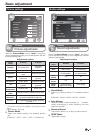
Immediate recording:
The recording starts when user decides:
1 Press REC on the remote control to start recording
the current programme. REC symbol appears in
the bottom left corner of the screen.
2 To stop recording the current programme, press
END twice, change TV programme or input source,
or switch- off the TV set.
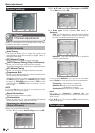
3 Press
/
to playback the programme being
recorded. The TV set continues recording the
broadcast while you are watching the recorded
programme. The TV set shows
I
symbol on the
screen.
4 Press
/
during playback to pause. The TV shows
the symbol
F
on the screen.
5 Press
V
playback to fast forward. By pressing
V
key repeatedly, allows you to select the fast
forward. By pressing
L
key the recording fast
forwards in intervals of fi ve minutes. Press
/
to
restore the normal speed.
6 Press
S
during playback to rewind. By pressing
S
key repeatedly, allows you to select the rewind
speed. By pressing
T key the recording rewinds
in intervals of five minutes. Press
/
to restore the
normal speed.
7 Press END during playback mode to stop the
playback and return to recording mode of current
programme. The TV set continues recording and
the REC symbol is shown on the screen.
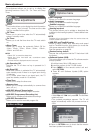
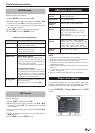
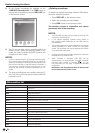
While the recording is activated the REC symbol, the
recording progress bar or playback progress bar will be
displayed.
The bar shows the recording start time, current time
and expected end, and the remaining recording time.
••••••••••••••••••••••••••••••••••••••••••••••••••••
hh:mm:ss
REC
hh:mm:ss
hh:mm:ss
[hhhh:mm:ss]
●
●
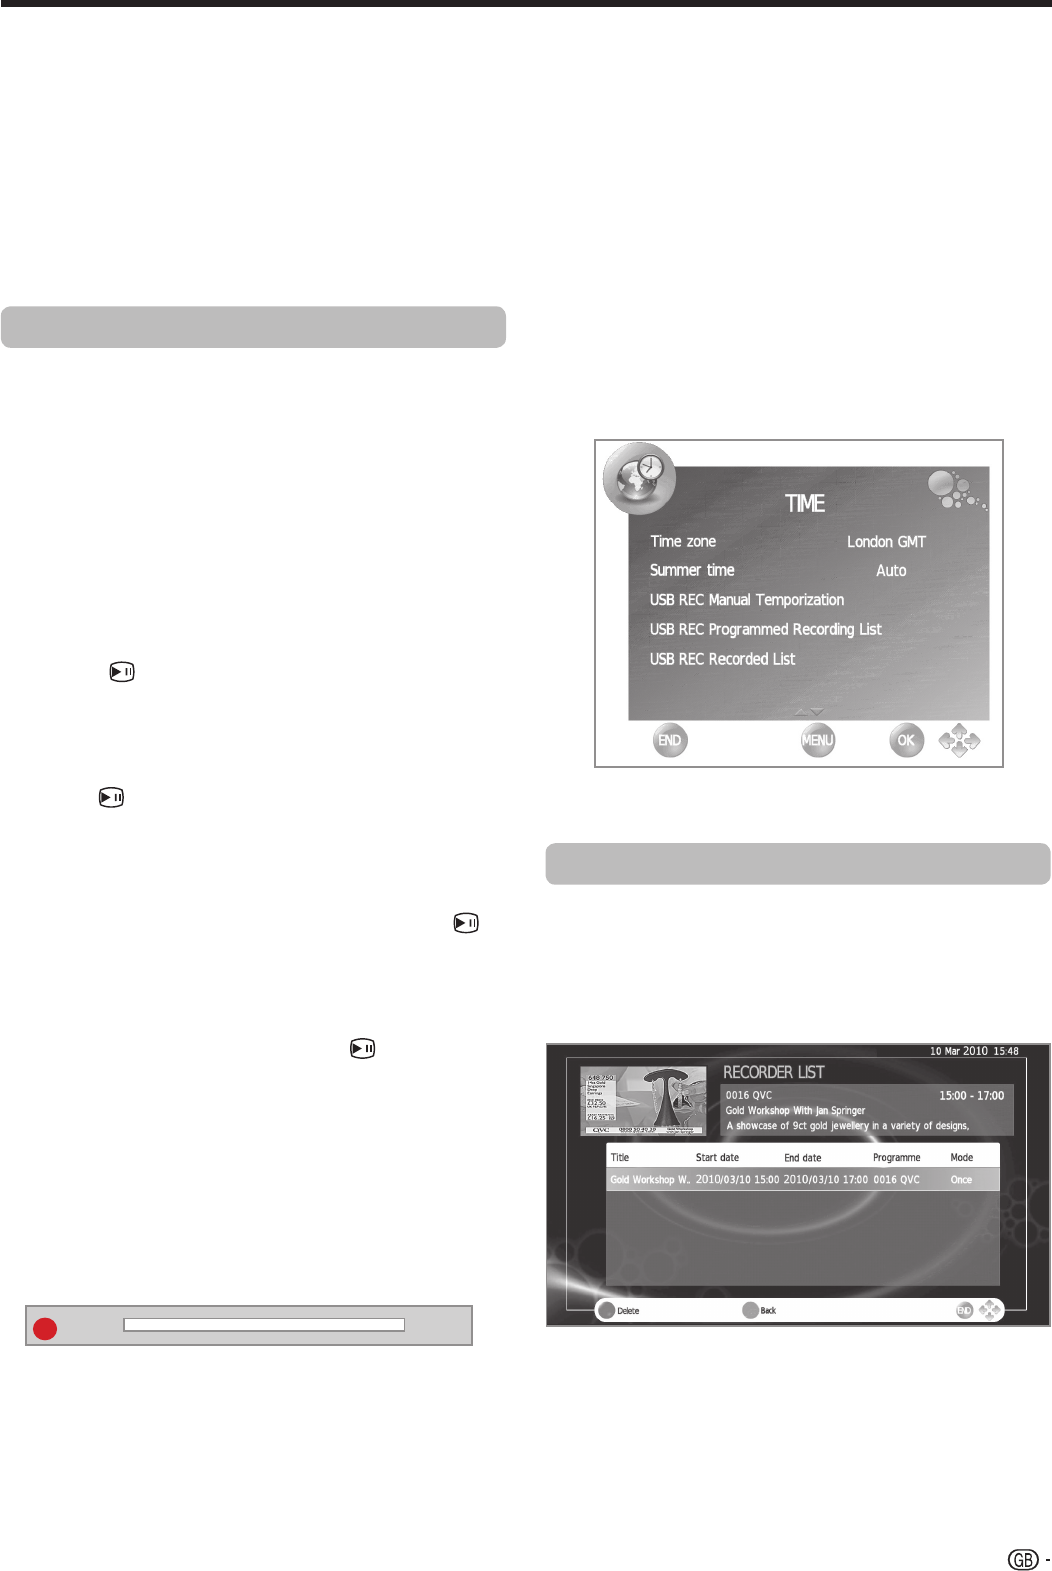
Recording with timer
It can be programmed a recording by using two
methods. Using the programme guide (EPG) or manually
with the option “USB REC Manual Temporization”
on the menu TIME.
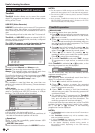
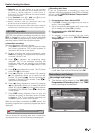
1 Programming a timer with the EPG
1. Press EPG to select the programme you want to
record. Then press REC.
2. Set up the recording parameters (auto, once, every
day or weekly) and press OK to confi rm.
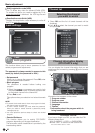
2 Programming with “USB REC Manual
Temporization”.
1. To activate a timer recording use the menu
option TIME and the option USB REC Manual
Temporization.
2. Set up the desired recording parameters (channel,
mode, date, start time and end) and press OK.
●
● Recordings and timings
1. The timings will be stored in the USB REC
Programmed Recording List in the TIME
menu, pending to be executed.
Useful viewing functions
Recordings and timings
27