


English
3
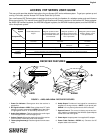
SYSTEM SETUP
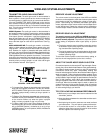
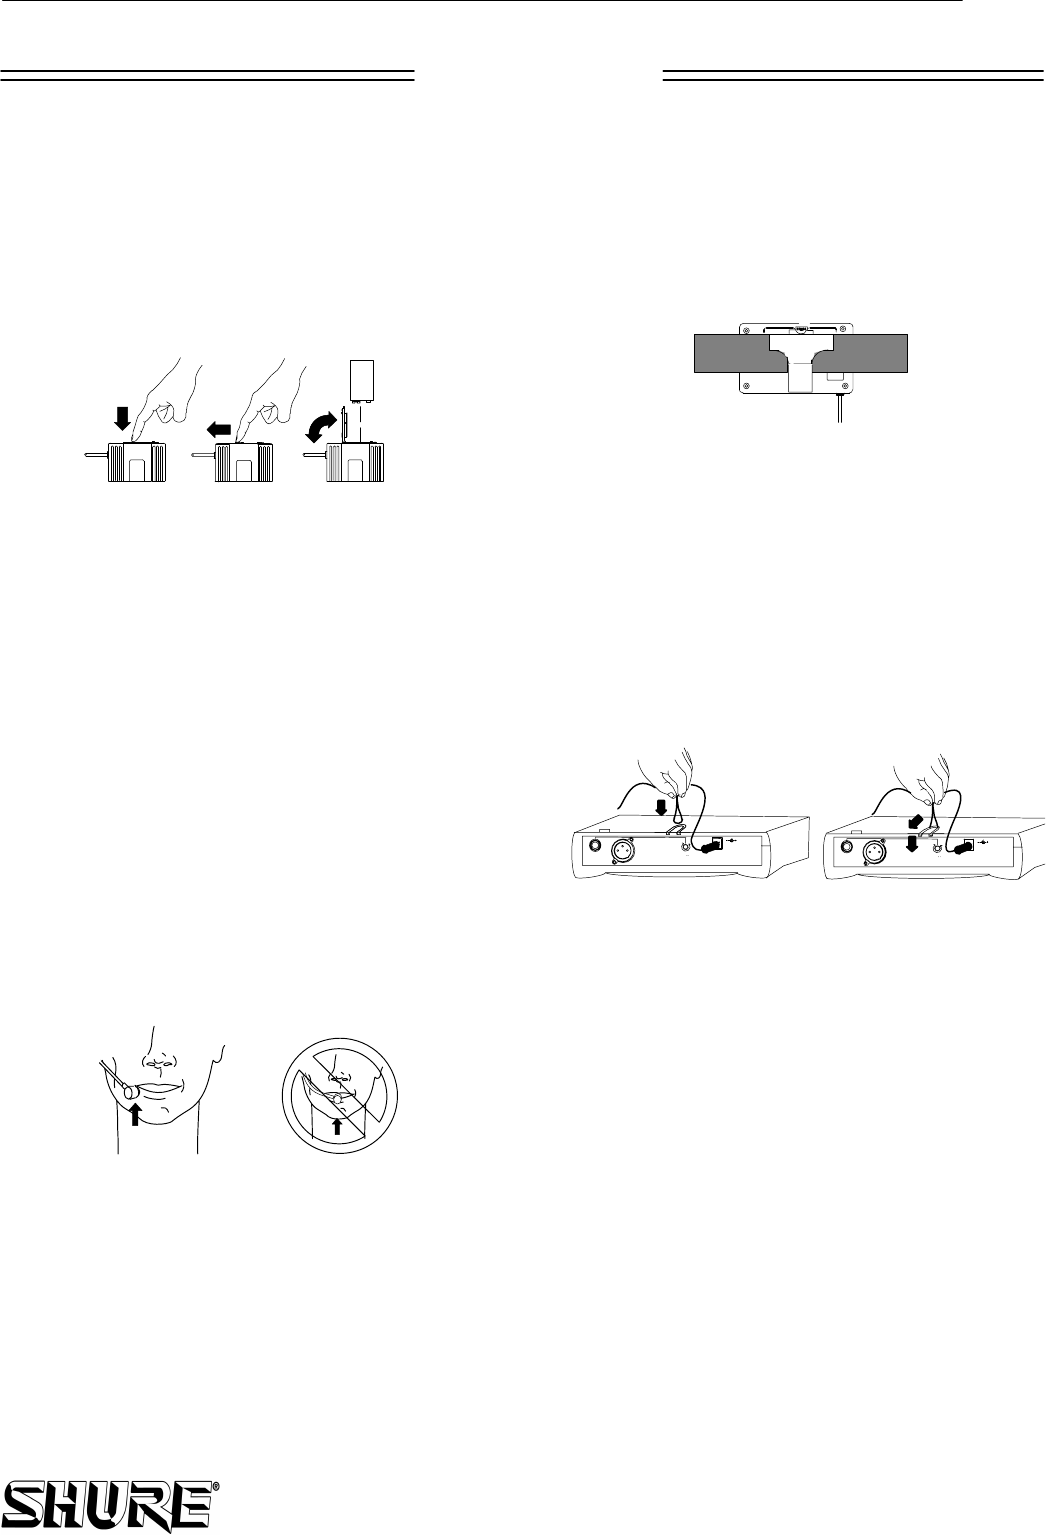
BATTERY INSTALLATION
1. Slide the transmitter POWER ON/OFF switch to the OFF
position.
2.
AXB1, AXB1G
: Press down on the OPEN side of the battery
compartment cover, slide it back and flip it open, as shown
in Figure 4.
AXH2:
Unscrew the transmitter battery cover to expose the
battery terminals, as shown in Figure 3.
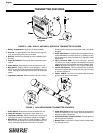
FIGURE 4. BATTERY INSTALLATION
+
-
9 V
3. Insert a fresh 9V alkaline battery into the battery compart-
ment (A Duracell MN1604 is recommended). A fresh 9V alka-
line battery will typically provide 18 hours of performance
time. A fully charged 8.4V NiCad battery will provide about
2 hours of performance time.
IMPORTANT: Carbon-zinc and zinc-chloride batteries will
not provide adequate power and are not recommended.
4. Replace the battery cover.
HEADSET ASSEMBLY
1. Refer to the tag attached to the headset for assembly in-
structions. After assembling the WH20, adjust the head-
band and place it on your head.
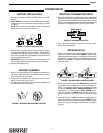
2. Position the microphone over the corner of your mouth,
about 1/2 inch away. See Figure 5.
3. To reduce pops and breath noise, place the supplied foam
windscreen over the microphone.
FIGURE 5. HEADSET MICROPHONE POSITION
BODYPACK TRANSMITTER SETUP
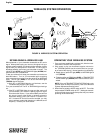
1. Attach the transmitter to your belt, guitar strap, or waistband
as shown in Figure 6. Depress the tab marked PRESS and
slip the belt or strap between the transmitter body and the
belt clip. For added stability, draw the strap or belt toward the
clip’s top wire, especially when using thin guitar straps.
AXB1/AXB1G
FIGURE 6. TRANSMITTER SETUP
2. Plug your guitar, headset microphone, or lavalier micro-
phone into the transmitter.
RECEIVER SETUP
1. Plug one end of the AC power adapter into the DC INPUT con-
nector on the back of the receiver.
AXR4N
: Loop the power
cable around the cable retainer on the bottom of the receiver.
See Figure 7. Plug the other end into an AC power source (use
PS20 for 105–125 VAC. The green POWER light on the re-
ceiver will glow.
FIGURE 7. AXR4N POWER CABLE RETAINER
12
2. Connect the receiver output. The Guitarist: plug a standard
guitar cable (two provided) into the receiver’s output con-
nector. Plug the other end into a guitar amplifier, as shown
in Figure 8. AXSHW, AXS31, AXS58 or AXSLWD: Use a
cable with a 1/4 inch phone plug (
AXR3
,
AXR4N
) or a fe-
male XLR connector (
AXR4N
) to connect the receiver to a
mic level input of a mixer or PA system, as shown in Figure
8.
3. Extend antenna(s).
AXR3
: The antenna should be fully ex-
tended and vertical, as shown in Figure 8.
AXR4N
: The an-
tennas should be fully extended and angled away from each
other, at an angle of 45 degrees from vertical, as shown in
Figure 8.