20
Copyright 2007 – Enseo, Inc.
4
Setting Up the ICS-SP30 / Making Connections
The ICS-SP30 is designed to function with Sony Professional LCD and Plasma displays which
may differ in input types and connection configuration. For questions on connections and
specifications on specific Sony displays, consult www.sony.com/support.
Installing Card
Step 1 – Remove power cord from the display to ensure power is off. Remove
any populated cards in slot 1 and/or slot 2 (if any). There may be a cover
over slot 2. Remove the middle rail guide by removing screw between two
card slots
Step 2 – If inserting the ICS-SP30 into a KLH display, skip to step 3.
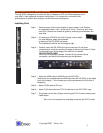
For other displays, attach card extender
to left side of the ICS-SP30 and tighten.
The finished card should look like image at right
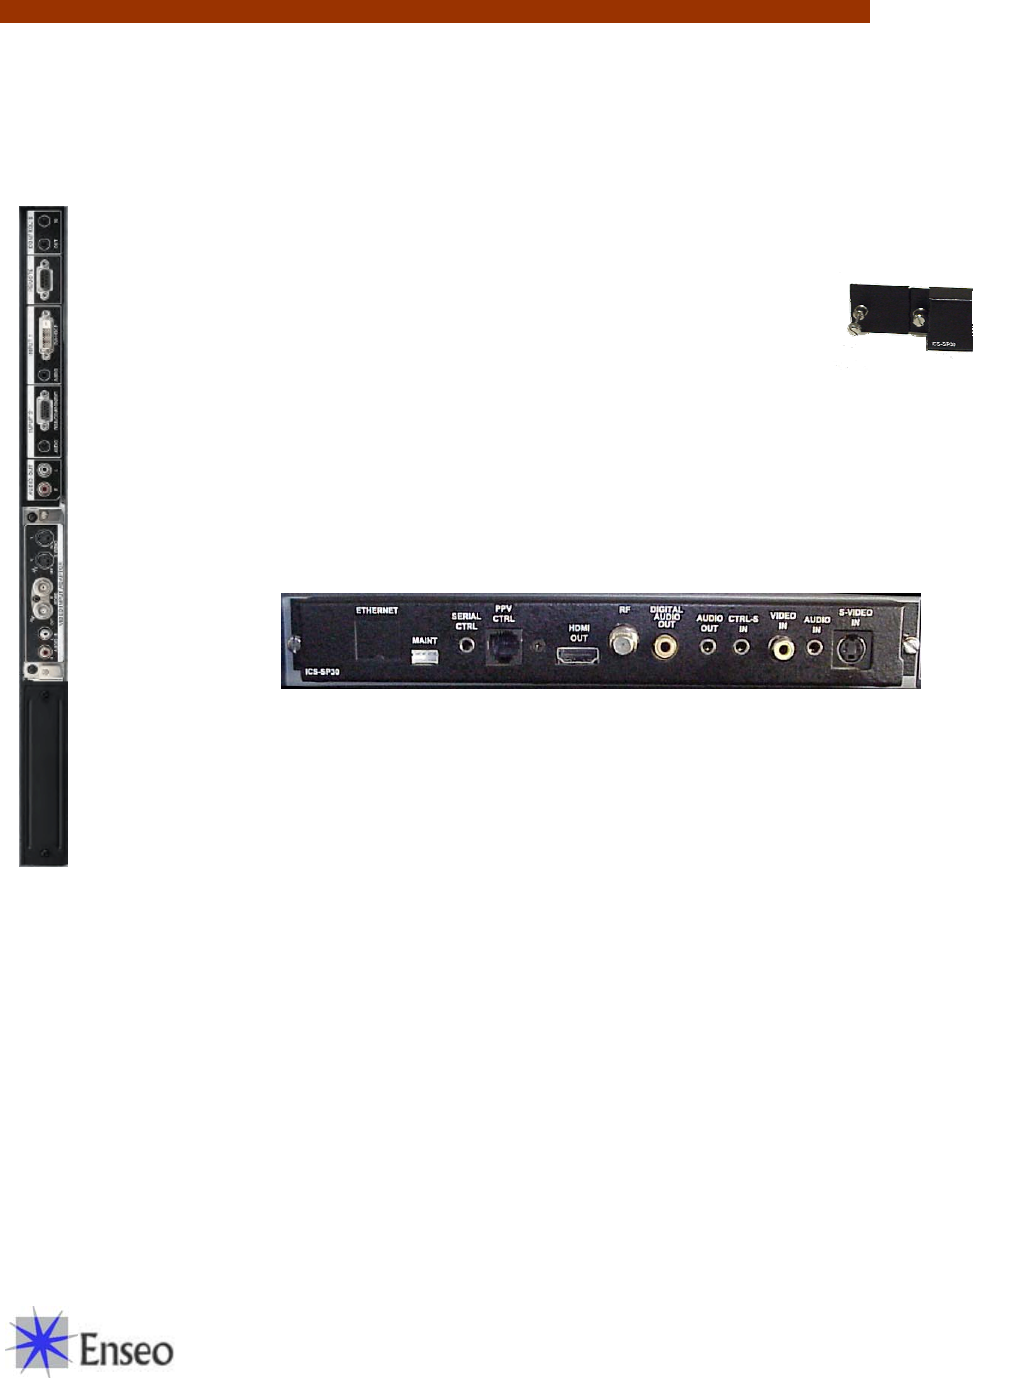
Step 3 – Carefully insert the ICS-SP30 card into the card slot. Do not allow
components to come into contact with edges of the card slot. Note: S-Video
input should be on the top edge of the card as it is inserted.
DO NOT FORCE CARD
When card is completely inserted, it should fit into the two internal
connectors, and then the thumb screws can be tightened.
Step 4 – Attach the HDMI cable to HDMI Out on the ICS-SP30
(Note: there is a required external HDMI cable from the ICS-SP30 to the digital
input of the display – This is based upon strict requirements for HD tuners in
hospitality)
Step 5 – Attach COAX cable to RF input
Step 6 – Attach RJ12 data cable from PPV Provider box to the PPV CNTL input
Step 7 – Plug power into the Sony Display and using the PPV Provider remote, press
Power button
The unit is now configured for hospitality mode with the PPV Provider.


