37
GB
Using Menu Functions
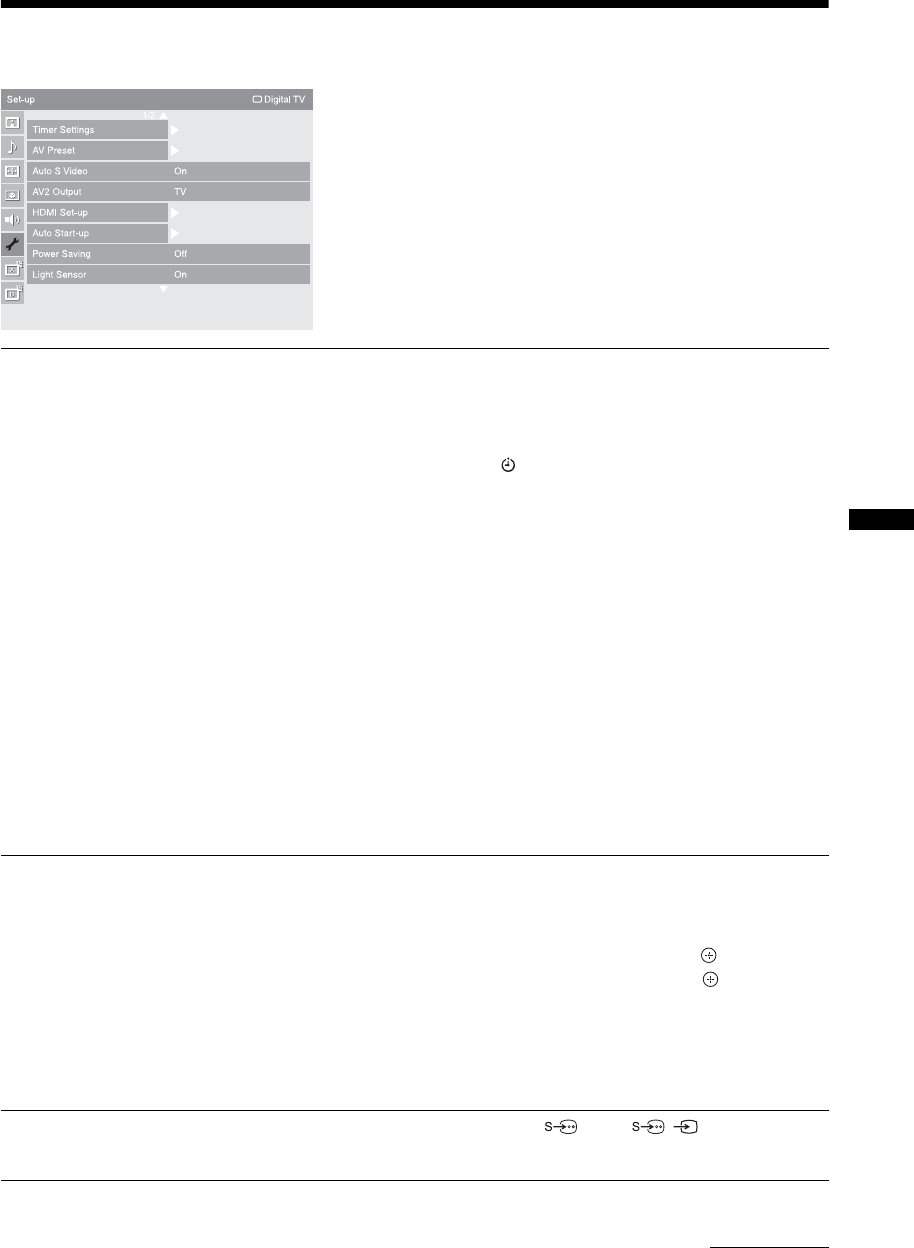
Set-up menu
You can select the options listed below on the “Set-
up” menu. To select options in “Settings”, refer to
“Navigating through menus” (page 27).
Timer Settings
Sets the timer to turn on/off the TV.
Sleep Timer
Sets a period of time after which the TV automatically switches itself into standby
mode.
When “Sleep Timer” is activated, the (Timer) indicator on the TV front panel
lights up in orange.
z
• If you turn off the TV and turn it on again, “Sleep Timer” is reset to “Off”.
• A notification message appears on the screen one minute before the TV switches to standby
mode.
On Timer
Sets the timer to turn on the TV from standby mode.
“Day”: Selects the day on which you want to activate the “On Timer”.
“Time”: Sets the time to turn on the TV.
“Duration”: Selects the time period after which the TV automatically switches to
standby mode again.
“Volume Set-up”: Sets the volume for when the timer turns on the TV.
Clock Set
Allows you to adjust the clock manually. When the TV is receiving digital channels,
the clock cannot be adjusted manually since it is set to the time code of the broadcast
signal.
AV Preset
Assigns a name to any equipment connected to the side and rear sockets. The name
will be displayed briefly on the screen when the equipment is selected. You can skip
input signals from connected equipment that you do not want displayed on the
screen.
1 Press
F/f to select the desired input source, then press .
2 Press
F/f to select the desired option below, then press .
Equipment labels: Uses one of the preset labels to assign a name to connected
equipment.
“Edit:”: Creates your own label. Follow steps 2 to 4 of “Programme Labels”
(page 40).
“Skip”: Skips an unnecessary input source.
Auto S Video
Selects the input signal from S video sockets 7 when / 7 sockets are both
connected.
Continued


