


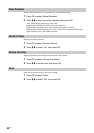
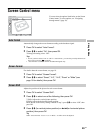

Using the Menu
21
GB
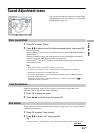
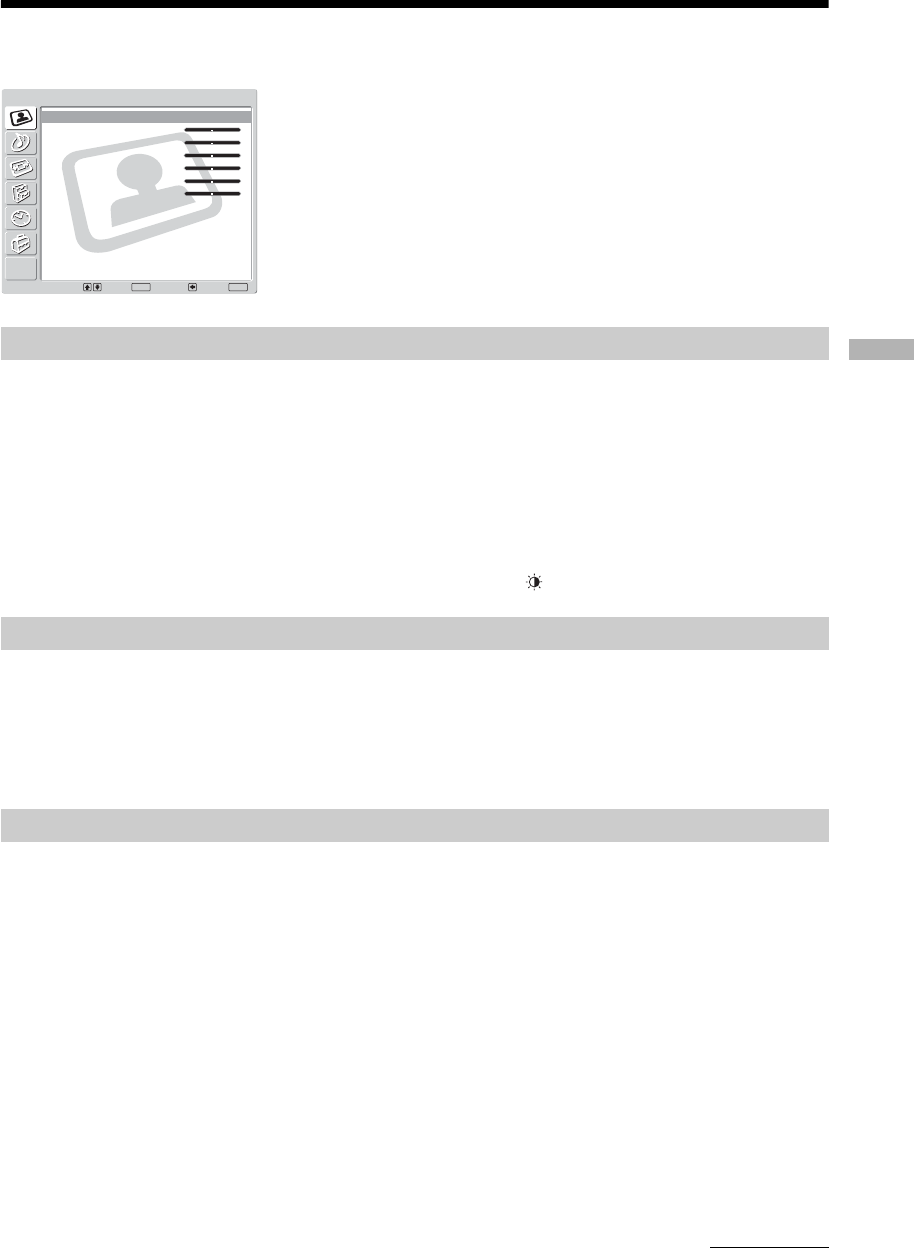
Picture Adjustment menu
Selects the picture mode.
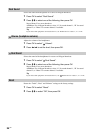
1 Press OK to select “Mode”.
2 Press M/m to select one of the following picture modes, then press OK.
Vivid: For enhanced picture contrast and sharpness.
Standard: For standard picture. Recommended for home entertainment.
Custom: Allows you to store your preferred settings.
Tip
You can also change the picture mode by pressing repeatedly.
1 Press OK to select the option.
2 Press </, to set the level, then press OK.
Tip
“Hue” can only be adjusted for an NTSC colour signal (e.g., U.S.A. video tapes).
1 Press OK to select “Colour Tone”.
2 Press M/m to select one of the following, then press OK.
Cool: Gives the white colours a blue tint.
Neutral: Gives the white colours a neutral tint.
Warm: Gives the white colours a red tint.
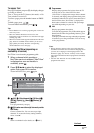
You can select the options listed below on the Picture
Adjustment menu. To select options, see “Navigating
through menus” (page 19).
Tip
When you set “Mode” to “Vivid” or “Standard”, you can
adjust only “Mode”, “Contrast”, “Colour Tone”, “Noise
Reduction”, and “Reset”.
Mode
Contrast/Brightness/Colour/Hue/Sharpness/Backlight
Colour Tone
Select: Set: Back:
OK
End:
MENU
Mode:
Contrast:
Brightness:
Colour:
Hue:
Sharpness:
Backlight:
Colour Tone:
Noise Reduction:
Dynamic Picture:
Gamma Correction:
Reset
Custom
50
50
25
0
25
5
Cool
Auto
On
0
Picture Adjustment
Continued