


27
Optional Connections
Using Optional Equipment
Optional Connections
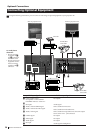
Additional Information when connecting equipment
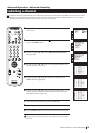
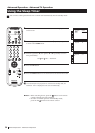
Connecting a VCR
We recommend you connect your VCR to the
D
or
E
socket using a scart lead. If you do not have a scart lead, use
the “Manually Tuning the TV” section of this instruction manual to tune in the VCR signal to TV programme
number “0”.
If your video supports Smartlink please refer the "Smartlink" section of this instruction manual.
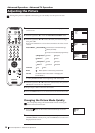
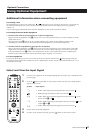
Connecting to External Audio Equipment
1 To listen to the audio of your projection TV on the Hi-Fi equipment:
Plug in your Hi-Fi equipment to the B sockets on the rear of the projection TV if you wish to amplify the audio
output from the TV.
The output level from B sockets can be varied by adjusting the volume of the headphones. Refer to the
“Adjusting the sound” section of this instruction manual to adjust the volume of the headphones.
2 To listen to the Hi-Fi equipment on the projection TV speakers:
Plug in your Hi-Fi equipment to the A socket on the rear of the projection TV if you wish to listen to the audio
output from your Hi-Fi on the projection TV speaker. If you have a Dolby amplifier, connect the centre output
from your amplifier to the A socket to use the projection TV as a centre speaker. Refer to the “Adjusting the
Sound” section of this instruction manual and set the option “Speaker” to “Centre in”.
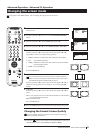
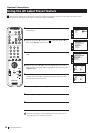
For mono equipment
Connect the phono plug to the L/G/S/I socket on the front of the TV and select the
2 input signal using the
instructions on this page below. Finally, refer to the “Adjusting the sound” section of this manual and select “A” on
the sound menu screen.
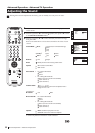
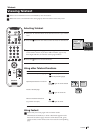
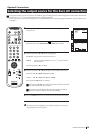
Select and View the Input Signal
2
S
RM
892
PROGR
MENU
1
4
7
2
5
8
0
3
6
9
VIDEO TV
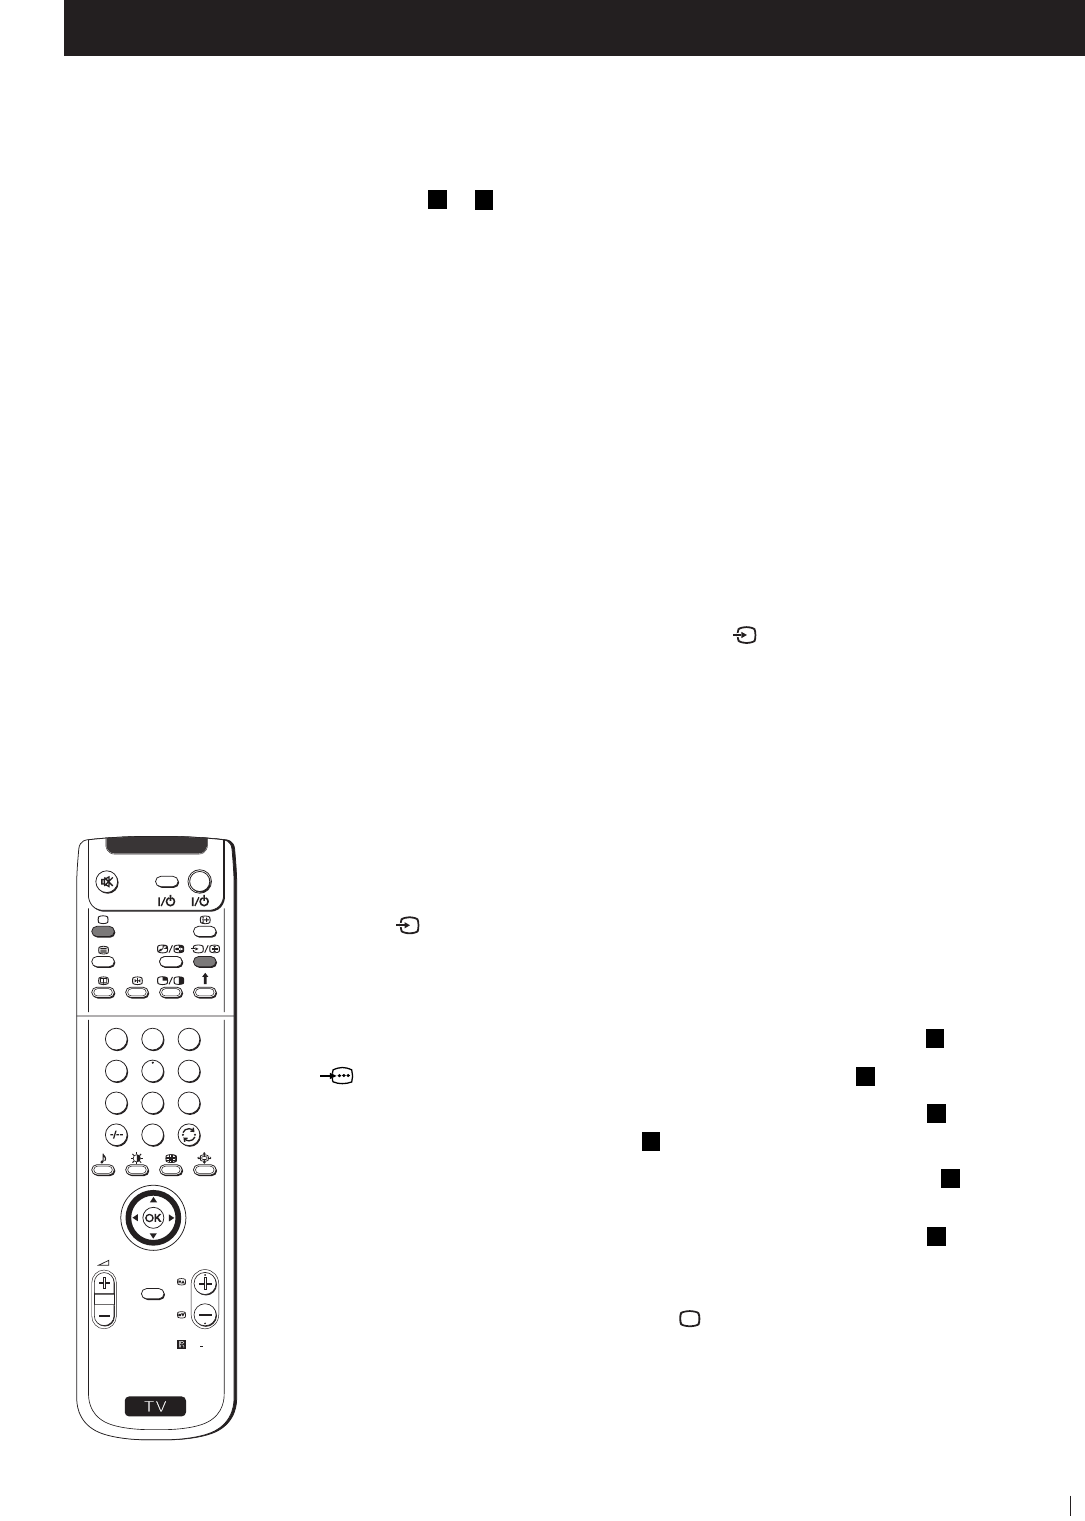
1 Connect your equipment to the designated projection TV socket, as it is indicated on the
previous page.
2 Press
the
button repeatedly on your remote control until the correct input symbol
appears on the screen.
Symbol Input signals
k • Audio/video input signal through the Euro AV connector
C
• RGB input signal through the Euro AV connector
C
K
• Audio/Video input signal through the Euro AV connector
D
or the
phono sockets H and
G
.
q
• Audio/S Video input signal through the Euro AV connector
D
or the
sockets H and F.
K
• Audio/Video input signal through the Euro AV connector
E
3 Switch on the connected equipment.
4 To return to the normal TV picture, press the
button on the remote control.
3