


13
GB
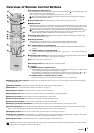
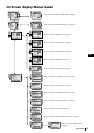
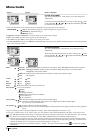
Menu System
Level 1 Level 2 Level 3 / Function
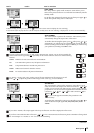
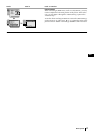
SLEEP TIMER
The “Sleep Timer” option in the “Features” menu allows you to
select a time period for the TV to switch itself automatically into the
standby mode.
To do this: after selecting the option press , then press or to
set the time period delay (max. of 4 hours).
• While watching the TV, you can press the button on the remote control to display the time remaining.
• One minute before the projection TV switches itself into standby mode, the time remaining is displayed on the TV screen automatically.
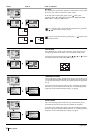
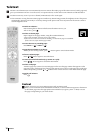
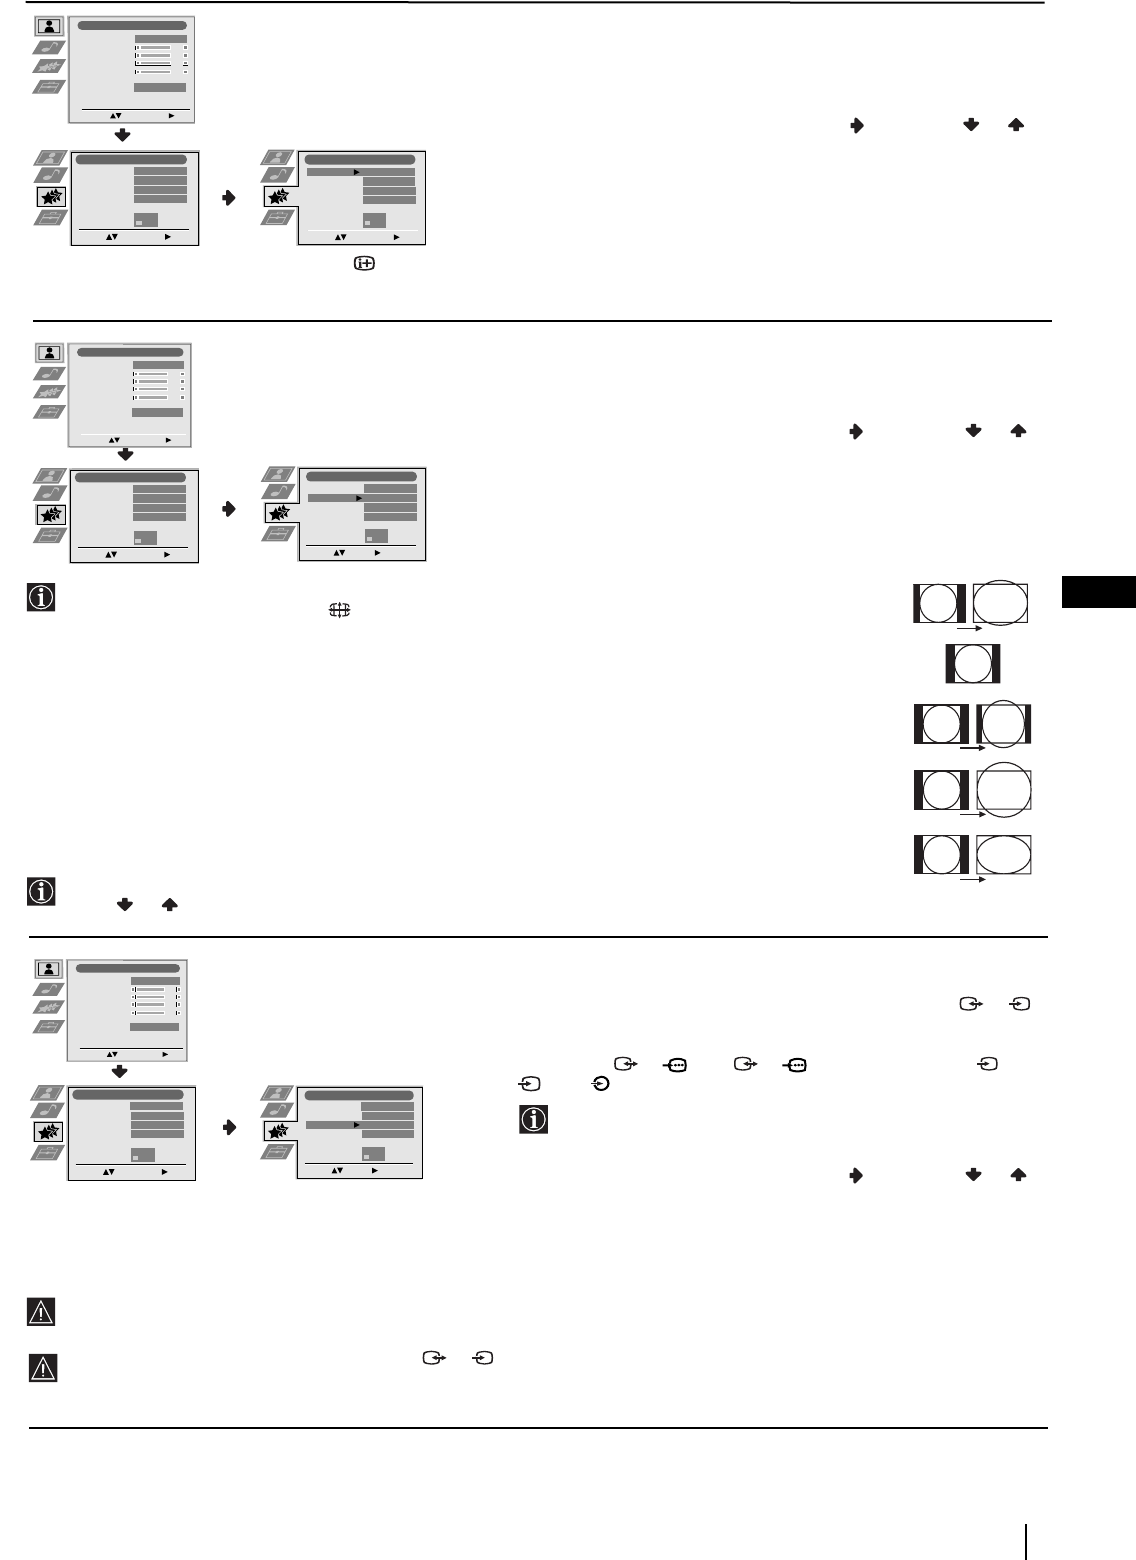
AUTO FORMAT
The “Auto Format” option in the “Features” menu allows you to
automatically change the aspect ratio of the screen.
To do this: after selecting the option, press . Then press or to
select On (if you wish the TV set to automatically switch the screen
format according to the broadcast signal) or Off (if you wish to keep
your preference). Finally press OK to store.
Even if you have selected “On” or “Off” in the “Auto Format” option, you can always modify the
format of the screen by pressing repeatedly on the remote control to select one of the following
formats:
Smart: Imitation of wide screen effect for 4:3 broadcast.
4:3: Conventional 4:3 picture size, full picture information.
14:9: Compromise between 4:3 and 16:9 picture size.
Zoom: Widescreen format for letterbox movies.
Wide: For 16:9 broadcast. Full picture information.
In “Smart”, “Zoom” and “14:9” modes, parts of the top and bottom of the screen are cut off.
Press or to adjust the position of the image on the screen (e.g. to read subtitles).
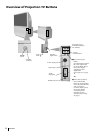
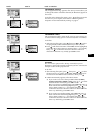
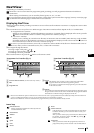
AV3 OUTPUT
The “AV3 Output” option in the “Features” menu allows you to
select the source to be output from the Scart connector 3/ 3
so that you can record from this Scart any signal coming from the
projection TV or from an external equipment connected to the Scart
connectors 1/ 1 or 2/ 2 or side connectors 4 or
4 and 4.
If your VCR supports Smartlink, this procedure is not
necessary.
To do this: after selecting the option, press . Then press or to
select the desired output signal: TV, AV1, AV2, AV4, YC4 or
AUTO.
If you select “AUTO”, the output signal will always be the same one that is displayed on the screen.
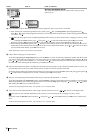
If you have connected a decoder to the Scart 3/ 3 or to a VCR connected to this Scart, please remember to change back
the “AV3 Output” to “AUTO” or “TV” for correct unscrambling.
S
S
S
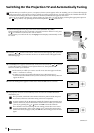
Picture Adjustment
Select: Enter Menu:
Picture Mode
Contrast
Brightness
Colour
Sharpness
Reset
Noise Reduction
Personal
AUTO
Features
Sleep Timer
Auto Format
AV3 Output
PIP Input
PIP Position
Select: Enter Menu:
Off
On
AUTO
AV1
Features
Sleep Timer
Auto Format
AV3 Output
PIP Input
PIP Position
Select: Enter:
Off
On
AUTO
AV1
Picture Adjustment
Select: Enter Menu:
Picture Mode
Contrast
Brightness
Colour
Sharpness
Reset
Noise Reduction
Personal
AUTO
Features
Sleep Timer
Auto Format
AV3 Output
PIP Input
PIP Position
Select: Enter Menu:
Off
On
AUTO
AV1
Select: Enter:
Features
Sleep Timer
Auto Format
AV3 Output
PIP Input
PIP Position
Off
On
AUTO
AV1
4:3
Zoom
14:9
Wide
Smart
Select: Enter:
Features
Sleep Timer
Auto Format
AV3 Output
PIP Input
PIP Position
Off
On
AUTO
AV1
Picture Adjustment
Select: Enter Menu:
Picture Mode
Contrast
Brightness
Colour
Sharpness
Reset
Noise Reduction
Personal
AUTO
Features
Sleep Timer
Auto Format
AV3 Output
PIP Input
PIP Position
Select: Enter Menu:
Off
On
AUTO
AV1
continued...