


21
GB
Additional Information
Additional Information when connecting equipment
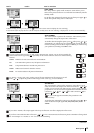
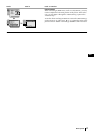
Connecting a VCR
We recommend you connect your VCR to the D socket using a scart lead. If you do not have a scart lead, use the “Manual
Programme Preset” section on page 16 to tune in the channel of the VCR test signal to TV programme number “0”. Also refer to
your VCR instruction manual to get the VCR test signal.
If your video supports SmartLink please refer to the "SmartLink" section of this instruction manual on page 22.
If you have connected a decoder to the Scart 3/ 3 D or through a VCR connected to this Scart:
Select the “Manual Programme Preset” option in the “Set Up” menu and after entering in the “Decoder**” option, select “On” (by
using or ). Repeat this option for each scrambled signal.
**This option is only available depending on the country you have selected in the “Language/Country” menu.
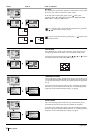
Connecting to external Audio Equipment:
Plug in your Hi-Fi equipment to the audio output sockets A if you wish to amplify the audio output from projection TV. Next ,
using the menu system, select the “Sound Adjustment” menu and set the “TV Speakers” to “Off”.
Audio level of the external speakers can be modified by pressing the volume buttons on the remote control. Also treble and
bass settings can be modified through the “Sound Adjustment” menu.
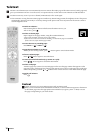
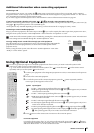
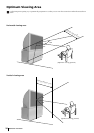
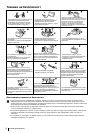
To enjoy “Dolby Virtual” sound effect through your Hi-Fi equipment:
Place the speakers of your equipment in front of your listening position and beside the
projection TV set but keeping a distance of 50 cm between each speaker and the
projection TV set.
Then by using the menu system, select the menu “Sound Adjustment”. Next select
“Dolby V” on the “Effect” option.
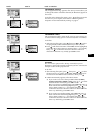
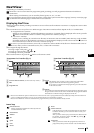
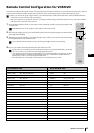
Using Optional Equipment
In order to get the input signal of a connected equipment onto the TV screen, you need to select the symbol of the
connector to which you have connected the device.
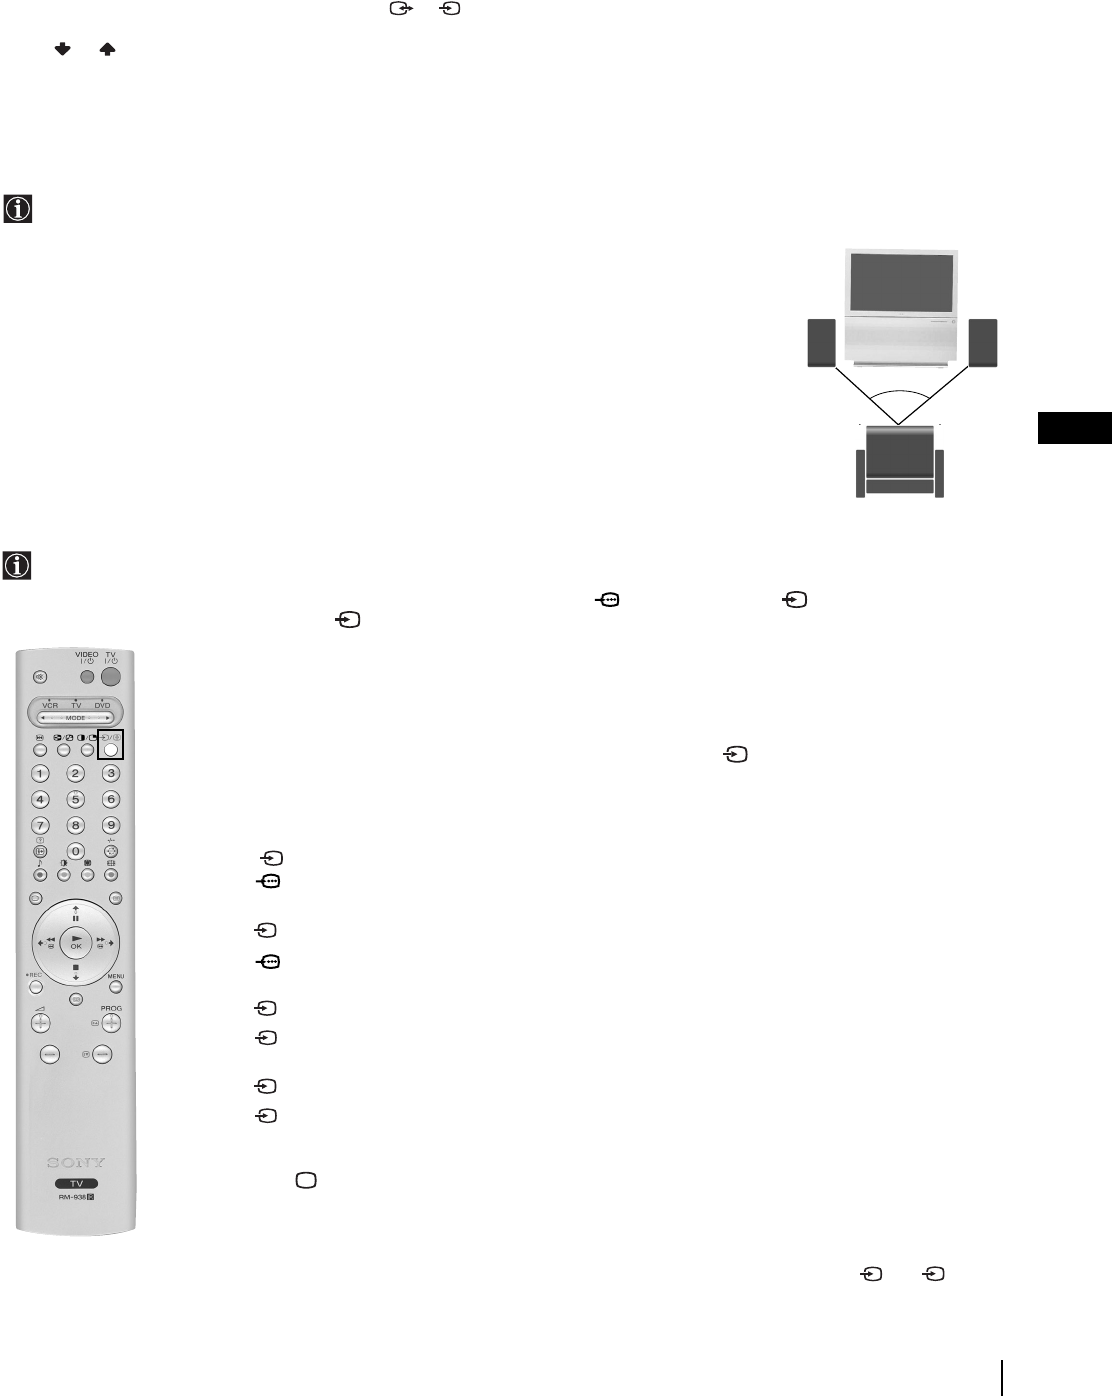
e. g. : Your VCR is connected to the connector with the symbol
Y1/ 1. Press the button on the remote control
repeatedly until you see the symbol 1 on the screen.
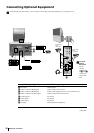
1 Connect your equipment to the designated projection TV socket, as it is indicated on the previous
page.
2 Switch on the connected equipment.
3 To watch the picture of the connected equipment, press the button repeatedly until the
correct input symbol appears on the screen.
Symbol Input Signals
1 • Audio / video input signal through the Scart connector B
1 • RGB input signal through the Scart connector B. This symbol appears only if an RGB
source has been connected.
2 • Audio / video input signal through the Scart connector C.
2 • RGB input signal through the Scart connector C. This symbol appears only if an RGB
source has been connected.
3 • Audio/video input signal through the Scart connector D.
3 •S Video Input signal through the Scart connector D. This symbol appears only if an S
Video source has been connected.
4 • Video input signal through the phono socket F and Audio input signal through G.
4 •S Video Input signal through the front S Video input jack E and Audio signal through
G. This symbol appears only if an S Video source has been connected.
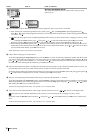
4 Press button on the remote control to return to the normal TV picture.
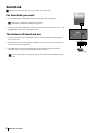
For mono equipment
Connect the phono plug to the L/G/S/I socket on the side of the TV and select 4 or 4 input
signal using the instructions above. Finally, refer to the “Sound Adjustment” section of this manual
and select “Dual Sound” “A” on the sound menu screen.
S
S
S
S
Your sitting position
~50°
Right
Hi-Fi
speaker
Left
Hi-Fi
speaker