


13
36
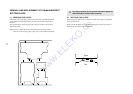
When connecting an RGB source such as a Sony playstation you may need to
readjust the picture geometry.
1 Select the connected RGB source
by pressing … repeatedly.
2 Press MENU. Select the symbol
using $. Push to ”.
3 Select Installation using $. Push to ” to enter. Select RGB Set Up using $.
Push to ” to enter.
4 Select H Centre by pushing to ”. Adjust the centre of the picture
(range from -10 to +10) using 4 or $. Store by pressing OK.
5 Select H Size using $. Push to ” to enter. Adjust the horizontal coordinates
(range from -10 to +10) using 4 or $. Store by pressing OK.
6 Press MENU to return to the normal TV screen.
Advanced Presetting
Advanced Operation
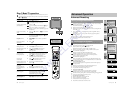
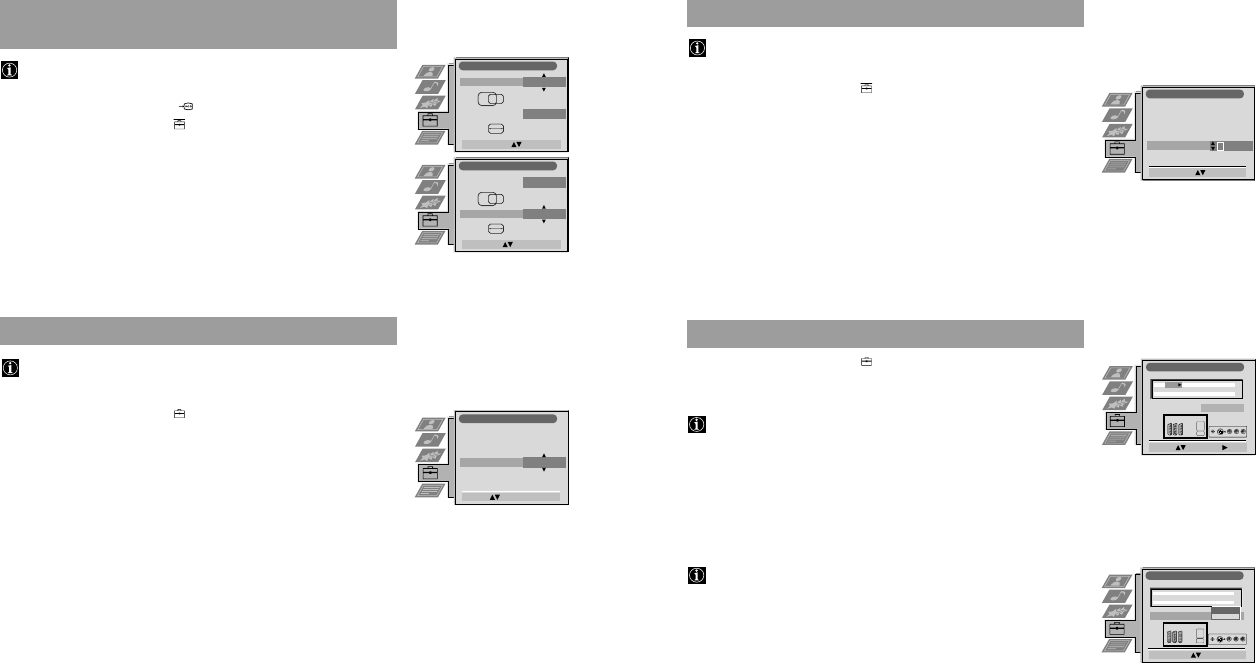
Adjusting the Picture Rotation
Because of the earth magnetism the picture might slant. In this case you can
readjust the picture.
1 Press MENU. Select the symbol
using $. Push to ”.
2 Select Installation using $. Push to ” to enter. Select Picture Rotation using $.
Push to ” to enter.
3 Adjust the Picture Rotation (adjusting range -5 to +5) by pushing to 4 or $.
Store by pressing OK.
4 Press MENU to return to the normal TV picture.
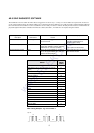
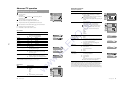
Adjusting the Picture Geometry
for an RGB Source
RGB Set Up
Adjust Size: Confirm: OK
H Centre
O
H S ze
O
RGB Set Up
Adjust Pos tion: Confirm: OK
H Centre
O
H S ze
O
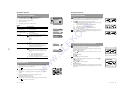
Instal ation
Rotate: Confirm:
Language/Country
Manual Programme P t
Further Programme eset
RGB Set Up
Picture Rota i
Personal ID
37
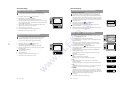
1 Press MENU. Select the symbol
using $. Push to ”.
2 Select AV Preset using $. Push to ” to enter.
3 Select the desired AV input (AV 1, 2 or 3) using 4 or $. Push to ” enter.
After each step you have the choice between memorizing (press OK) or going to
the next item (push to ”).
4 To label the source:
a Push to ” to select Label.
b Select the first character using 4 or $. Push to ” to confirm.
c Repeat step b to select the other 4 characters.
d Store by pressing OK.
5 Repeat steps 3 to 4 for the other AV inputs.
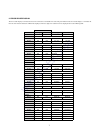
6 Selecting the AV3 Input Source:
In case of AV3 you have the choice between the front AV3 sockets BCor the
rear Scart 3 L connector.
a Push to $ to select AV3 Input. Push to ” to enter.
b Select Front or Rear using 4 or $.
c Store by pressing OK.
7 Press MENU to return to the normal TV screen.
Presetting and Labelling of Input Sources
Advanced Presetting
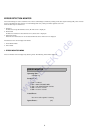
Inputting Your Personal ID
You can programme your TV with a safety code, so that you can be traced if
your TV is stolen and recovered. This code can only be input once!
Make sure to write it down in this Instruction Manual.
1 Press MENU. Select the symbol
using $ Push to ”.
2 Select Installation using $. Push to ” t enter. S ect Personal ID using $.
Push to ” to enter.
3a Select the first of a total of 11 cha ters tter, number, + or a blank) by
using 4 or $.
b Push to ” to go to the next aracter.
c Repeat a and b for all charac s.
4 Store by pres ing OK.
5 Press MENU to retu to the normal TV screen.
Advanced Operation
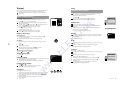
Ins allat on
Select A-Z, 0-9
: Store: OK
Language/Country
Manual Programme Preset
Further Programme Preset
RGB Set Up
Picture Rotation
Personal ID
- - - - - -
AV Preset
Se ect: Enter:
AV 3 Input Rear
INPU LABEL
IDEO
IDEO
IDEO
A
A 2
A 3
AV Preset
Select Mode: Confirm: OK
AV 3 Input
NPU LABEL
DEO
DEO
DEO
A
A 2
A 3
F ont
Rea
www.ELEKO.de