


1-16
63
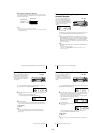
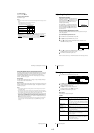
Changing menu options
PÁGINA2
Menu option Set this option to
APC • SI to switch on the APC (Adaptive Picture Control) function
and improve picture quality.
• NO to switch off APC.
REALITY
REGENERATOR
• SI to switch on the Reality Regenerator (Reality Regenerator)
function and restore the picture to its original quality during
playback.
• NO to switch off Reality Regenerator.
SENSR CONDCIÓN
CABEZA
• SI to allow the VCR to automatically check the condition of
the video heads and inform you when they are dirty.
• NO to turn off the sensor.
NITIDEZ • B (Low) through A (High) to adjust the sharpness of the
picture. Select B to turn off the sharpness control.
64
Editing with another VCR
Editing with another VCR
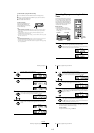
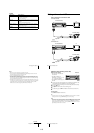
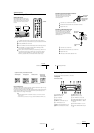
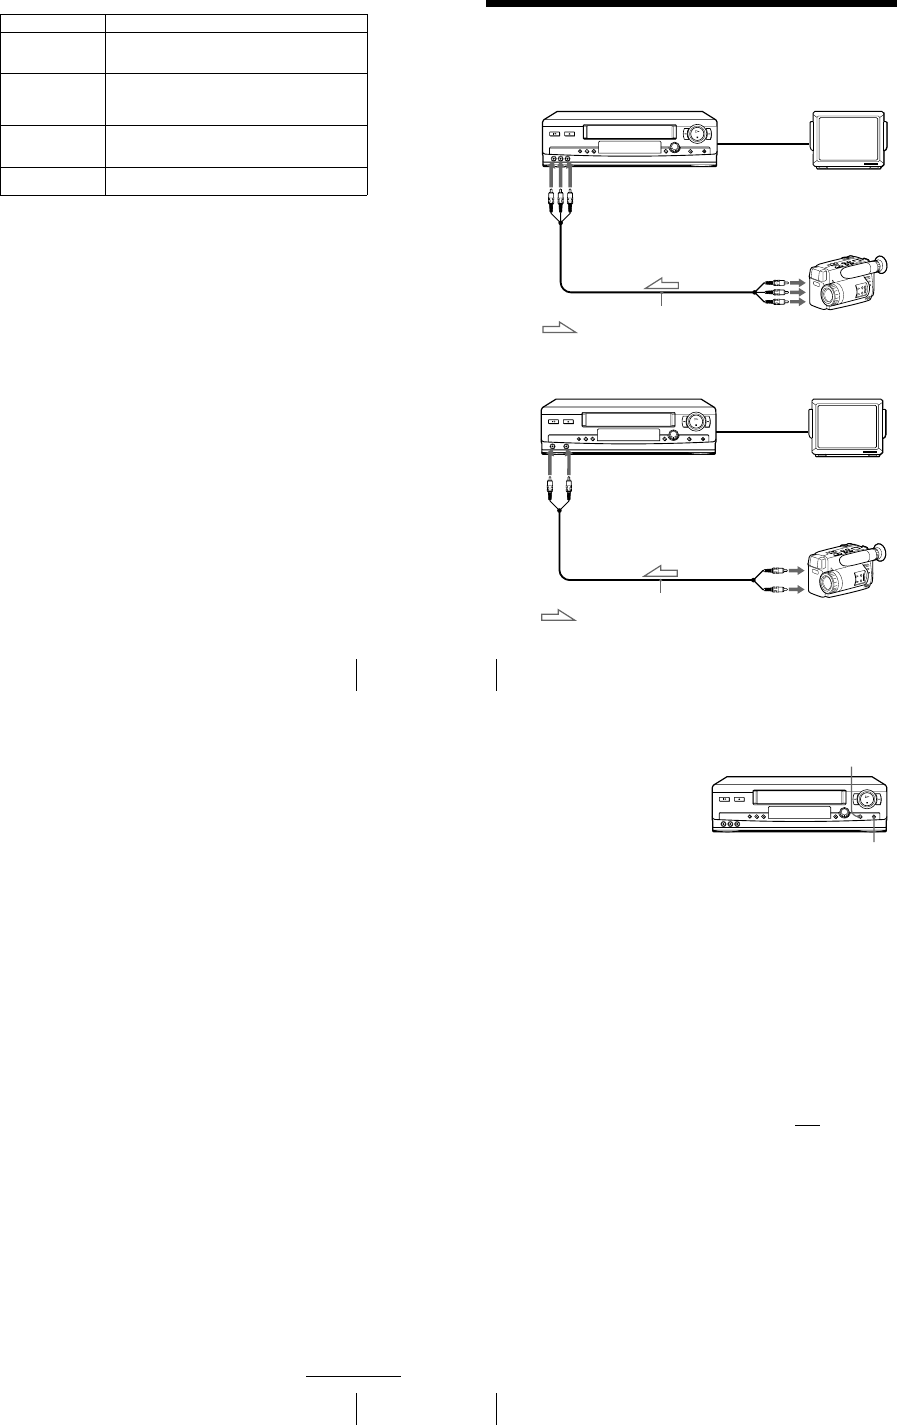
How to connect to record on this VCR
SLV-LX70S and LX60S
SLV-LX50 and LX40
This VCR (Recorder)
Other VCR (Player)
LINE OUT
: Signal flow
LINE-2 IN
TV
Audio/video cable (not supplied)
This VCR (Recorder)
Other VCR (Player)
LINE OUT
: Signal flow
LINE-2 IN
TV
Audio/video cable (not supplied)
65
Editing with another VCR
Notes
• Make sure you connect the plugs to jacks of the same color.
• If you connected this VCR to both the LINE IN and LINE OUT jacks of the other VCR,
select the input correctly to prevent a humming noise.
• You can use the LINE-1 IN jacks for editing.
• If the other VCR is a monaural type and connected to this VCR’s LINE-2 IN jacks, connect
the audio plug to the AUDIO L (white) jack. The sound is recorded on both right and left
channels. If you connect to the AUDIO R (red) jack, the sound is recorded only on the right
channel. (SLV-LX70S and LX60S only)
• If the other VCR is a monaural type and connected to this VCR’s LINE-1 IN jacks, the sound
is recorded only on the channel whose jack is connected to the audio plug. To record on both
right and left channels, connect the audio plugs to the AUDIO R/L jacks using a VMC-
910HG audio/video cable (not supplied). (SLV-LX70S and LX60S only)
continued
66
Editing with another VCR
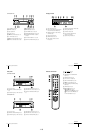
Operation (when recording on this VCR)
To stop editing
Press the x STOP buttons on both VCRs.
Tip
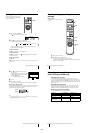
• To cut out unwanted scenes while editing, press
XPAUSE on this VCR when an unwanted
scene begins. When it ends, press
XPAUSE again to resume recording.
Note
• If you start recording following the procedure above, the VCR won’t start recording with the
APC function. To record a tape with the APC function, press
zREC again during recording
pause in step 3 so that the VCR analyzes the tape. Then, press
XPAUSE after the APC
indicator stops flashing to start recording. If you press
XPAUSE before the APC indicator
stops flashing, the APC function is canceled.
Before you start editing
• Turn on your TV and set it to the
video channel.
• Press INPUT SELECT or
CHANNEL +/– to display “L2” (or
“L1”) in the display window.
• Press SP/EP to select the tape speed,
SP or EP.
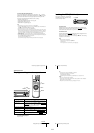
1
Insert a source tape with its safety tab removed into the other (playback) VCR.
Search for the point to start playback and set it to playback pause.
2
Insert a tape into this (recording) VCR. Search for the point to start recording
and press XPAUSE.
3
Press zREC on this VCR to set it to recording pause.
4
To start editing, press the XPAUSE buttons on both VCRs at the same time.
zREC
XPAUSE