


52
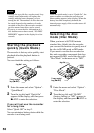
You can erase tracks in a selected group.
Note that once a recording has
been erased, you cannot retrieve it.
Be sure to check the contents of
the group before you erase it.
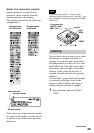
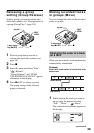
1 Select a group you want to erase and
check the contents (see page 39).
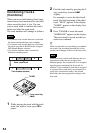
2 Press x.
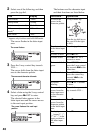
3 Enter the menu and select “Edit” -
“Erase” - “ : Erase”.
“Group Erase OK?” and “PUSH
YES:ENTER NO:CANCEL” appear
in the display.
If the selected group contains tracks
that have been transferred from the
computer, “TrkFromPC Erase OK?”
appears in the display.
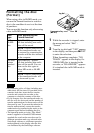
4 Press NENT to erase the group.
The group is erased.
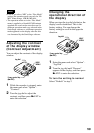
You can quickly erase all the tracks and
data of the disc at the same time.
Note that once a recording has
been erased, you cannot retrieve it.
Be sure to check the contents of
the disc before you erase it.
In case of a Hi-MD disc or standard disc
in Hi-MD mode, only audio data is
erased. Other data such as text or image
data will not be erased.
1 Play the disc you want to erase to
check the contents.
2 Press x.
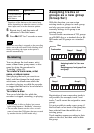
3 Enter the menu and select “Edit” -
“Erase” - “AllErase”.
“ALL TRACK Erase OK?” and
“PUSH YES:ENTER NO:CANCEL”
appear in the display.
If the disc contains tracks that have
been transferred from the computer,
“TrkFromPC Erase OK?” appears in
the display.
4 Press NENT to erase the whole
disc.
“SYSTEM FILE WRITING” appears
in the display, and all the tracks will
be erased.
When erasing completes, “NO
TRACK” appears in the display in
Hi-MD mode and “BLANKDISC”
and “00:00” appear in MD mode.
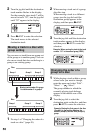
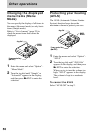
To erase a group
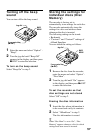
To erase the whole disc