49
Recording
Checking the disc status while
recording
You can check the recording information such as
recording time or disc type.
Press DISPLAY during recording.
The information display appears.
Press the button repeatedly to change the display
(page 44).
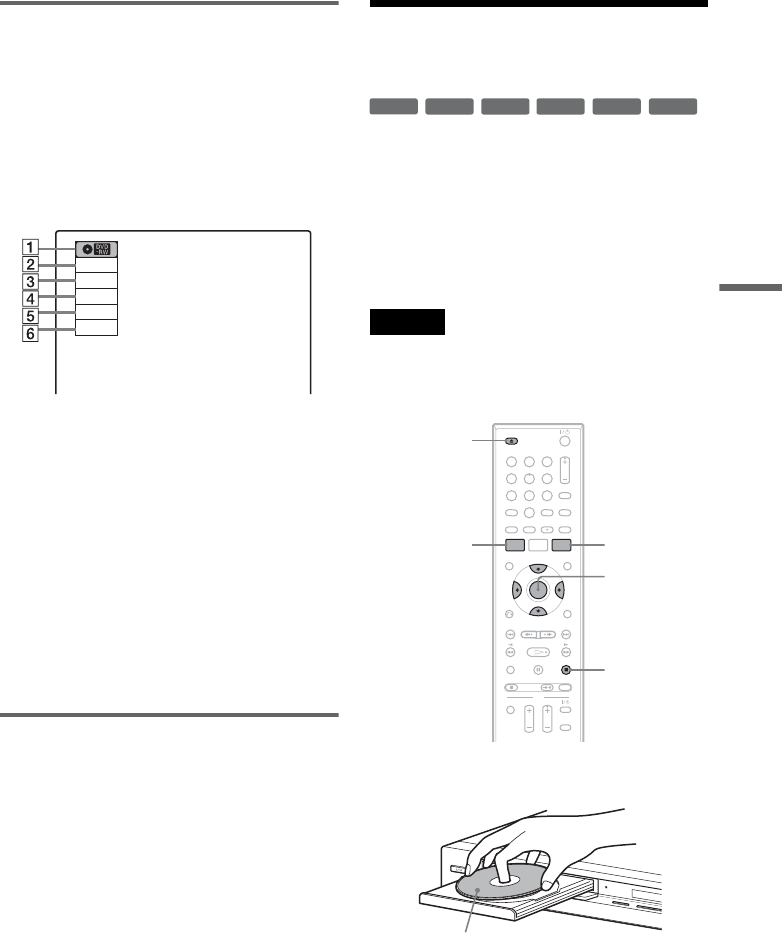
A Disc type
B Recording status
C Recording time
D Recording mode
E Remaining disc space
F Input source
z Hint
You can view the information also in the front panel
display. Press TIME/TEXT repeatedly to change the
display. Note that TIME/TEXT does not work during
One-touch Timer Recording.
Creating chapters in a title
The recorder will automatically divide a recording
(a title) into chapters by inserting chapter marks at
5 or 15-minute intervals during recording. Select
the interval, “5 Min” (default) or “15 Min” in
“DVD Auto Chapter” of “Features” in the “Setup”
display (page 81).
If you do not want to divide titles, select “Off.”
Timer Recording From
Connected Equipment
You can set the timer for a total of 12 programs, up
to one month in advance.
Note that the maximum continuous recording time
for a single title is 12 hours. Contents beyond this
time will not be recorded.
If you record from connected equipment that has a
timer function, you can use the Synchro Rec
function (page 51).
Note
Do not operate your cable box or satellite receiver just
before or during a timer recording. This may prevent the
accurate recording of a program.
1 Press Z OPEN/CLOSE, and place a
recordable disc on the disc tray.
Record
0:00:03
HQ
Rem 00:59
Line1
+
RW
+
R
-
RWVR
-
RW
Video
-
RVR
-
R
Video
11 22 33
44 55 66
77 88
00
99
M/m/</,,
ENTER
Z OPEN/
CLOSE
x STOP
SYSTEM
MENU
TIMER
D
V IN
L
(
M
O
N
O
)
A
U
D
I
O
R
V
I
D
E
O
S
V
I
D
E
O
L
I
N
E
-
2
I
N
O
N
E-TOU
CH
DUBBING
Recording side facing down
,continued


